Creamy Back To School Cookies Recipe
As summer days fade and the back-to-school season approaches, families across the nation begin to prepare for a new academic year filled with fresh opportunities and challenges. This transitional period is often marked by excitement and a touch of nostalgia as children gather their supplies, meet their new teachers, and reconnect with friends. Amidst the hustle and bustle of school preparations, one delightful tradition stands out: baking. There’s something inherently comforting about filling the kitchen with delicious aromas and creating sweet treats that can brighten even the busiest school day.
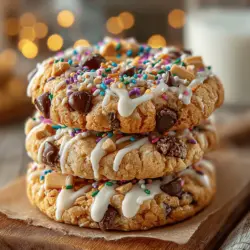
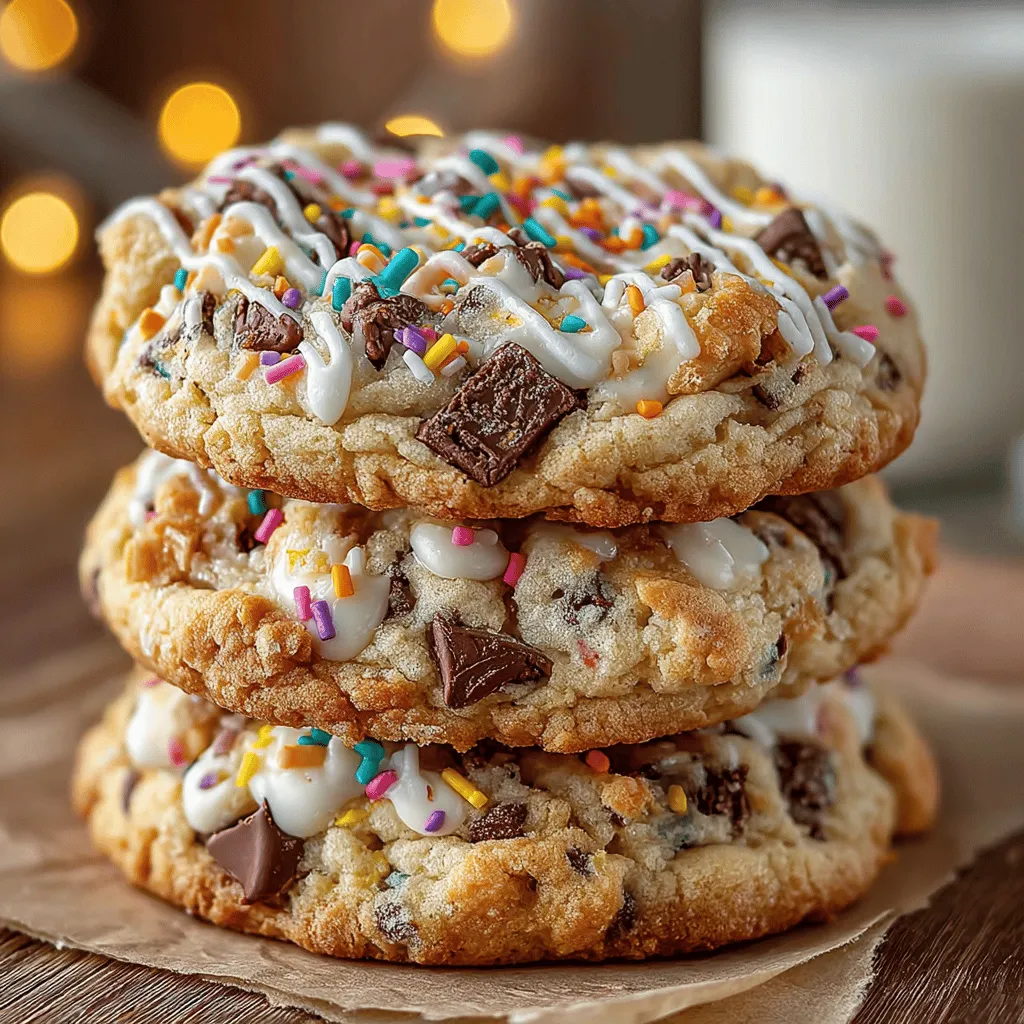
Enter the Creamy Back To School Cookies – a delectable treat that combines a medley of flavors and textures, making them an ideal addition to lunchboxes or a delightful after-school snack. These cookies are more than just a dessert; they are a celebration of the new school year, designed to bring joy to both kids and parents alike. The richness of peanut butter, the sweetness of chocolate chips, and the fun of colorful sprinkles come together to create a cookie that is not only flavorful but also visually appealing.
The Inspiration Behind Creamy Back To School Cookies
The tradition of baking for back-to-school has deep roots in many families, often serving as a way to mark the transition from summer freedom to the structured routine of school days. Baking together can be a bonding experience, where parents share cherished recipes with their children, creating memories that last a lifetime. The warmth of the kitchen, the laughter, and the shared joy of creating something delicious all contribute to a sense of comfort and belonging during this busy time of year.
For many parents, the act of baking is also tied to the desire to provide wholesome snacks that can fuel their children throughout the day. As the school year gets underway, schedules become packed, and the need for quick, nutritious, and satisfying snacks becomes paramount. Creamy Back To School Cookies embody this spirit, combining indulgence with a hint of healthiness, thanks to the inclusion of oats and nut butter.
Reflecting on my own experiences, I remember weekends spent in the kitchen with my family, where flour would dust the counters, and laughter would fill the air as we attempted to create the perfect cookie. Those moments not only taught me valuable cooking skills but also solidified our family bond. Now, as I share this recipe, I hope to inspire others to create their own memories in the kitchen, making these cookies a staple in their back-to-school celebrations.
Ingredient Breakdown
Creating the perfect Creamy Back To School Cookies starts with understanding the role each ingredient plays in achieving that delightful balance of flavors and textures. Let’s dive into the components that make these cookies stand out.
Butter and Sugars
At the heart of any great cookie is the combination of butter and sugars. For this recipe, unsalted butter is preferred as it allows for better control of the salt content. Butter brings richness and moisture, contributing to a soft and chewy cookie. The sugars used—granulated and brown—serve distinct purposes. Granulated sugar helps the cookies spread, while brown sugar adds moisture and a deeper flavor profile due to its molasses content. This combination sets the stage for a cookie that is both crispy on the edges and soft in the center.
Eggs and Vanilla Extract
Next, we incorporate eggs and vanilla extract. Eggs are essential not only for binding the ingredients together but also for adding moisture. They help the cookies rise and create that coveted chewy texture. Vanilla extract enhances the overall flavor, adding a warm, aromatic quality that complements the sweetness of the sugars. Together, these ingredients create a foundation that is both flavorful and structurally sound.
Flour, Baking Soda, and Salt
Flour acts as the backbone of the cookie, providing structure and stability. In this recipe, all-purpose flour is utilized to achieve the right consistency. The addition of baking soda is crucial; it acts as a leavening agent, helping the cookies rise and become fluffy. A pinch of salt balances the sweetness, enhancing the flavors of the other ingredients. This trio of flour, baking soda, and salt is essential for creating the ideal cookie base.
Peanut Butter
Peanut butter is the star ingredient in these Creamy Back To School Cookies, lending a rich, nutty flavor and creamy texture. It not only enhances the taste but also contributes to the overall moisture of the cookie. For those looking for a twist, almond butter can be a delightful alternative, offering a different flavor profile while still maintaining that creamy texture. The choice of nut butter adds a layer of complexity that makes these cookies uniquely satisfying.
Oats
Incorporating oats into the cookie dough not only adds chewiness but also infuses a hint of healthiness. Oats are packed with fiber and essential nutrients, making them a great addition to a school snack. They provide a subtle nuttiness and help to create a heartier texture, ensuring that these cookies are both filling and delicious.
Chocolate Chips and Nuts
No cookie is complete without chocolate chips, and in this recipe, you have the flexibility to choose between milk chocolate and dark chocolate, depending on your preference. The gooey chocolate chunks melt beautifully into the dough, creating pockets of sweetness in every bite. Additionally, the optional inclusion of nuts – such as walnuts or pecans – adds a satisfying crunch and enhances the overall flavor profile. These ingredients work together to create a cookie that is rich, delectable, and utterly irresistible.
Colorful Sprinkles
Finally, to make these cookies truly festive and appealing to kids, colorful sprinkles are a must. Sprinkles add a playful touch, making the cookies visually exciting and perfect for lunchboxes or after-school treats. They serve as the finishing touch that elevates these cookies from delicious to delightful.
In the next part of this article, we will dive into the step-by-step process of baking these Creamy Back To School Cookies, ensuring that you can create this delightful treat with ease. From mixing the ingredients to baking the cookies to perfection, get ready to fill your home with the warm, inviting scent of freshly baked cookies, ready to kick off the school year in style.
Baking the perfect cookies requires attention to detail and the right techniques. By following these step-by-step instructions, you can ensure that your Creamy Back To School Cookies turn out deliciously every time.
Prepping Your Kitchen
Before diving into the mixing bowl, it’s essential to prep your kitchen properly. Start by preheating your oven to 350°F (175°C). Preheating is crucial because it ensures that your cookies begin baking at the right temperature, resulting in the perfect texture.
Next, line your baking sheets with parchment paper. This not only prevents the cookies from sticking but also helps them bake evenly. If you don’t have parchment paper, greasing the baking sheets with butter or cooking spray is a suitable alternative. Having your workspace organized with all ingredients at hand makes the baking process smoother and more enjoyable.
Creaming Method
The creaming method is a fundamental baking technique that affects the texture and flavor of your cookies. Begin by placing softened butter and sugar in a large mixing bowl. Using an electric mixer or a sturdy wooden spoon, beat the butter and sugar together until the mixture is light and fluffy. This process incorporates air into the batter, which helps create a tender and chewy cookie.
Aim for a pale yellow color and a texture that resembles whipped cream. This usually takes about 3-5 minutes with an electric mixer. Once you achieve the right texture, add in your eggs one at a time, mixing well after each addition. This helps to emulsify the mixture and creates a cohesive batter.
Mixing Techniques
After creaming the butter and sugar, it’s time to mix in the dry ingredients. In a separate bowl, whisk together the flour, baking soda, and salt. Whisking not only combines these ingredients but also aerates them, preventing clumps.
When you combine the dry ingredients with the wet mixture, it’s important not to overmix. Gradually add the flour mixture to the creamed butter and sugar, mixing on low speed or gently folding with a spatula until just combined. Overmixing can lead to tough cookies due to the development of gluten in the flour, so stop as soon as you see no dry flour remaining.
Incorporating Add-ins
This is where you can get creative! Fold in your chosen add-ins—such as oats, chocolate chips, nuts, and colorful sprinkles—gently but thoroughly. Use a spatula to cut through the mixture, lifting it from the bottom and folding it over the top without vigorous stirring. This method ensures that the add-ins are evenly distributed without compromising the cookie dough’s texture.
For a delightful surprise, feel free to mix different kinds of chocolate chips or add a splash of vanilla extract for extra flavor. Just remember to keep the balance between the dough and the add-ins to maintain the structure of the cookies.
Baking Tips
Knowing when your cookies are perfectly baked can be tricky, but there are a few visual cues to guide you. Once your cookies are in the oven, keep an eye on them. Look for a light golden-brown color around the edges, while the centers may still look slightly soft. This is a good indicator that they are done, as cookies will continue to firm up as they cool on the baking sheet.
A general rule of thumb is to bake your cookies for 10-12 minutes, but every oven is different. For an even bake, consider rotating your baking sheets halfway through the baking time. Once baked, allow your cookies to cool on the baking sheets for a few minutes before transferring them to a wire rack. This cooling time helps them set properly.
These Creamy Back To School Cookies are perfect for various occasions, making them a versatile treat. Here are some delightful serving suggestions:
– With Milk or Cocoa: Serve your cookies alongside a glass of cold milk or a warm cup of hot cocoa for a comforting snack. The combination of cookies and milk is a classic that never goes out of style.
– Fun Lunchbox Treats: Pack a few cookies in your child’s lunchbox for a sweet surprise. Pair them with fresh fruit or yogurt to create a balanced meal.
– After-School Snack: These cookies make for an excellent after-school snack. They provide a quick energy boost to help kids refuel after a long day.
Storing Cookies
To keep your cookies fresh and flavorful, store them in an airtight container at room temperature. This will help maintain their moisture and prevent them from becoming stale. For longer-term storage, consider freezing the cookies. Place them in a single layer on a baking sheet until frozen, then transfer them to a freezer-safe bag or container. This allows you to enjoy freshly baked cookies any time you desire.
Creative Packing Ideas
For school lunches or snacks, think outside the box! Use fun cookie tins or decorative bags to surprise your kids. Add a personal touch by including a handwritten note or a fun drawing that expresses your love. Not only do these simple gestures brighten their day, but they also create lasting memories.
Baking with intention involves understanding the nutritional value of your ingredients. These Creamy Back To School Cookies contain wholesome ingredients like oats, which provide fiber, and nuts, which offer healthy fats. Chocolate chips, while a treat, also bring joy and can enhance mood, making them a worthwhile addition to your baking.
Substitutions for Common Allergens
If you or your family members have dietary restrictions, there are plenty of substitutions you can make without sacrificing flavor:
– Nut-Free: If nut allergies are a concern, replace nut butters with sunflower seed butter or eliminate nuts entirely.
– Gluten-Free: Use a gluten-free all-purpose flour blend in place of regular flour to accommodate gluten sensitivities.
– Vegan Options: For a vegan variation, substitute eggs with flaxseed meal or applesauce, and use plant-based butter or coconut oil in place of regular butter.
Encouraging moderation is key when it comes to enjoying treats. These cookies can be a part of a balanced diet, especially when enjoyed alongside nutritious meals and snacks.
Baking these Creamy Back To School Cookies is not just about making a delicious treat; it’s also about creating joyful moments in the kitchen with your loved ones. The aroma of freshly baked cookies can evoke feelings of comfort and nostalgia, reminding us of the simple pleasures in life.
As you prepare these cookies, think about the memories you are creating with your family. Baking together fosters connections and traditions that can be cherished for years to come. Don’t hesitate to experiment with variations of this recipe, whether it’s adding different spices, fruits, or flavors that resonate with your taste buds.
So, gather your ingredients, preheat that oven, and let the magic of baking fill your home. Enjoy the process, share the cookies with family and friends, and create lasting memories through the joy of baking.