Introduction
Chocolate mousse is a beloved dessert that captures the hearts and taste buds of many. This light and airy treat is often associated with fine dining and special occasions, evoking feelings of luxury and indulgence. However, what if we told you that you could create this decadent delight at home with just three simple ingredients? That’s right! Our 3-Ingredient No-Bake Chocolate Mousse recipe is not only incredibly easy to make, but it also delivers a rich, chocolatey experience that will leave you and your guests craving more.
The simplicity of this recipe is what truly sets it apart. You don’t need to be a seasoned chef or have a fully stocked kitchen to whip up this delightful dessert. With only three key ingredients—heavy whipping cream, semi-sweet chocolate chips, and vanilla extract—you can create a luscious mousse that rivals any restaurant version. Plus, the no-bake aspect means you can enjoy it without the hassle of turning on the oven, making it ideal for hot summer days or impromptu gatherings.
In this article, we will explore the ingredients that contribute to the mousse’s rich flavor and light texture, followed by a step-by-step guide to making this delightful dessert. Whether you’re a novice in the kitchen or a seasoned home cook, this recipe is designed to ensure your success. Let’s dive into the world of chocolate mousse and discover how to create this easy yet indulgent treat.
Understanding the Ingredients
To achieve the best results with your no-bake chocolate mousse, it’s essential to understand the role each ingredient plays in the final product. Using high-quality ingredients will elevate your dessert and ensure that every bite is as delicious as possible.
Heavy Whipping Cream
The star of this recipe is heavy whipping cream, which is crucial for creating the mousse’s light and airy texture. When whipped, heavy cream traps air, resulting in a fluffy consistency that forms the base of the mousse. The high-fat content (at least 36%) of heavy whipping cream allows it to hold its shape well, making it perfect for desserts that require stability.
When selecting heavy whipping cream, look for options that are labeled as “fresh” and “ultra-pasteurized” to ensure the best flavor and texture. Fresh cream will have a clean taste and a smooth texture, which is essential for complementing the chocolate in your mousse.
Semi-Sweet Chocolate Chips
The next key ingredient is semi-sweet chocolate chips. They provide the rich chocolate flavor that is synonymous with mousse. Semi-sweet chocolate strikes a balance between sweetness and bitterness, allowing you to achieve a depth of flavor without overwhelming the palate.
When choosing chocolate chips, opt for high-quality brands that contain a high percentage of cocoa solids and minimal additives. This ensures a rich chocolate flavor that will shine through in your mousse. Feel free to experiment with dark chocolate or milk chocolate if you prefer a different flavor profile, but keep in mind that the sweetness levels will vary.
Vanilla Extract
Finally, we have vanilla extract, which plays a vital role in enhancing the overall flavor of the mousse. A splash of vanilla adds warmth and complexity, making the chocolate taste even richer. It helps to round out the flavors and complements the sweetness of the chocolate and cream.
When selecting vanilla extract, look for pure vanilla extract rather than imitation vanilla. Pure vanilla extract is made from real vanilla beans, providing a more authentic flavor. If you want to take your mousse to the next level, you could also try using a splash of espresso or coffee extract for an added depth of flavor.
Importance of Quality Ingredients
Using high-quality ingredients is crucial for the success of this 3-ingredient chocolate mousse recipe. Each component contributes to the final taste and texture, so it’s worth investing in the best options available. Fresh heavy whipping cream will whip up better and hold its shape longer, while high-quality chocolate chips will provide a more intense chocolate flavor. Pure vanilla extract enhances the overall experience, ensuring that your mousse is not only delicious but also memorable.
Step-by-Step Guide to Making No-Bake Chocolate Mousse
Now that we’ve covered the essential ingredients, let’s delve into the step-by-step process of making this decadent no-bake chocolate mousse. The preparation is straightforward and doesn’t require any specialized equipment, making it accessible to everyone.
Melting the Chocolate
The first step in creating your chocolate mousse is to melt the chocolate chips. This is a critical process that sets the foundation for your mousse.
1. Using a Microwave-Safe Bowl: Start by placing your semi-sweet chocolate chips in a microwave-safe bowl. It’s essential to use a bowl that is suitable for the microwave to avoid any accidents. Glass or ceramic bowls work best for this purpose.
2. Melting Tips: Microwave the chocolate chips in 30-second intervals, stirring between each interval. This method helps to evenly distribute the heat and prevents the chocolate from burning. Stirring is vital because it allows the residual heat from the melted chocolate to continue melting the unmelted chips. If you notice any chocolate that hasn’t melted after a minute or so, continue microwaving in 15-second intervals, stirring in between until the chocolate is completely smooth.
3. Avoiding Overheating: Be cautious not to overheat the chocolate, as this can cause it to seize and become grainy. If you find that your chocolate has cooled too much by the time it’s melted, you can place it back in the microwave for a few seconds, but be sure to monitor it closely.
Whipping the Cream
Next, we’ll whip the heavy cream to achieve the perfect texture for your mousse.
1. Using a Mixing Bowl: Pour your heavy whipping cream into a large mixing bowl. It’s best to use a bowl that is cold, as this helps the cream whip up faster and achieve the desired volume. You can chill the bowl in the refrigerator or freezer for a few minutes before starting.
2. Achieving Soft Peaks: Using an electric mixer (or a whisk, if you prefer a workout), beat the cream on medium-high speed until it reaches the soft peak stage. This means that when you lift the beaters out of the cream, the peaks formed will gently fold over instead of standing straight up. Soft peaks are ideal for mousse as they provide enough structure while still allowing for a light and airy texture.
3. Common Pitfalls to Avoid: Be careful not to overwhip the cream, as this can cause it to turn into butter. If you accidentally whip past the soft peak stage, you can salvage the cream by gently folding in a small amount of additional heavy cream until you reach the desired consistency.
Combining Ingredients
The final step involves combining the melted chocolate with the whipped cream to create your mousse.
1. Folding Techniques: Using a spatula, gently fold the melted chocolate into the whipped cream. Start by adding a small amount of whipped cream to the chocolate to lighten it, then gradually fold in the remaining whipped cream. Folding is a technique that helps maintain the airiness of the whipped cream, ensuring a light and fluffy mousse.
2. Maintaining Airiness: Be gentle during this process! Use a figure-eight motion with your spatula, and avoid stirring vigorously, as this can deflate the whipped cream. The goal is to combine the two mixtures without losing the volume that you’ve created through whipping.
3. Final Touches: Once the mixtures are fully combined, taste the mousse and adjust if necessary. If you feel it needs more sweetness or depth, consider adding a touch more vanilla extract or a sprinkle of sea salt to enhance the chocolate flavor.
With these steps, you’re well on your way to creating a sumptuous and velvety chocolate mousse. Stay tuned for the next part, where we’ll discuss how to serve your mousse, tips for the best results, and answer some common questions about this delightful dessert.
Visual Cues for Knowing When the Mixture is Perfectly Combined
Achieving the perfect texture for your no-bake chocolate mousse is crucial for an indulgent experience. As you blend the chocolate with the whipped cream, look for these visual cues to know when your mixture is just right:
1. Smooth and Glossy Texture: The mousse should appear silky and shiny. If the mixture looks grainy or lumpy, it may need further blending.
2. Soft Peaks: When you lift your whisk or spatula from the mixture, the mousse should hold soft peaks that gently bend over, indicating it has enough air incorporated while still maintaining a creamy consistency.
3. Homogeneous Color: Ensure that the chocolate is evenly distributed throughout the whipped cream, creating a uniform chocolate color without streaks of cream.
Once these cues are evident, you can proceed to the chilling process, setting the stage for a wonderfully creamy dessert.
Chilling and Serving
Recommended Chilling Times for Optimal Texture
Allowing your mousse to chill is essential for developing its rich flavor and achieving the desired texture. Here are some guidelines for chilling times:
– Minimum Chill Time: At least 2 hours in the refrigerator is necessary for the mousse to set properly. This allows the flavors to meld beautifully and the mousse to firm up.
– Ideal Chill Time: For the best results, aim for a chilling time of 4-6 hours, or even overnight. This extended period not only enhances the flavor but also ensures a firmer mousse that is easy to scoop.
Suggestions for Serving Presentation
Presentation plays a key role in enhancing the indulgence of your no-bake chocolate mousse. Here are some elegant serving suggestions:
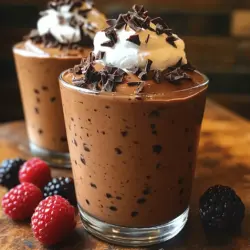
– Individual Servings: Scoop the mousse into small glass jars or dessert cups for a chic and personal touch. This makes serving easier and adds a layer of sophistication.
– Layering: For an eye-catching display, layer the mousse with crushed cookies, graham cracker crumbs, or fresh fruit in clear glasses. This not only adds texture but also visual appeal.
– Garnishing: Top each serving with a dollop of whipped cream, a drizzle of chocolate sauce, or a sprinkle of cocoa powder to elevate the presentation.
Creative Serving Suggestions and Variations
Ideas for Garnishing the Mousse
Enhancing your mousse with garnishes can transform it from simple to spectacular. Here are some ideas to consider:
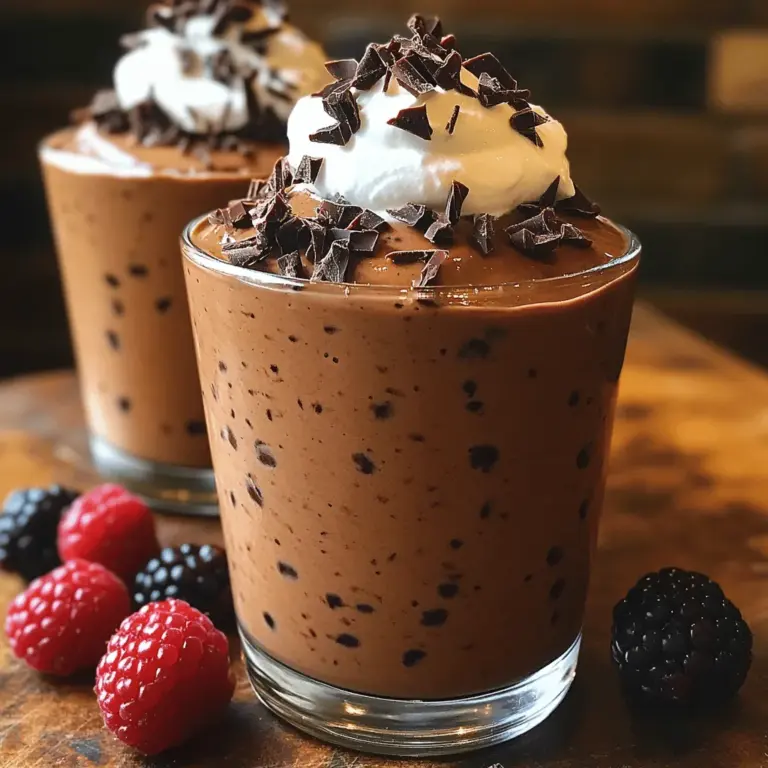
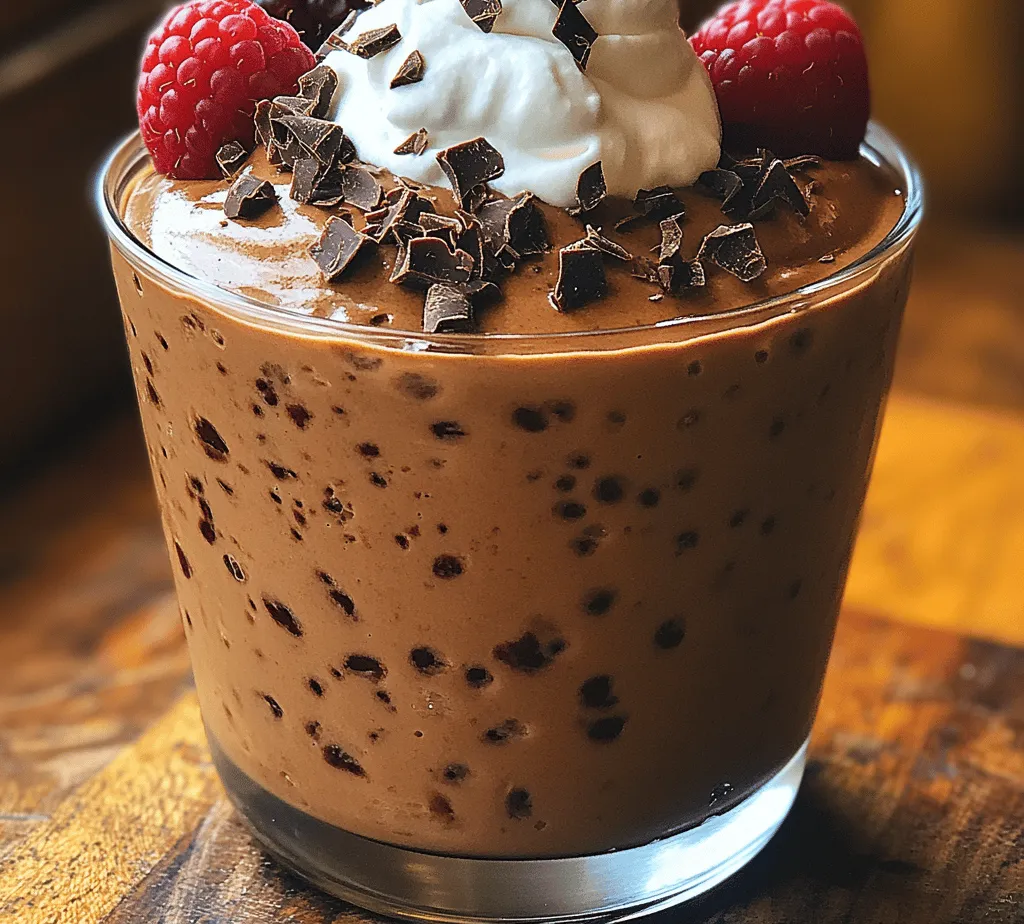
– Chocolate Shavings: Use a vegetable peeler to create delicate chocolate curls for an elegant touch.
– Fresh Berries: Add a burst of color and a hint of tartness with fresh strawberries, raspberries, or blueberries.
– Nuts: Toasted hazelnuts or almonds can provide a delightful crunch and a nutty flavor contrast.
Variations to the Basic Recipe
While the 3-ingredient chocolate mousse is delicious on its own, there are numerous ways to add a unique twist:
– Espresso Chocolate Mousse: For coffee lovers, mix in a tablespoon of espresso powder or freshly brewed espresso to the chocolate mixture. This adds depth and a delightful coffee flavor.
– Orange Zest Chocolate Mousse: Incorporate a teaspoon of orange zest into the mixture for a refreshing citrus note that complements the chocolate beautifully.
Suggestions for Making It Dairy-Free or Vegan
Creating a dairy-free or vegan version of this mousse is easy and just as indulgent. Here’s how:
– Coconut Cream: Instead of heavy cream, use full-fat coconut cream. Chill a can of coconut milk overnight, then scoop out the solidified cream for whipping.
– Vegan Chocolate: Ensure that the chocolate you choose is dairy-free. Look for dark chocolate that’s labeled vegan or contains no milk solids.
The Appeal of No-Bake Desserts
No-bake desserts have surged in popularity due to their convenience and flexibility. Here’s why they hold a special place in the culinary world:
– Convenience: No-bake recipes eliminate the need for baking equipment and lengthy cooking times, making them ideal for quick preparations. They are perfect for those who may not have access to an oven or prefer a hassle-free approach.
– Versatility: No-bake desserts can be tailored for various occasions—from casual family gatherings to elegant dinner parties. They can be made ahead of time, allowing you to enjoy your meal without the stress of last-minute preparations.
– Timeless Appeal: Chocolate desserts are universally loved, and a no-bake chocolate mousse captures the essence of indulgence without the complexity of traditional baking. The combination of rich chocolate and airy texture makes this dessert a true crowd-pleaser.
Nutritional Information and Considerations
Understanding the nutritional content of your dessert helps in making informed choices. Here’s an overview of the nutritional breakdown for one serving of the no-bake chocolate mousse:
– Calories: Approximately 300 calories per serving, depending on the ingredients used.
– Fat: 20 grams of fat, primarily from the heavy cream and chocolate, contributing to its rich flavor and indulgent nature.
– Protein: About 3 grams of protein, providing a minimal boost to your dessert.
When indulging in desserts, moderation is key. While this mousse is a treat, it can fit into a balanced diet when enjoyed occasionally.
Dietary Considerations
For those with allergies or dietary sensitivities, consider the following:
– Gluten-Free: This recipe is naturally gluten-free, making it suitable for those with gluten intolerance.
– Dairy-Free/Vegan Options: As mentioned earlier, substituting coconut cream and vegan chocolate can cater to those following dairy-free or vegan diets.
Conclusion
In summary, the 3-ingredient no-bake chocolate mousse is a delightful dessert that combines simplicity with indulgence. Its rich chocolate flavor, airy texture, and ease of preparation make it a fantastic choice for both novice and experienced bakers. Whether served at a casual gathering or a formal dinner, this mousse is sure to impress.
With endless possibilities for garnishing and flavor variations, this recipe invites creativity and personalization. Embrace the joy of making this luscious dessert and share it with friends and family, knowing that each spoonful will bring satisfaction and delight. Enjoy the experience of creating a dessert that is not only delicious but also a testament to the beauty of no-bake treats.