Introduction
Scones are a classic baked treat that have earned a beloved spot in kitchens around the world. With their flaky texture and comforting warmth, they evoke memories of cozy afternoons spent with a cup of tea or coffee. While traditional scones may be adorned with simple fruit or served plain, today, we’re elevating this classic recipe with a delightful twist. Enter the Raspberry Dark Chocolate Chunk Scones—where the tartness of fresh raspberries meets the rich decadence of dark chocolate.
This unique combination not only tantalizes the taste buds but also makes the scones incredibly versatile. Whether enjoyed as a breakfast item to kickstart your day or as an indulgent afternoon snack, these scones are sure to impress. In this article, we will explore the appeal of these scones, break down each ingredient, and guide you through the initial steps to create this delightful treat in your own kitchen.
The Appeal of Raspberry Dark Chocolate Chunk Scones
The allure of Raspberry Dark Chocolate Chunk Scones lies in their exquisite flavor profile. The tartness from the raspberries complements the rich, slightly bitter notes of dark chocolate, creating a perfect harmony that dances on the palate with every bite. This interplay of flavors not only satisfies your sweet cravings but also delivers a refreshing zing that makes these scones truly special.
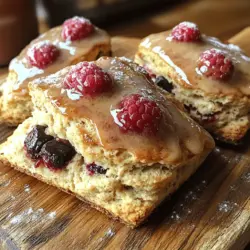
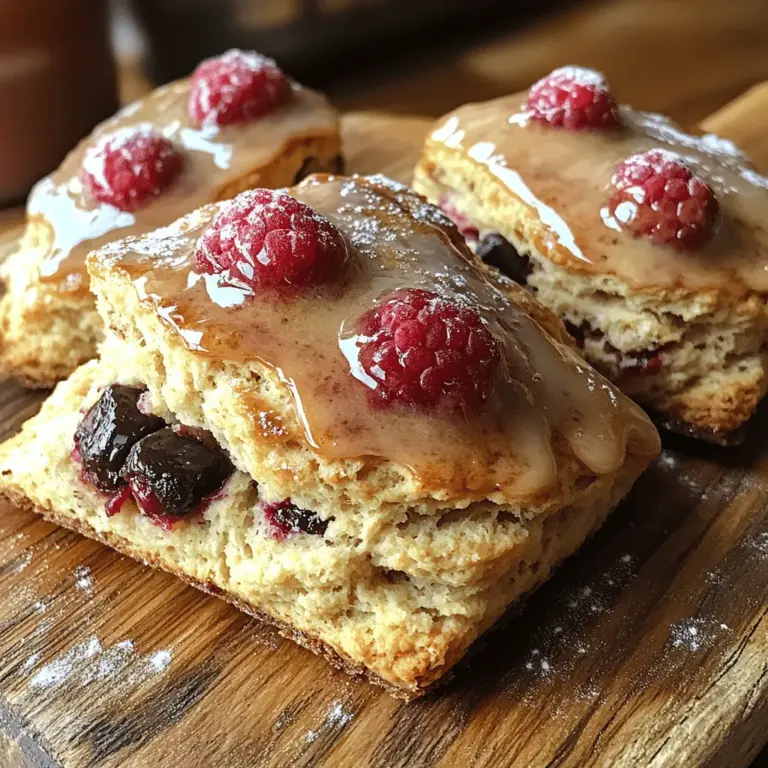
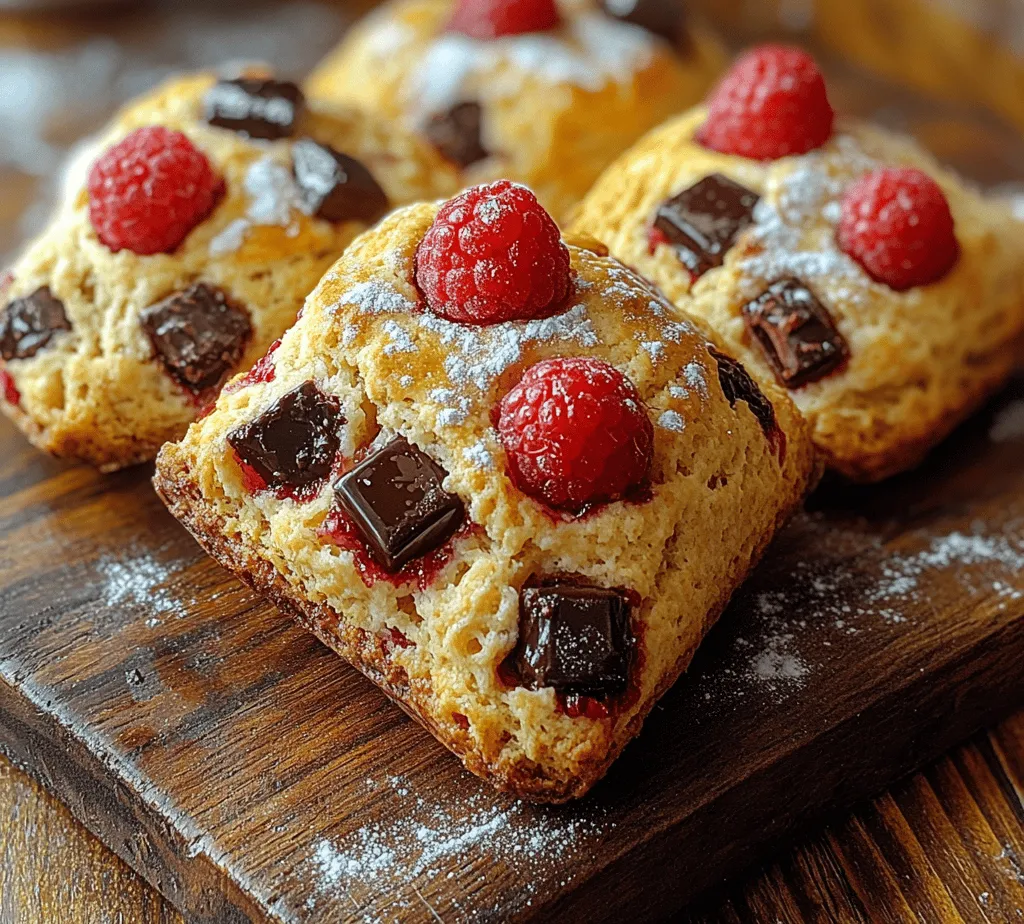
In terms of texture, these scones are the epitome of perfection. When baked, they boast a flaky exterior that gives way to a tender, moist interior. The addition of dark chocolate chunks melts into gooey pockets of richness, while the raspberries burst with juicy flavor, adding an element of surprise. The visual appeal is equally striking; the vibrant red of the raspberries against the dark chocolate creates an enticing contrast that makes these scones as beautiful as they are delicious.
Ingredients Breakdown
To achieve the perfect Raspberry Dark Chocolate Chunk Scones, it’s crucial to understand the role of each ingredient in the recipe. Here’s a detailed breakdown of what you’ll need:
All-Purpose Flour
All-purpose flour serves as the backbone of any scone recipe. It provides the necessary structure and texture, allowing the scones to rise and maintain their shape. The protein content in all-purpose flour gives these scones their beautiful flaky layers, which is essential for that light and airy texture we all crave.
Granulated Sugar
Granulated sugar is not just for sweetness in this recipe; it plays a vital role in the overall flavor profile. It balances out the tartness of the raspberries and enhances browning during baking, resulting in a beautiful golden crust. The right amount of sugar contributes to the scone’s delightful taste while ensuring that the final product isn’t overly sweet.
Baking Powder and Baking Soda
These two leavening agents are key to achieving the ideal rise in your scones. Baking powder provides a quick lift during baking, while baking soda helps to create a tender crumb by neutralizing the acidity of the buttermilk. Together, they ensure that your scones are fluffy and light, rather than dense or heavy.
Salt
While it may seem like a small ingredient, salt is essential in enhancing the flavors of your scones. It brings out the sweetness of the sugar and the tartness of the raspberries, creating a well-rounded flavor profile. Be sure to use the right amount; too little can make your scones bland, while too much can overpower their delicate taste.
Unsalted Butter
Cold, unsalted butter is a hallmark of great scones. When incorporated into the flour, it creates small pockets of fat that result in a flaky texture. The cold temperature of the butter is crucial; it helps to create steam during baking, which contributes to the rise and flakiness of the scone. Opting for unsalted butter allows you to control the salt content in your recipe, ensuring balance.
Buttermilk
Buttermilk is a key ingredient that adds moisture and flavor to your scones. Its acidity reacts with the baking soda to create a tender crumb while providing a subtle tang that complements the sweetness of the raspberries and the richness of the dark chocolate. If buttermilk is not readily available, you can create a substitute by mixing regular milk with a splash of vinegar or lemon juice.
Eggs
Eggs play a critical role in binding the ingredients together and adding richness to the scones. They also contribute to the scone’s overall structure, helping to maintain its shape during baking. The addition of eggs ensures that your scones are not only delicious but also have a satisfying texture.
Fresh Raspberries vs. Frozen
When it comes to raspberries, you have the option of using fresh or frozen. Fresh raspberries provide a burst of flavor and vibrant color, making them ideal for a visually appealing scone. However, if fresh berries are out of season or hard to find, frozen raspberries are a great alternative. They are picked at peak ripeness and can be stored for longer periods. Just be cautious as they may release more moisture during baking, so adjust your mixing accordingly.
Dark Chocolate Chunks
Choosing high-quality dark chocolate is crucial for this recipe. The richness and complex flavors of good dark chocolate elevate the scones, creating pockets of indulgence in each bite. Look for chocolate with a cocoa content of at least 60% to ensure a robust flavor that pairs beautifully with the tart raspberries. You can opt for chocolate chips or chop a bar into chunks for a more rustic appearance.
Optional Egg Wash and Sugar Sprinkle
For an extra touch of elegance, consider applying an egg wash before baking. This simple step involves brushing the tops of your scones with a beaten egg, which gives them a beautiful golden color when baked. Sprinkling a little sugar on top before baking adds a delightful crunch and extra sweetness, enhancing the visual appeal and texture of your scones.
Initial Steps to Making Raspberry Dark Chocolate Chunk Scones
Now that we have covered the essential ingredients, let’s dive into the initial steps for preparing your Raspberry Dark Chocolate Chunk Scones.
1. Preheat Your Oven: Start by preheating your oven to 400°F (200°C). This high temperature is crucial for creating an ideal baking environment that encourages a good rise and helps achieve that lovely golden crust.
2. Prepare Your Baking Sheet: Line a baking sheet with parchment paper to prevent sticking and ensure even baking. This will also make for easy cleanup once your scones are done.
3. Mix Dry Ingredients: In a large mixing bowl, whisk together the all-purpose flour, granulated sugar, baking powder, baking soda, and salt. This ensures that all the dry ingredients are evenly distributed and that the leavening agents are properly mixed.
4. Incorporate Cold Butter: Cut the cold unsalted butter into small cubes and add it to the flour mixture. Using a pastry cutter or your fingertips, work the butter into the flour until the mixture resembles coarse crumbs. Be careful not to overwork the dough; you want to keep those little chunks of butter intact for optimal flakiness.
5. Add the Wet Ingredients: In a separate bowl, whisk together the buttermilk and eggs until well combined. Create a well in the center of the dry mixture and pour in the wet ingredients. Gently fold the mixture together using a spatula or wooden spoon until just combined. It’s important not to overmix; a few lumps are perfectly fine.
6. Fold in Raspberries and Chocolate: Carefully fold in the fresh raspberries and dark chocolate chunks, being mindful not to break the raspberries too much. This will ensure that you have beautiful pockets of fruit and chocolate throughout the scones.
7. Shape the Dough: Transfer the dough onto a lightly floured surface and gently pat it into a circle about 1-inch thick. Using a sharp knife or a bench scraper, cut the dough into wedges or use a round cutter to create individual scones.
By following these initial steps, you are well on your way to creating delicious Raspberry Dark Chocolate Chunk Scones that will impress anyone lucky enough to partake in them. As you continue through the recipe, you’ll discover how to bake these delightful scones to golden perfection, ensuring they are a true highlight of your baking repertoire. Stay tuned as we delve deeper into the baking process and additional tips to make these scones truly shine.
Step-by-Step Instructions for Making Scones
Preheating the Oven
Before you embark on your scone-making journey, the first step is to preheat your oven to 400°F (200°C). Proper temperature is vital in baking as it ensures that the scones rise well and develop that desirable golden crust. An oven that is too cool will lead to dense scones, while one that is too hot can cause them to brown too quickly on the outside without cooking through the inside.
Mixing Dry Ingredients
In a large mixing bowl, combine 2 cups of all-purpose flour, 1/4 cup of granulated sugar, 1 tablespoon of baking powder, and a pinch of salt. Whisk together these dry ingredients thoroughly to ensure that the baking powder is evenly distributed. This step is crucial because uneven distribution can result in inconsistent rising and flavor throughout your scones.
Cutting in the Butter
Next, take 1/2 cup (1 stick) of cold unsalted butter and cut it into small cubes. Add these cubes to your dry mixture. Using a pastry cutter or your fingertips, gently rub the butter into the flour until the mixture resembles coarse crumbs. The goal is to incorporate the butter without melting it, as this will create pockets of steam during baking, contributing to a flaky texture. Avoid overworking the dough, as this can lead to tough scones.
Combining Wet Ingredients
In a separate bowl, whisk together 1/2 cup of heavy cream, 1 large egg, and 1 teaspoon of vanilla extract until smooth. It’s important to mix these wet ingredients well, as you want them to be uniform before adding them to the dry mix. The richness of the heavy cream will help keep the scones moist, while the egg provides structure.
Forming the Dough
Make a well in the center of your dry ingredients and pour the wet mixture into it. Using a spatula or wooden spoon, gently fold the ingredients together until just combined. It’s crucial to avoid overmixing at this stage, as this can result in dense scones. The dough should be slightly sticky but manageable. If it feels too dry, a splash of cream can help bring it together.
Shaping the Scones
Turn the dough out onto a lightly floured surface. With floured hands, gently knead the dough just a few times until it holds together. Shape it into a circle about 1 inch thick. Use a sharp knife or a bench scraper to cut the circle into 8 wedges. Alternatively, you can use a round cutter for a more uniform shape. Place the scones on a parchment-lined baking sheet, leaving space between each one to allow for expansion.
Applying the Egg Wash
For a beautifully glossy finish, beat an egg with a tablespoon of milk or cream to create an egg wash. Brush this mixture gently over the tops of each scone. This step not only enhances the visual appeal but also adds a delightful richness to the crust.
Baking Process
Bake the scones in the preheated oven for 15-20 minutes, or until they are golden brown and a toothpick inserted into the center comes out clean. Keep an eye on them towards the end of the baking time to prevent over-browning. The aroma that fills your kitchen will be a telltale sign that your scones are nearly ready.
Cooling and Serving
Once baked, remove the scones from the oven and allow them to cool on the baking sheet for about 5 minutes before transferring them to a wire rack. Scones are best served warm, but they can also be enjoyed at room temperature. For an extra touch, serve them with clotted cream, butter, or a dollop of raspberry jam to complement their flavors.
Tips for Perfecting Your Scones
– Adjusting Ingredient Quantities: Feel free to tweak the sugar for sweetness or add more chocolate chunks for richness. If you prefer a less sweet scone, reduce the sugar by a couple of tablespoons.
– Experimenting with Add-Ins: Consider adding chopped nuts, spices like cinnamon or nutmeg, or even a different fruit, such as blueberries or cranberries, for a unique twist on the classic scone.
– Storing and Reheating Scones: If you have leftover scones, store them in an airtight container at room temperature for up to three days. To refresh them, simply pop them in a preheated oven for a few minutes to regain their warmth and flakiness.
– Suggestions for Pairing Scones: These scones pair beautifully with a cup of tea, coffee, or even a glass of sparkling lemonade. For spreads, consider clotted cream, mascarpone, or a homemade fruit preserve that complements the raspberry flavor.
Health Benefits of Ingredients
Raspberries are not only delicious but also packed with health benefits. They are rich in antioxidants, vitamins C and K, and dietary fiber, making them an excellent choice for a healthy diet. The inclusion of raspberries in your scones not only adds a burst of flavor but also contributes to your daily intake of essential nutrients.
Dark chocolate is another star ingredient in this recipe. Known for its rich flavor and potential health benefits, dark chocolate can boost mood and improve heart health due to its high levels of flavonoids. It’s a wonderful indulgence that, when used in moderation, can enhance the overall nutritional profile of your scones. This recipe strikes a delightful balance between indulgence and nutrition, allowing you to enjoy a treat without the guilt.
Conclusion
Making Raspberry Dark Chocolate Chunk Scones is not just about the final product; it’s about the experience of creating something delightful from scratch. The joy of mixing ingredients, the anticipation as they bake, and the aroma wafting through your kitchen all contribute to a rewarding baking experience. These scones are perfect for breakfast, brunch, or an afternoon tea, and they’re sure to impress family and friends alike.
Don’t hesitate to try this recipe and savor the satisfaction of enjoying freshly baked scones with your loved ones. Baking can be a wonderful way to connect, share, and create lasting memories, so gather your ingredients and embark on this culinary adventure. Your taste buds will thank you!


