Delightful Banana Nut Bliss Pops: A Healthy Frozen Treat Recipe
As the heat of summer approaches, the craving for refreshing frozen treats becomes nearly irresistible. However, with the increasing awareness of health and nutrition, many are seeking alternatives that not only satisfy their sweet tooth but also align with their wellness goals. Homemade frozen treats have surged in popularity, particularly those that incorporate wholesome ingredients and provide nutritional benefits. Among these delightful options, Banana Nut Bliss Pops stand out as a delicious and nutritious choice.
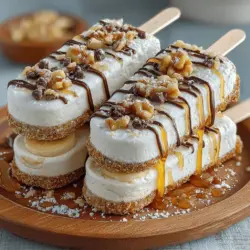
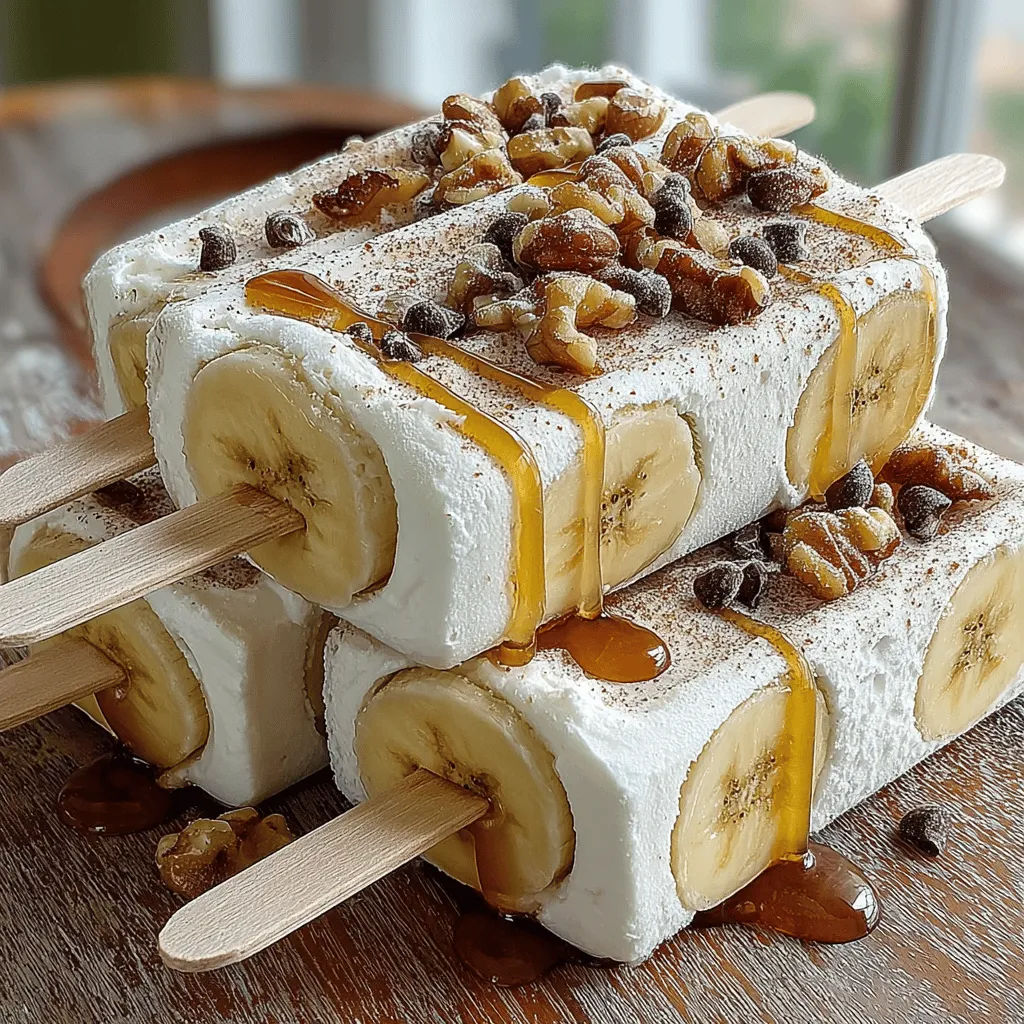
These popsicles are not just a sweet indulgence; they are a powerhouse of energy and flavor, making them an excellent snack for all ages. With the natural sweetness of ripe bananas, the creaminess of Greek yogurt, and the satisfying crunch of walnuts, Banana Nut Bliss Pops are perfect for a mid-afternoon treat or a refreshing dessert after dinner. In this article, we will delve into the wonderful world of these frozen delights, exploring their health benefits, ingredients, and the steps to create your own batch.
Understanding the Ingredients
Before diving into the preparation of Banana Nut Bliss Pops, it’s essential to understand the ingredients that make this recipe not only tasty but also nutritious.
Bananas: At the heart of this recipe are bananas, which are known for their high potassium content and natural sweetness. These fruits are rich in vitamins B6 and C, as well as dietary fiber, which aids in digestion. Their creamy texture when blended makes them an ideal base for frozen treats, providing both flavor and a natural sweetness that reduces the need for added sugars.
Greek Yogurt: This ingredient is a game changer in many recipes, including our Banana Nut Bliss Pops. Greek yogurt is packed with protein, making it an excellent option for those looking to increase their protein intake. Additionally, it contains probiotics, which are beneficial for gut health. The creamy nature of Greek yogurt contributes to the pops’ texture, ensuring they are not only healthy but also indulgently smooth.
Honey vs. Maple Syrup: When it comes to sweetening these pops, you can choose between honey and maple syrup, each offering its unique flavor and health benefits. Honey is known for its antibacterial properties and is a natural energy booster. Maple syrup, on the other hand, contains antioxidants and is lower on the glycemic index, making it a better option for those monitoring their blood sugar levels. The choice between these two will depend on your personal preference and dietary needs.
Walnuts: The addition of walnuts not only adds a delightful crunch to the pops but also introduces healthy fats into the mix. Walnuts are rich in omega-3 fatty acids, which are known for their heart-healthy benefits. They also contain antioxidants and can help improve brain function, making them a fantastic addition to a healthy diet.
Dark Chocolate Chips: For those who crave a hint of indulgence, dark chocolate chips can be added to the mixture. Dark chocolate is rich in antioxidants and has been linked to numerous health benefits, including improved heart health and enhanced mood. When used in moderation, dark chocolate can elevate the taste of your Banana Nut Bliss Pops without compromising their healthful qualities.
Ground Cinnamon: This spice is the final touch that enhances the flavor profile of the pops. Ground cinnamon is not only delicious but also offers potential health benefits, including anti-inflammatory properties and blood sugar regulation. Its warm aroma complements the sweetness of the bananas and the richness of the walnuts perfectly.
Step-by-Step Guide to Making Banana Nut Bliss Pops
Now that we have explored the ingredients and their benefits, let’s move on to the preparation process. Making Banana Nut Bliss Pops is straightforward and can be completed in just a few easy steps.
Preparing the Mixture
To start, gather all your ingredients: ripe bananas, Greek yogurt, your choice of sweetener (honey or maple syrup), walnuts, dark chocolate chips (if using), and ground cinnamon. Begin by peeling the bananas and breaking them into smaller chunks. This will make them easier to blend and ensure a smoother texture.
In a blender or food processor, combine the banana chunks with Greek yogurt. Blend on medium speed until the mixture is creamy and well combined. This step is crucial as it determines the texture of your pops. You want to achieve a smooth, thick consistency that will hold its shape once frozen. If the mixture appears too thick, you can add a splash of milk (dairy or non-dairy) to help it blend more easily.
Next, balance the flavors by adding your chosen sweetener—honey or maple syrup—and a splash of vanilla extract. Start with a small amount and taste the mixture, adjusting the sweetness to your preference. The goal is to enhance the natural sweetness of the bananas without overpowering it.
Mixing in the Nuts
Once you have your base mixture ready, it’s time to fold in the walnuts and optional dark chocolate chips. To maintain the pops’ texture, gently fold in the chopped walnuts and chocolate by hand. This method ensures that the nuts and chocolate are evenly distributed throughout the mixture without being crushed into tiny pieces.
Be mindful not to overmix at this stage; you want to preserve the chunky texture of the nuts for added crunch in every bite. If you prefer a more uniform texture, you can pulse the walnuts in the blender before adding them to the mixture.
With your mixture complete, the next step is to pour it into popsicle molds. Ensure that you fill each mold evenly, leaving a small amount of space at the top to allow for expansion as the mixture freezes.
Now that you’re equipped with the knowledge of ingredients and the step-by-step process of making Banana Nut Bliss Pops, you’re well on your way to creating a delicious and healthy frozen treat that everyone will love! Stay tuned for the next part, where we will cover the freezing process, tips for serving, and variations to try.
Filling the Molds
To create your Banana Nut Bliss Pops, selecting the right molds is essential. Silicone molds are an excellent choice as they are flexible and allow for easy removal of the pops once frozen. If you don’t have silicone molds, plastic molds will work just fine, but you might need to run them under warm water for a few seconds to release the pops.
How to Fill the Molds Properly
1. Prepare Your Mixture: Ensure your banana-nut mixture is blended until smooth. If you added any chunky ingredients like chopped nuts or chocolate chips, stir them in after blending to maintain their texture.
2. Pouring Technique: Using a ladle or a measuring cup, carefully pour the mixture into each mold. Fill them about 3/4 full to allow space for expansion as the mixture freezes. Avoid overfilling to prevent spills when inserting the sticks.
3. Insert Sticks: If your molds come with sticks, place them in the center of each pop. If not, use wooden craft sticks or popsicle sticks, ensuring they are centered and upright. This will help create the perfect handle for your pops.
4. Tapping: After filling the molds, gently tap them on the countertop to release any air bubbles and ensure the mixture settles evenly. This step is crucial for achieving a uniform texture.
Freezing Process
The freezing process transforms your Banana Nut Bliss mixture into delightful pops. Place the filled molds in the freezer and allow them to freeze for a minimum of 4-6 hours. For the best results, overnight freezing is recommended to ensure they are completely solid.
What to Look For
To check if your pops are ready, gently wiggle one of the sticks. If it feels firm and does not budge, your pops are set. You can also gently squeeze the mold; if it releases without difficulty, they are ready to be enjoyed. Avoid trying to remove them before they are fully frozen, as this can lead to a messy, half-frozen treat.
Unmolding the Pops
Removing your Banana Nut Bliss Pops from their molds should be a hassle-free process. Here are some techniques to ensure easy removal:
1. Warm Water Method: For plastic molds, run warm water over the outside of the mold for about 10-15 seconds. This slight heat will help loosen the pops without melting them.
2. Gentle Twist: If using silicone molds, gently twist the mold while pulling on the stick. The flexibility of silicone makes it easier to release the pops without breaking them.
3. Avoiding Mess: If you notice any pops that are slightly stuck, give them a little pull while twisting. If they still resist, return them to the freezer for another 30 minutes before trying again.
Serving Suggestions
Once your Banana Nut Bliss Pops are unmolded, it’s time to serve them up! These pops are not only delicious but also versatile enough to be enjoyed in various settings:
Perfect for Parties
Serve these pops on a platter at your next gathering. Guests can enjoy them as a refreshing treat on a hot day. Consider pairing them with a fruit dip, such as a yogurt or chocolate sauce, for an extra indulgent touch.
Snack Time Treats
For an afternoon snack, serve your pops in a cup or on a stick for a mess-free treat. They make a fantastic pick-me-up, especially for kids after school or as a healthy option for midday cravings.
Breakfast on the Go
For those busy mornings, these pops can double as a breakfast option. Serve alongside a bowl of granola or oatmeal to create a balanced meal that’s easy to consume while on the move.
Nutritional Benefits of Banana Nut Bliss Pops
These pops are not only delicious but also nutritionally beneficial. Here’s a closer look at what makes them a healthy choice:
Health Benefits
1. Rich in Nutrients: Bananas are packed with essential vitamins and minerals, including potassium, vitamin C, and vitamin B6, which are vital for heart health and energy metabolism. Nuts add healthy fats, protein, and fiber, making these pops a well-rounded snack.
2. Lower in Sugar: Unlike traditional ice creams that are often loaded with refined sugars, Banana Nut Bliss Pops are naturally sweetened with bananas. This means you can enjoy a satisfying treat without the sugar crash.
3. Portion Control: These pops are portion-controlled, making them an excellent choice for balanced snacking. They are easy to grab and enjoy, allowing you to satisfy your sweet tooth without overindulging.
Comparison with Traditional Ice Creams and Frozen Treats
When compared to traditional ice creams, which can contain high levels of sugar and unhealthy fats, Banana Nut Bliss Pops stand out as a healthier alternative. They provide a creamy texture and satisfying sweetness without the guilt, making them suitable for those looking to maintain a healthy lifestyle.
Creative Variations and Flavor Options
One of the best aspects of Banana Nut Bliss Pops is their versatility. Here are some suggestions to customize your pops and cater to a variety of tastes:
Alternative Nuts and Seeds
Feel free to experiment with different nuts and seeds based on your preference. Almonds, walnuts, or pecans can be used in place of peanuts for a unique flavor profile. Additionally, consider adding chia seeds or flaxseeds for an extra boost of omega-3 fatty acids and fiber.
Adding Fruits or Superfoods
Incorporate other fruits like strawberries, blueberries, or mango into your mixture for added flavor and nutrition. You can blend these fruits in or layer them for a beautiful visual effect. Adding superfoods like spirulina or acai powder can also enhance the nutritional value while providing a vibrant color.
Different Flavor Profiles
For chocolate lovers, consider adding cocoa powder to the banana-nut mixture. This will create a delightful chocolatey version of your pops. You could also infuse your mixture with spices like cinnamon or nutmeg for a warm, comforting taste.
Conclusion
In summary, Banana Nut Bliss Pops offer a delightful way to enjoy a nutritious snack that fits seamlessly into a balanced diet. Their easy preparation, customizable flavors, and health benefits make them an excellent choice for anyone looking to indulge without the guilt.
We encourage you to experiment with different flavors and ingredients, making this recipe your own while sharing the joy of healthy snacking with friends and family. Incorporating such nutritious recipes into your diet not only satisfies cravings but also supports a healthy lifestyle, proving that treats can be both delicious and wholesome. Enjoy your journey into the world of Banana Nut Bliss Pops and discover the endless possibilities waiting for you in your kitchen!