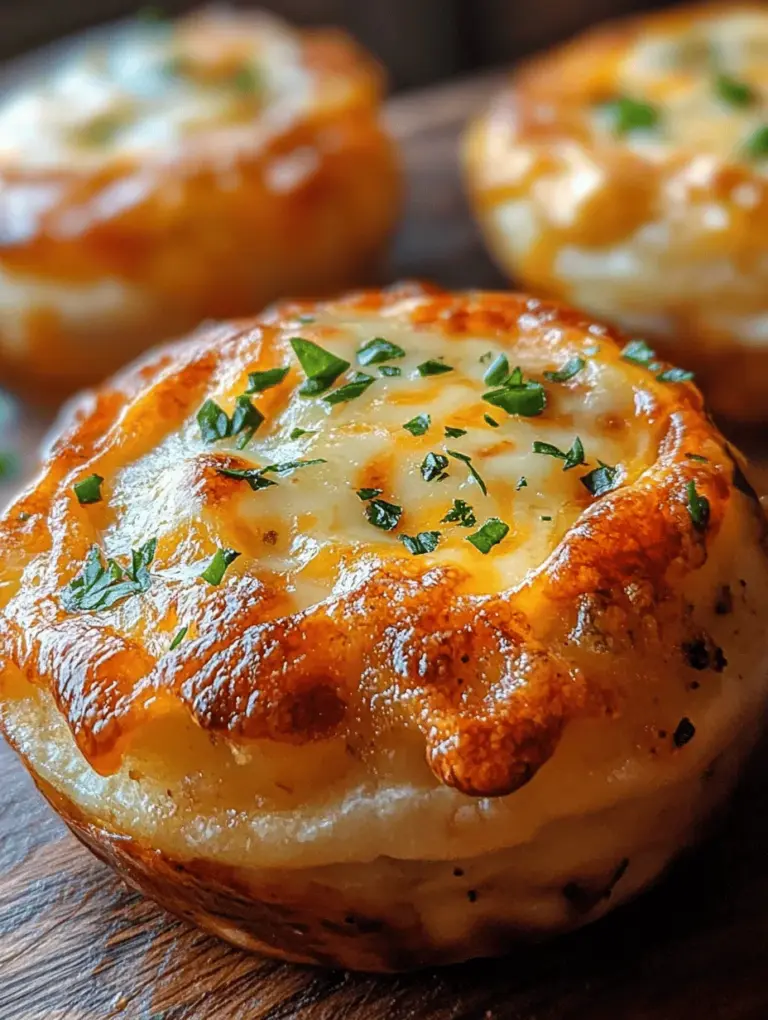

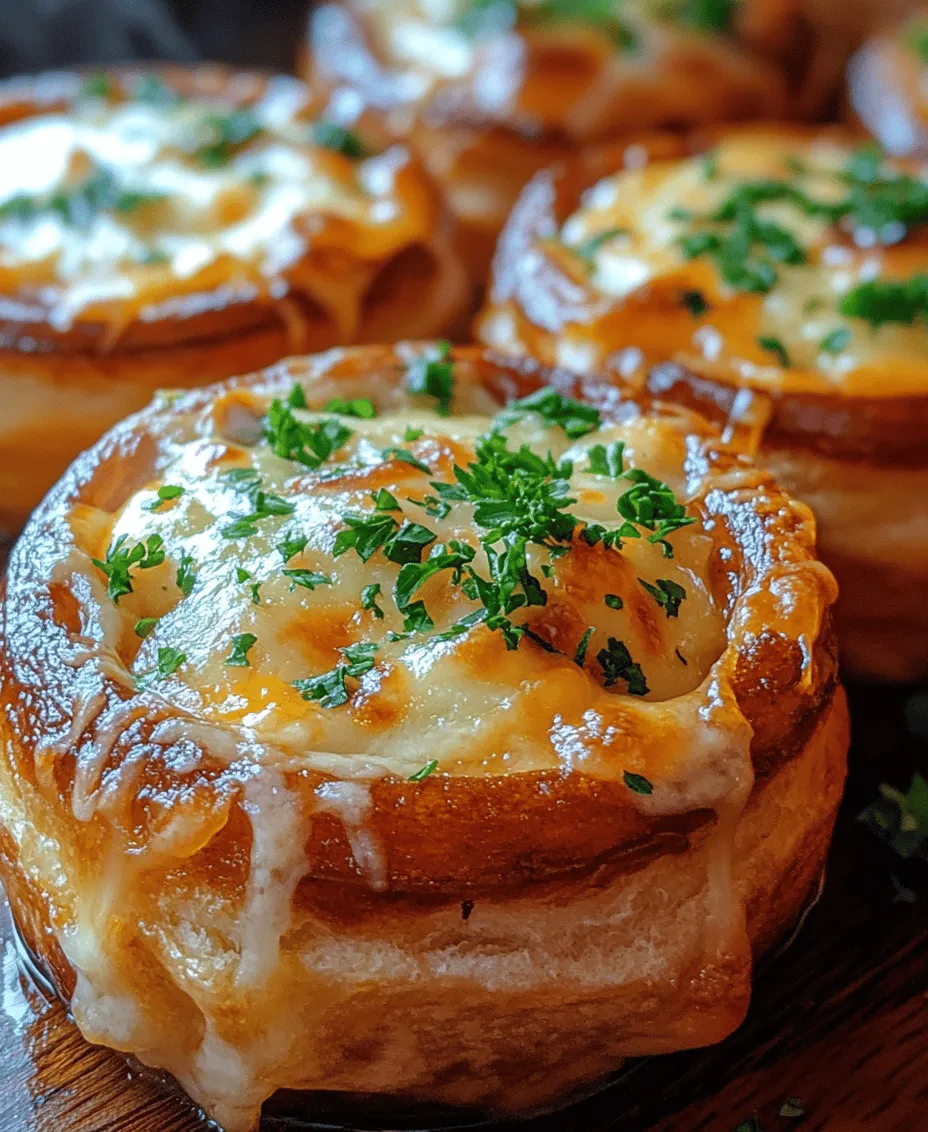
In the vast universe of baked goods, few creations can rival the delightful combination of cheesy, garlicky flavors wrapped in a fluffy, buttery pastry. Enter the Cheesy Garlic Cruffins—a whimsical cross between croissants and muffins that is perfect for any occasion. These fabulous treats bring together the flaky layers of a classic croissant with the comforting heartiness of a muffin, making them a unique addition to any brunch spread or snack table. Whether you’re treating yourself or impressing guests, these cruffins are sure to be a hit.
The concept of cruffins emerged from the realm of artisanal baking, where creativity meets tradition. Bakers began to experiment with combining different shapes and textures, and the cruffin was born. With a base of buttery pastry layered with savory fillings, cruffins have taken the culinary world by storm. The Cheesy Garlic Cruffins, in particular, embrace the richness of cheese and the aromatic allure of garlic, creating a flavor profile that is both comforting and indulgent.
This article will guide you through the process of making these delectable treats from scratch. From understanding the essential ingredients to mastering techniques that ensure your cruffins turn out perfectly every time, we’ll cover everything you need to know. Whether you’re planning a brunch, a family gathering, or simply looking to indulge in a delicious snack, these cheesy garlic cruffins are sure to impress.
Understanding the Ingredients
To craft the perfect Cheesy Garlic Cruffins, it’s crucial to understand the role of each ingredient in the recipe. Here’s a closer look at the key components that make these cruffins a standout:
All-Purpose Flour vs. Bread Flour: Differences and Benefits
When it comes to baking, the type of flour you use can significantly affect the texture and structure of your final product. For cruffins, both all-purpose flour and bread flour can be utilized, but they serve different purposes.
– All-Purpose Flour: This versatile flour is a blend of hard and soft wheat, making it suitable for a wide range of baked goods. It typically has a moderate protein content (about 10-12%), which is ideal for achieving a tender crumb in pastries like cruffins.
– Bread Flour: With a higher protein content (around 12-14%), bread flour can provide more structure and chewiness to baked goods. While it can be used for cruffins, too much gluten development can lead to a tough texture. A blend of both flours can offer the best of both worlds: a light, flaky texture with just enough structure to hold its shape.
Choosing the right flour is essential for achieving the desired texture in your Cheesy Garlic Cruffins.
The Role of Yeast in Leavening and Texture
Yeast is the magical ingredient that transforms a dense dough into a light and airy pastry. In the context of cruffins, active dry yeast or instant yeast is typically used to help the dough rise.
– Leavening: Yeast ferments the sugars in the dough, producing carbon dioxide gas that creates air pockets. This process is what allows the cruffins to rise and develop their characteristic flaky layers.
– Texture: The fermentation process also contributes to the dough’s flavor, adding a subtle depth that enhances the overall taste of the cruffins.
It’s important to ensure that your yeast is fresh and properly activated to achieve the best results.
Importance of Temperature in Milk and Butter
Temperature plays a pivotal role in the success of your cruffins. Both milk and butter should be at the optimal temperature for the yeast to work effectively and for the dough to rise properly.
– Milk: Using warm milk (around 110°F or 43°C) helps to activate the yeast and dissolve the sugar, which is crucial for fermentation. However, be cautious not to use milk that is too hot, as it can kill the yeast.
– Butter: For the best texture, the butter should be softened but not melted. Softened butter incorporates into the dough more easily, creating a tender crumb. If using cold butter, it can lead to uneven layering and a denser final product.
Cheese Selection: Mozzarella and Cheddar for Optimal Flavor
The star of the show in Cheesy Garlic Cruffins is undoubtedly the cheese. Choosing the right types of cheese will elevate your cruffins from good to extraordinary.
– Mozzarella: Known for its mild flavor and exceptional melting qualities, mozzarella adds a gooey, irresistible texture to the filling. Its stretchy nature makes every bite delightful, as the cheese pulls apart beautifully.
– Cheddar: With its sharp and tangy flavor, cheddar brings a rich depth to the cruffins. The combination of mozzarella and cheddar creates a balanced flavor profile, delivering both creaminess and a punch of taste.
Feel free to experiment with other cheeses, such as gouda or pepper jack, to create your own signature cheesy garlic cruffins.
Enhancing Flavor with Garlic and Parsley
Garlic and parsley are the perfect companions to cheese, bringing freshness and aromatic flavor to the cruffins.
– Garlic: Freshly minced garlic can be sautéed lightly before being incorporated into the filling. This technique helps to mellow the sharpness of raw garlic, infusing the cruffins with a warm, savory flavor.
– Parsley: Fresh parsley adds a burst of color and freshness, balancing the richness of the cheese and garlic. It’s best to chop the parsley finely and mix it into the cheesy filling for an even distribution of flavor.
With the right ingredients in hand, you’re ready to embark on the journey of making Cheesy Garlic Cruffins from scratch.
Step-by-Step Guide to Making Cheesy Garlic Cruffins
Now that you understand the ingredients, let’s dive into the step-by-step process of creating these mouthwatering Cheesy Garlic Cruffins. Each step is designed to guide you seamlessly through the baking process, ensuring that your cruffins are light, flaky, and bursting with flavor.
Preparing the Dough: Mixing Dry Ingredients for a Solid Base
To begin, you’ll want to gather your dry ingredients: all-purpose flour (and bread flour if you’re using a blend), sugar, salt, and yeast.
1. Combine Dry Ingredients: In a large mixing bowl, sift together the flour, sugar, and salt. This step not only helps to aerate the flour but also ensures that the yeast is evenly distributed throughout the mixture.
2. Activate the Yeast: If using active dry yeast, dissolve it in warm milk with a pinch of sugar and let it sit for about 5-10 minutes until it becomes frothy. If using instant yeast, you can add it directly to the dry ingredients without activation.
Mixing Wet Ingredients: The Importance of Proper Emulsification
Once your dry ingredients are ready, it’s time to mix in the wet components.
1. Combine Wet Ingredients: In a separate bowl, whisk together the warm milk and softened butter until well combined. The warmth of the milk will help melt the butter slightly, creating a smoother mixture.
2. Incorporate Yeast Mixture: If you activated the yeast separately, add it to the warm milk and butter mixture. Mix thoroughly to ensure even distribution.
Combining Mixtures: Achieving the Right Dough Consistency
Now, it’s time to bring the two mixtures together.
1. Create the Dough: Pour the wet ingredients into the bowl with the dry ingredients. Using a wooden spoon or spatula, mix until a shaggy dough forms. Be careful not to overmix at this stage.
2. Check Consistency: The dough should be slightly sticky but manageable. If it feels too wet, you can add a bit more flour, one tablespoon at a time, until you achieve the desired consistency.
Kneading the Dough: Techniques for Developing Gluten
Kneading is an essential step for developing gluten, which provides structure and elasticity to your cruffins.
1. Knead by Hand: Transfer the dough to a lightly floured surface. Using your hands, knead the dough for about 5-10 minutes. To knead, fold the dough over itself, push it down and away with the heel of your hand, and then turn it 90 degrees. Repeat this process until the dough is smooth and elastic.
2. Knead with a Mixer: If you prefer using a stand mixer, attach the dough hook and mix on low speed until the dough comes together, then increase to medium speed for about 5 minutes until elastic.
First Rise: What to Look for to Know When the Dough Has Risen Enough
Once kneaded, it’s time for the dough to rise.
1. Initial Rise: Place the kneaded dough in a greased bowl, covering it with a damp cloth or plastic wrap. Allow it to rise in a warm, draft-free area until it has doubled in size, which typically takes about 1-2 hours.
2. Check for Doneness: To test if the dough has risen enough, gently poke it with your finger. If the indentation remains, it’s ready for the next step. If it springs back quickly, give it more time to rise.
Preparing the Filling: Crafting the Cheesy Garlic Mixture
While the dough is rising, you can prepare the cheesy garlic filling.
1. Sauté Garlic: In a small skillet, heat a teaspoon of olive oil over medium heat. Add minced garlic and sauté for about 1-2 minutes until fragrant and lightly golden. Remove from heat and let it cool slightly.
2. Combine Filling Ingredients: In a mixing bowl, combine the sautéed garlic, shredded mozzarella, shredded cheddar, and chopped parsley. Stir until well mixed, and set aside.
With your dough risen and filling ready, you’re now equipped to shape your cruffins.
Stay tuned for the next part of this article, where we will cover the shaping process of these irresistible Cheesy Garlic Cruffins.
A Detailed Approach to Assembling the Cruffins
When it comes to making Cheesy Garlic Cruffins, the assembly process is crucial to achieving that delightful texture and flavor. Follow these steps closely for the best results.
Rolling Out the Dough: Creating the Perfect Rectangle
Start by lightly flouring your work surface to prevent the dough from sticking. Roll out your prepared dough into a rectangle about ¼ inch thick. Aim for dimensions of approximately 12 by 18 inches. This size ensures that you have enough surface area to spread the butter and filling evenly.
The goal is to maintain an even thickness throughout the dough, which is essential for even baking. Use a rolling pin to apply gentle, even pressure, and rotate the dough occasionally to maintain its rectangular shape.
Spreading the Butter: Techniques for Even Coverage
Once you have your rectangle rolled out, it’s time to spread the butter. Melt about ½ cup of unsalted butter and allow it to cool slightly. Using a pastry brush, apply a generous layer of melted butter over the entire surface of the dough.
For even coverage, start from the center and work your way out to the edges. Be careful not to tear the dough as you spread. The butter not only adds flavor but also helps create those delicious, flaky layers as the cruffins bake.
Adding the Filling: Distributing Cheese and Garlic Evenly
After the butter is evenly spread, it’s time to add the star ingredients: cheese and garlic. Mix together 1 cup of shredded cheese (cheddar is a popular choice, but feel free to experiment) with 2-3 cloves of minced garlic.
Sprinkle this mixture evenly over the buttered dough, making sure to cover all areas. The key here is to distribute the filling uniformly so that every bite of your cruffin is bursting with flavor.
Rolling and Cutting: Ensuring Uniform Pieces for Even Baking
Now comes the fun part—rolling the dough. Starting from one long edge, carefully roll the dough tightly into a log. This tight rolling is essential for achieving those beautiful layers that make cruffins so special.
Once you have your log, use a sharp knife or a pizza cutter to slice it into 12 equal pieces. Each piece should be about 1-1.5 inches thick. Place the cut sides up in a greased muffin tin, which will help them rise beautifully in the oven.
Second Rise: Understanding the Importance of This Step
Before baking, cover the muffin tin with a clean kitchen towel and allow the cruffins to rise in a warm, draft-free area for about 30 minutes. This second rise is crucial as it allows the gluten to relax and the yeast to work, resulting in a lighter, fluffier cruffin.
While they rise, preheat your oven to 375°F (190°C) so that it’s ready when your cruffins are.
Baking Perfect Cruffins
Temperature and Timing for Optimal Results
The temperature and timing of baking your cruffins can make or break this recipe. The goal is to achieve that perfect golden-brown exterior while ensuring the inside is fully cooked and cheesy.
Preheating the Oven: Why This Step is Crucial
Make sure your oven is fully preheated before placing your cruffins inside. A properly preheated oven helps create that initial burst of heat which is essential for the dough to rise quickly and achieve a beautiful crust.
This step will also prevent any sogginess in the bottom of the cruffins, resulting in a flaky texture.
Baking Techniques: Tips for Achieving Golden-Brown Perfection
Place your muffin tin in the oven and bake for about 20-25 minutes, or until the tops are golden brown and the cheese is bubbling. To achieve an even bake, rotate the tin halfway through the cooking time.
If you notice the tops browning too quickly, you can loosely cover them with aluminum foil to prevent burning while allowing the centers to cook through.
Cooling and Serving: Best Practices for Enjoying Cruffins Fresh
Once baked, remove the cruffins from the oven and let them cool in the tin for about 5 minutes before transferring them to a wire rack. This allows steam to escape, preventing them from becoming soggy.
Serve warm, and for an added touch, you can brush the tops with a little more melted butter and sprinkle with fresh herbs or additional cheese, if desired.
Flavor Variations and Customizations
One of the best things about Cheesy Garlic Cruffins is their versatility. You can easily customize the recipe to suit your taste preferences or to use up ingredients you have on hand.
Adding Herbs or Spices: Expanding Flavor Profiles
Feel free to add fresh or dried herbs to the cheese and garlic mixture. Chopped parsley, chives, or thyme can elevate the flavor profile significantly. A sprinkle of red pepper flakes can add a delightful kick if you enjoy a bit of heat.
Experimenting with Different Cheeses: Unique Combinations to Try
Don’t limit yourself to just cheddar! Consider blending different cheeses like mozzarella for stretchiness, gouda for smokiness, or even blue cheese for a bold flavor. Each cheese brings its unique character to the cruffins, making every batch a new experience.
Incorporating Additional Fillings: Ideas for Customization
Get creative with your fillings! You can add sautéed spinach, sun-dried tomatoes, or cooked bacon bits to the cheese and garlic mixture. The possibilities are endless—just ensure that any additional ingredients are not too wet, which could affect the texture of the dough.
Conclusion
Cheesy Garlic Cruffins are not only a delightful addition to any meal but also a testament to the joy of baking from scratch. With their rich flavors and inviting aroma, these cruffins are sure to become a favorite in your household. By following the detailed steps and understanding the importance of each ingredient, you can create a warm, cheesy treat that brings comfort and satisfaction.
So, roll up your sleeves and get ready to enjoy the deliciousness of homemade cruffins! Whether you serve them as a savory snack, a side dish for dinner, or a brunch highlight, these cruffins are sure to impress. Enjoy the process and relish the delightful results of your baking endeavor!