Introduction
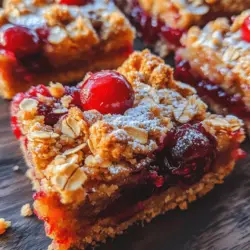
Dessert bars have taken the culinary world by storm over the past few years. Their convenience and versatility make them a beloved choice for both home bakers and dessert aficionados alike. Among the vast array of dessert bar options, cranberry crumble bars stand out as a seasonal favorite, especially during the fall and winter months. With their bright, tart flavor and satisfying texture, these bars capture the essence of the holiday season, making them perfect for festive gatherings or cozy nights at home.
Homemade desserts evoke a sense of nostalgia, comfort, and satisfaction. There’s something uniquely gratifying about baking from scratch, where you control the quality of ingredients and embrace the creative process. Additionally, homemade desserts allow for customization, ensuring that every bite is tailored to your taste. In this article, we will delve into a detailed recipe for cranberry crumble bars, guiding you through each step to create your very own delicious treat.
The Allure of Cranberries
Cranberries have a rich history, dating back centuries to the indigenous peoples of North America who utilized them for culinary and medicinal purposes. They were revered not only for their tart flavor but also for their vibrant color and nutritional benefits. Today, cranberries are celebrated worldwide, especially during the holiday season, where they take center stage in everything from sauces to desserts.
These small, ruby-red fruits are packed with antioxidants, vitamins, and minerals. They are particularly high in vitamin C, fiber, and various phytochemicals, contributing to their reputation as a superfood. Additionally, cranberries are known for their potential health benefits, such as supporting urinary tract health and reducing inflammation.
What makes cranberries truly special for desserts is their ability to balance sweetness with a pleasantly tart bite. This duality makes them ideal for creating mouthwatering treats like cranberry crumble bars, which perfectly meld the sweet and tangy flavors. As fall and winter approach, the appeal of cranberries becomes even more pronounced, as they add a festive touch to any dessert spread.
Understanding the Basics of Crumble Bars
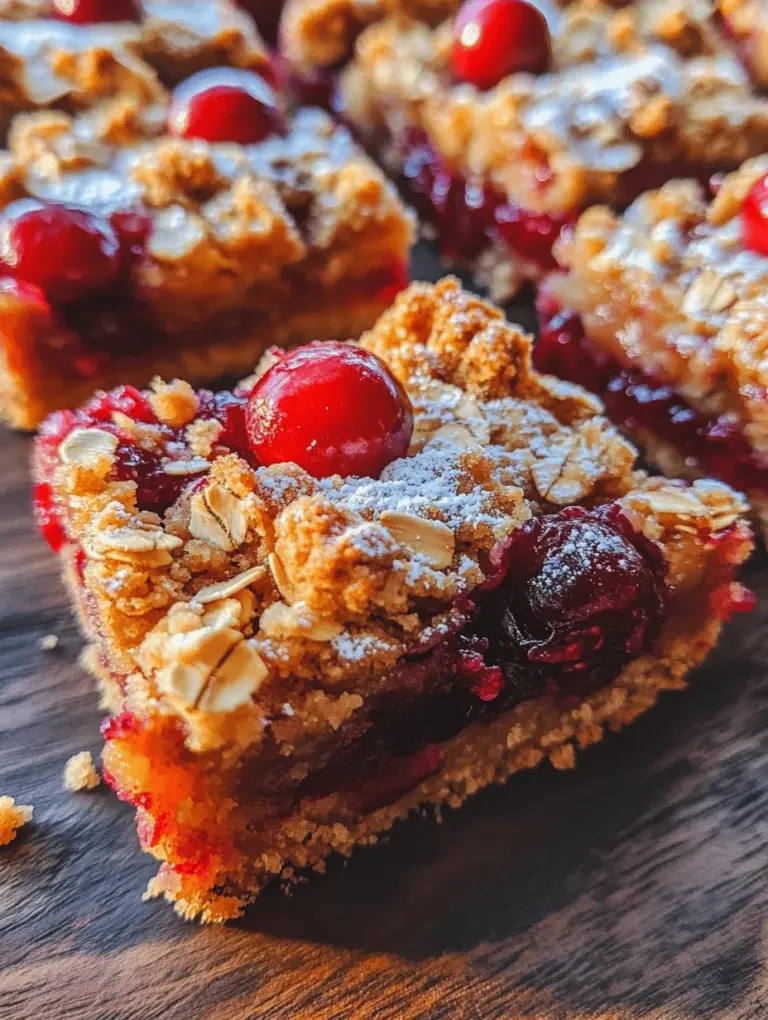
Crumble bars are a delightful dessert that combines a buttery, crumbly base with a sweet fruit filling, all topped with a crunchy crumble topping. The beauty of crumble bars lies in their versatility; you can use a variety of fruits, such as apples, berries, peaches, or, of course, cranberries. This flexibility allows you to adjust the recipe according to the season and your personal preferences.
When compared to other dessert types like cakes and pies, crumble bars offer a unique experience. Cakes often require more intricate preparation and decoration, while pies can be daunting with their flaky crusts and filling techniques. In contrast, crumble bars are straightforward to make and can be served in rectangular pieces, making them ideal for sharing at gatherings or picnics. Their simplicity, combined with their delicious flavor, makes them an appealing choice for both novice and experienced bakers.
Ingredients Breakdown
To create the perfect cranberry crumble bars, you will need two main components: the cranberry filling and the crumble crust. Let’s break down the ingredients that will make these bars a standout dessert.
Cranberry Filling Ingredients
1. Cranberries: The star of the show! You can choose between fresh or frozen cranberries, each with its own pros and cons. Fresh cranberries are ideal when in season and offer a firm texture. However, frozen cranberries can be a convenient option available year-round and are often harvested at peak ripeness before freezing.
2. Sugar: To balance the tartness of the cranberries, sugar is essential. It enhances the overall flavor and sweetness of the filling. The amount of sugar can be adjusted based on your personal preference for sweetness.
3. Lemon Juice: A splash of lemon juice adds acidity and brightness to the filling, complementing the cranberries and enhancing their flavor profile.
4. Cornstarch: This ingredient is crucial for thickening the filling. It helps bind the juices released by the cranberries during cooking, creating a luscious, cohesive filling.
5. Salt: A pinch of salt intensifies the flavors of the other ingredients, rounding out the sweetness and tartness.
Crumble Crust Ingredients
1. Flour: All-purpose flour serves as the base for the crumble crust, providing structure and stability.
2. Oats: Rolled oats add texture and a chewy element to the crumble, making it more substantial and satisfying.
3. Brown Sugar: This ingredient not only sweetens the crumble but also adds a rich, caramel-like flavor that pairs beautifully with the tart cranberries.
4. Baking Powder: A leavening agent that gives the crumble a light and airy texture, helping it rise during baking.
5. Butter: Unsalted butter is necessary for creating a rich, flavorful crumble. The fat content ensures a tender texture, while also aiding in the binding of dry ingredients.
6. Vanilla Extract: A splash of vanilla enhances the overall flavor of the crumble, adding warmth and depth.
Variations
For those with dietary restrictions or preferences, there are numerous variations to consider. Gluten-free options can be created by substituting the all-purpose flour with a gluten-free flour blend. Additionally, you can experiment with different kinds of sugar, such as coconut sugar or maple sugar, to achieve unique flavors in both the filling and the crumble.
Step-by-Step Guide to Making Cranberry Crumble Bars
Preparing the Cranberry Filling
The first step in creating your cranberry crumble bars is preparing the filling. Start by rinsing your cranberries thoroughly under cold water, removing any stems or blemished fruit. If using fresh cranberries, ensure they are firm and bright in color. For frozen cranberries, there’s no need to thaw them beforehand.
1. Cooking the Cranberries: In a medium saucepan, combine the cranberries, sugar, lemon juice, cornstarch, and a pinch of salt. Over medium heat, stir the mixture gently until it begins to bubble. This process will take about 5-7 minutes. As the cranberries heat up, they will begin to pop and release their juices. Continue stirring until the mixture thickens and becomes syrupy, which will take another 2-3 minutes.
2. Achieving the Ideal Consistency: To ensure the cranberries pop and thicken correctly, monitor the heat closely. If the mixture boils too vigorously, reduce the heat to maintain a gentle simmer. The goal is to have a filling that is thick enough to hold its shape but still juicy enough to provide that delightful burst of flavor. Once the desired consistency is reached, remove the saucepan from heat and let it cool while you prepare the crumble base.
Making the Crumble Base
The crumble base is just as important as the filling, providing the necessary structure and texture to your cranberry crumble bars.
1. Mixing the Dry Ingredients: In a large mixing bowl, combine the flour, rolled oats, brown sugar, baking powder, and a pinch of salt. Whisk these dry ingredients together until they are well mixed. This step ensures that the leavening agent is evenly distributed throughout the mixture.
2. Incorporating the Butter: Next, cut the cold, unsalted butter into small cubes and add it to the dry mixture. Using a pastry cutter or your fingertips, work the butter into the dry ingredients until the mixture resembles coarse crumbs. The goal is to create a texture that is crumbly yet holds together when squeezed in your hand. This process is crucial for achieving that perfect crumble topping.
3. Add Vanilla: Finally, stir in the vanilla extract, ensuring it’s evenly distributed throughout the crumble mixture. This addition will enhance the flavor profile of your bars, providing a comforting aroma and taste.
As you embark on the journey of creating cranberry crumble bars, remember that this recipe is an opportunity to express your culinary creativity. Whether you’re baking for a holiday gathering, a family dinner, or simply for yourself, the joy of homemade desserts is unparalleled. With detailed instructions and enticing flavors, these cranberry crumble bars are sure to become a seasonal favorite in your household.
Stay tuned for the next part of this article, where we’ll guide you through the assembly and baking process of your delicious cranberry crumble bars!
The Baking Process and Its Significance
Baking is a transformative process that goes beyond mere cooking; it’s a blend of art and science. When making cranberry crumble bars, achieving a golden crust is essential for both the flavor and presentation. The Maillard reaction, which occurs when sugars and proteins react under heat, is what gives baked goods their desired color and complexity. The perfect balance of time and temperature ensures that your bars will not only taste delicious but also look appealing.
Assembling the Bars
Assembling your cranberry crumble bars is a crucial step that influences the overall flavor and texture. Here’s how to layer your ingredients for the best results:
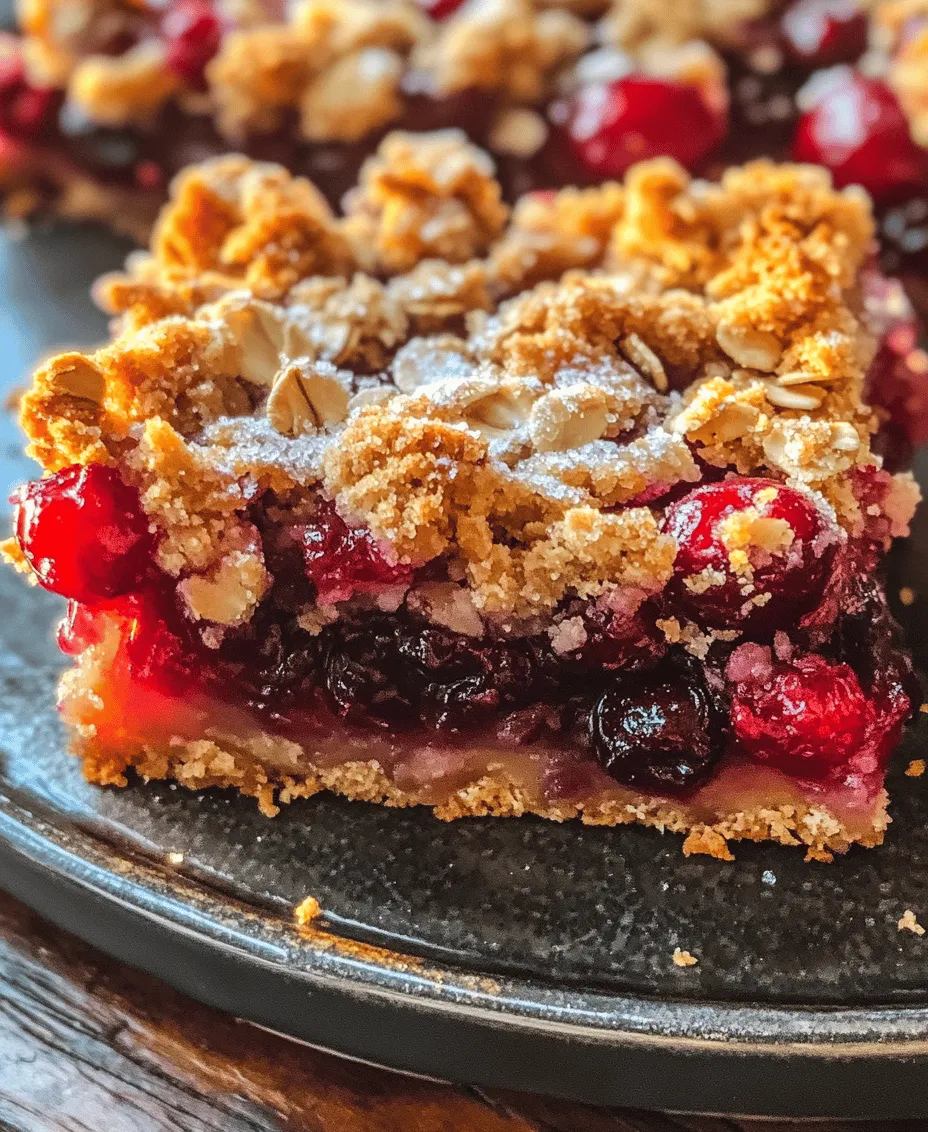
1. Prepare the Base: Begin with your prepared crumble mixture, which serves as both the base and the topping. Reserve about one-third of the crumble for the topping, while pressing the remaining two-thirds firmly into the bottom of your greased baking dish. Use a spatula or your hands to ensure it’s even and compact, which will create a sturdy foundation.
2. Layer the Filling: Next, spread the cranberry filling evenly over the pressed crumble base. Take care to distribute the filling uniformly to avoid overly soggy spots or dry areas. This is where you can let your creativity shine—feel free to add a sprinkle of cinnamon or a splash of vanilla extract to enhance the flavor profile.
3. Add the Topping: Finally, sprinkle the reserved crumble mixture over the cranberry filling. Be generous, as this will create a delightful crunchy top that contrasts beautifully with the tartness of the cranberries. Use your hands to gently press the topping down into the filling to ensure it adheres during baking.
Baking the Bars
Now that you have assembled your bars, it’s time to bake them to perfection.
1. Preheat the Oven: Preheat your oven to 350°F (175°C). Proper oven temperature is critical; too low, and your bars may not cook through, too high, and you risk burning the top while leaving the inside undercooked.
2. Bake: Place your baking dish in the preheated oven and set your timer for 30-35 minutes. The bars are ready when the topping is golden brown and the filling is bubbling slightly around the edges. You’ll want to keep a close eye on them during the last few minutes of baking, as oven temperatures can vary.
3. Cooling the Bars: Once baked, remove the dish from the oven and allow the bars to cool in the pan for at least 10-15 minutes. This cooling period allows the filling to set, making it easier to cut clean squares later.
Cooling and Serving
Proper cooling is vital for maintaining the ideal texture of your cranberry crumble bars.
1. Cool Completely: After the initial cooling in the pan, transfer the bars to a wire rack to cool completely. This step helps avoid sogginess and allows the bars to firm up.
2. Cutting and Serving: Use a sharp knife to cut into squares once the bars are completely cooled. For clean cuts, run the knife under hot water and dry it before each cut. This will prevent tearing the soft filling.
3. Creative Serving Ideas: Enjoy your bars as they are, or elevate the experience with a scoop of vanilla ice cream or a dollop of freshly whipped cream. Drizzling a bit of caramel sauce or sprinkling with powdered sugar can add a delightful finishing touch.
Storage and Shelf Life
To keep your cranberry crumble bars fresh and delicious, proper storage is key.
1. Storing: Place any uneaten bars in an airtight container at room temperature for up to 3 days. If you want to keep them longer, refrigeration is an option, but be mindful that the texture may change slightly.
2. Freezing for Long-term Storage: For long-term storage, wrap the cooled bars tightly in plastic wrap and then in aluminum foil or place them in a freezer-safe container. They can last up to 3 months in the freezer.
3. Reheating and Serving After Storage: To enjoy previously frozen bars, thaw them in the refrigerator overnight and reheat in a microwave or oven for a few minutes before serving to restore some of that fresh-baked warmth.
Health Benefits of Enjoying Cranberry Crumble Bars
Cranberry crumble bars can be a delightful treat while also offering nutritional benefits.
1. Nutritional Analysis: Cranberries are rich in antioxidants, vitamins C and E, and dietary fiber. When combined with oats and whole grains in the crumble, these bars can contribute to a balanced diet.
2. Balancing Indulgence: While it’s important to enjoy desserts, balancing indulgences with healthier choices can be achieved by using less sugar or incorporating whole grain flours. This way, you can relish the flavors without the guilt.
3. Desserts in a Balanced Diet: Desserts can have a place in a balanced diet when enjoyed in moderation. They can serve as a rewarding end to a meal or a sweet treat for special occasions.
Seasonal Variations and Customizations
One of the joys of baking is the ability to customize recipes to suit your preferences or the seasons.
1. Seasonal Variations: Try incorporating seasonal fruits such as apples in the fall or blueberries in the summer. Adding nuts like walnuts or pecans can enhance texture and nutritional value.
2. Dietary Needs: If you’re looking to make the recipe vegan, substitute the butter with coconut oil or a plant-based butter alternative, and use flaxseed meal mixed with water as an egg replacer.
3. Flavor Enhancements: For an extra layer of flavor, consider adding spices like cinnamon, nutmeg, or even a hint of citrus zest to the filling or crumble mixture. These can elevate the overall taste profile of your bars.
Conclusion
Making cranberry crumble bars is a rewarding experience that combines the joy of baking with the satisfaction of sharing delicious treats. By following the outlined steps—from preparing the base and layering the filling to baking and serving—you’re set to create a dessert that’s not only delightful but also versatile.
Baking is not just about the end product; it’s about the process and the memories created along the way. So, don’t hesitate to experiment with this recipe, adjust it to your liking, and make it your own. The beauty of homemade desserts lies in the personal touch, and who knows? You may just create a new family favorite. Happy baking!