Introduction
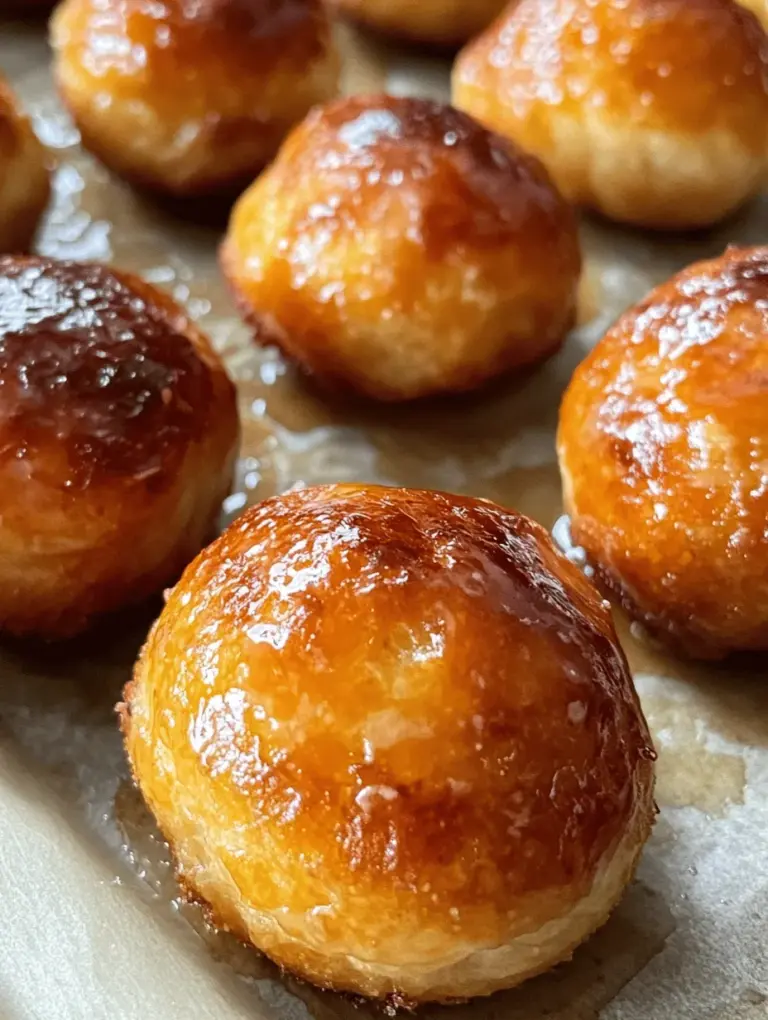
Welcome to the delightful world of simple baking, where delicious treats can be made with just a couple of ingredients! Today, we’re diving into the tantalizing realm of 2-Ingredient Banana Donut Holes. These little bites of joy are perfectly soft, incredibly easy to prepare, and require minimal ingredients, making them an ideal treat for any occasion—be it a cozy family breakfast, an afternoon snack, or a sweet surprise for guests.
In this article, not only will you learn how to whip up these delectable donut holes in no time, but we’ll also explore the benefits of using bananas in baking, the simplicity of this recipe, and tips to help you achieve the best results every time.
Understanding the Appeal of Banana Donut Holes
The Nutritional Benefits of Bananas
When it comes to baking, bananas are a superstar ingredient. They bring a wealth of nutritional benefits that enhance both the flavor and healthfulness of your baked goods. Here are some key advantages of incorporating bananas into this donut hole recipe:
– Rich in Essential Vitamins and Minerals: Bananas are a great source of vitamin C, vitamin B6, and potassium. These nutrients are vital for maintaining good health and can be particularly beneficial for those looking to boost their immune systems or manage blood pressure.
– Natural Sweetness and Moisture for Baking: One of the standout features of ripe bananas is their natural sweetness, which can reduce the need for added sugars in your recipes. This not only enhances the flavor but also contributes to the moist texture of baked goods, making them more enjoyable to eat.
– Healthier Alternative to Refined Sugars: By using bananas, you can create a dessert that is lower in refined sugars. This can be especially appealing for those who are health-conscious or looking to cut back on sugar intake without sacrificing taste.
The Versatility of Self-Rising Flour
Another key ingredient in our 2-Ingredient Banana Donut Holes is self-rising flour. This unique type of flour is a game-changer in the baking world. Here’s what you need to know:
– Explanation of Self-Rising Flour and Its Components: Self-rising flour is a blend of all-purpose flour, baking powder, and salt. The baking powder acts as a leavening agent, helping baked goods rise and achieve a light, fluffy texture. The inclusion of salt enhances the flavor of your treats.
– Benefits of Using Self-Rising Flour in Recipes: Using self-rising flour eliminates the need for measuring out baking powder and salt separately, streamlining your baking process. This is particularly beneficial for quick recipes, like our banana donut holes, where you want to minimize preparation time.
– Tips for Substituting Regular Flour: If you don’t have self-rising flour on hand, you can easily make your own by combining all-purpose flour with baking powder and a pinch of salt. For every cup of all-purpose flour, add 1.5 teaspoons of baking powder and ¼ teaspoon of salt. However, for this recipe, we highly recommend using self-rising flour to ensure the best texture.
Ingredient Spotlight
Ripe Bananas: Nature’s Sweetener
Selecting the right bananas is crucial for this recipe. Here’s how to pick the perfect ones:
– How to Select the Perfect Bananas for This Recipe: Look for bananas that are well-ripened, which means they should have a yellow skin with brown speckles. These spots indicate that the fruit is sweet and flavorful, making them ideal for baking. Overripe bananas will also mash more easily, contributing to a smoother batter for your donut holes.
– The Role of Ripe Bananas in Flavor and Texture: The natural sugars in ripe bananas caramelize during baking, adding a rich flavor profile to your donut holes. Additionally, the moisture content in the bananas ensures that your treats remain soft and tender, rather than dry and crumbly.
Self-Rising Flour: The Secret Ingredient
Self-rising flour is a magic ingredient in many quick-baking recipes. Here’s why it’s so important for our banana donut holes:
– How Self-Rising Flour Works in Baking: The baking powder in self-rising flour helps doughs and batters rise as they bake. This is particularly beneficial for donut holes, which need to puff up to achieve their characteristic shape and texture.
– The Convenience of Using Self-Rising Flour for Quick Recipes: Using self-rising flour simplifies the baking process, allowing you to focus on mixing and baking rather than measuring multiple ingredients. This is especially useful when you’re in a hurry or want to whip up a batch of treats with minimal fuss.
Step-by-Step Guide to Making Banana Donut Holes
Now that we’ve set the stage with our ingredients, let’s dive into the step-by-step guide for making these delightful banana donut holes.
Preparation for Baking
Before you start mixing ingredients, it’s important to prepare your workspace and tools. Here’s what you need:
– Essential Tools and Equipment Needed: Gather the following items: a mixing bowl, a fork or potato masher, a measuring cup, a baking sheet, and parchment paper. If you have a donut hole pan, that would be perfect! However, a regular baking sheet will work just fine.
– Importance of Preheating the Oven and Lining the Baking Sheet: Preheat your oven to 350°F (175°C). Preheating ensures an even baking temperature, which is essential for achieving the perfect rise. While the oven is heating, line your baking sheet with parchment paper to prevent sticking and to make cleanup easier.
Mashing the Bananas
Now it’s time to prepare the star ingredient of our recipe: the bananas.
– Techniques for Achieving the Perfect Banana Mash: Place your ripe bananas in the mixing bowl. Use a fork or potato masher to mash them until smooth. Aim for a consistency that is free of lumps, as this will help create a uniform batter that bakes evenly.
– Tips for Avoiding Lumps and Ensuring Smoothness: If you find it difficult to achieve a smooth consistency, try using a blender or food processor. This method can eliminate any stubborn lumps and ensure that the banana is fully incorporated into your batter, giving your donut holes that perfect texture.
Combining Ingredients
With your bananas nicely mashed, it’s time to bring everything together.
1. Mixing the Ingredients: Add the self-rising flour to the mashed bananas in the mixing bowl. Use a spatula or wooden spoon to gently combine the ingredients until they form a cohesive dough. Be careful not to overmix; a few lumps are okay, as long as the flour is mostly incorporated.
2. Forming the Donut Holes: Once your dough is ready, use your hands to shape it into small balls, about the size of a tablespoon. Place them on the prepared baking sheet, leaving some space between each one to allow for expansion during baking.
By following these simple steps, you’ll be well on your way to creating delicious 2-Ingredient Banana Donut Holes that are perfect for any occasion. As we move forward, we’ll explore baking times, cooling methods, and some tips to elevate your donut holes even further!
Best Practices for Mixing Bananas and Flour
When preparing the batter for your Simple 2-Ingredient Banana Donut Holes, achieving the right mixture is crucial for the final outcome. Start by selecting ripe bananas, as they are not only sweeter but also easier to mash, resulting in a smoother batter. The ideal consistency is key in ensuring your donut holes are light and fluffy.
Avoiding Overmixing
When it comes to mixing the ingredients, less is more. Combine the mashed bananas and flour gently to prevent the dough from becoming tough. Overmixing can lead to dense donut holes that lack the desired airy texture. To achieve the perfect mixture, mash the bananas until smooth, then fold in the flour gradually. This method allows you to keep the banana flavor prominent while maintaining a light consistency.
Shaping the Donut Holes
Once your mixture is well combined, it’s time to form your donut holes. Use a spoon or a small ice cream scoop to portion out the dough. Roll the portions into small balls using your hands. Aim for a size slightly smaller than a golf ball; about 1 to 1.5 inches in diameter is ideal.
Spacing for Even Baking
When placing the dough balls on your baking sheet, make sure to space them adequately. Leave about 1-2 inches between each donut hole to allow for expansion during baking. This spacing ensures even heat distribution and helps to achieve a perfectly baked donut hole without sticking together.
Baking Process
The baking process is crucial in determining the final texture and flavor of your donut holes. Preheat your oven to 350°F (175°C). This temperature is ideal for baking dough without drying it out.
Monitoring Baking Time and Temperature
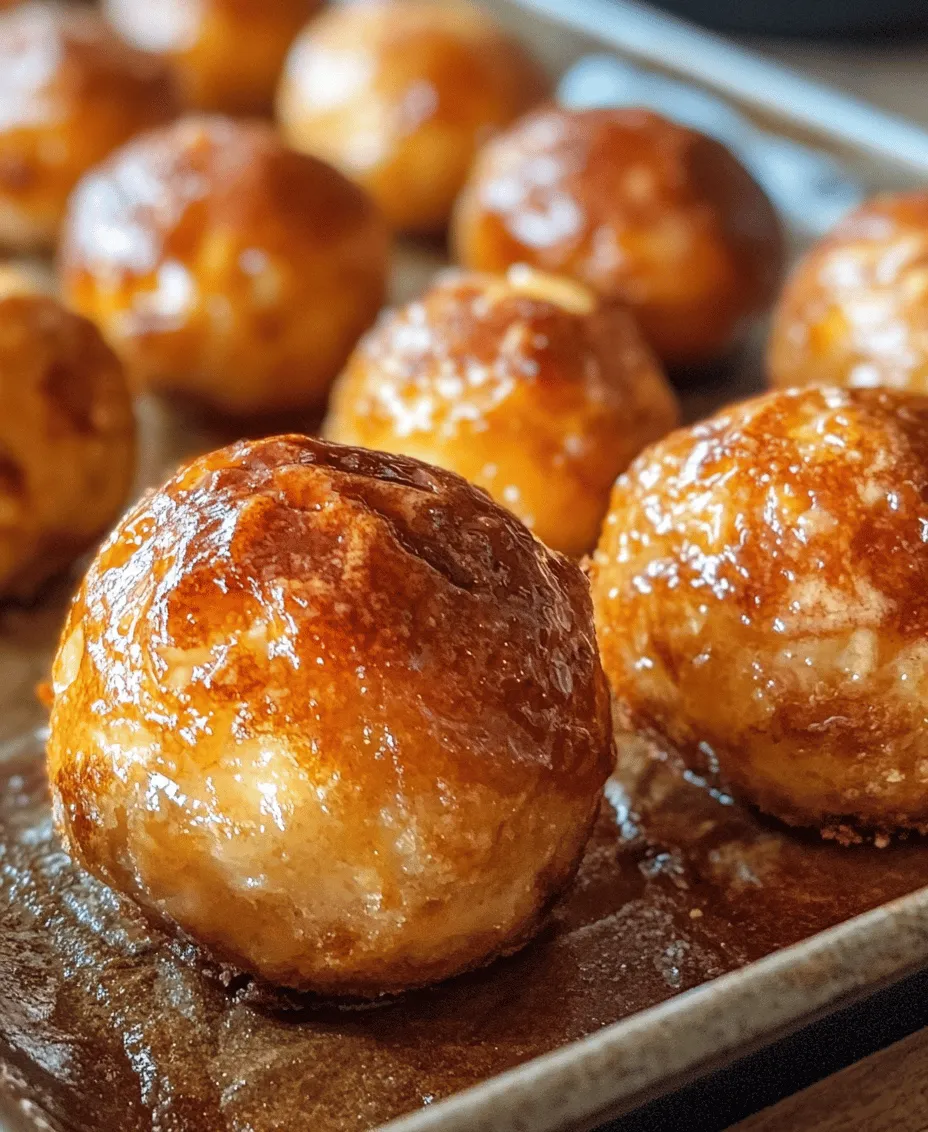
Bake your banana donut holes for approximately 10-12 minutes, checking them regularly. The goal is to achieve a light golden color.
Checking Doneness with a Toothpick
To ensure your donut holes are fully cooked, perform a toothpick test. Insert a toothpick into the center of a donut hole; if it comes out clean or with just a few moist crumbs, they are ready. If the toothpick has wet batter on it, return the donut holes to the oven for another minute or two, keeping a close eye to avoid overbaking.
Cooling and Serving
After removing the donut holes from the oven, transfer them to a wire rack to cool. Cooling them properly is essential as it allows steam to escape, resulting in a better texture.
Enjoying Banana Donut Holes Warm or at Room Temperature
These delightful treats can be enjoyed warm straight out of the oven, or at room temperature. If you prefer them warm, allow them to cool for just a few minutes before digging in. Their soft, pillowy texture combined with the sweet banana flavor makes for an irresistible snack at any time of day.
Creative Variations and Flavor Additions
One of the best aspects of this recipe is its versatility. Feel free to experiment with various mix-ins to personalize your donut holes.
Suggestions for Incorporating Add-Ins
Consider adding chocolate chips for a decadent touch, chopped nuts for added crunch, or spices like cinnamon or nutmeg for a warm flavor twist. To modify the recipe, simply fold in about 1/4 to 1/2 cup of your chosen add-ins after mixing the flour and bananas.
Modifying for Different Flavor Profiles
You can also explore different flavor profiles. For example, substitute half of the flour with cocoa powder for a chocolatey version or use almond flour for a gluten-free alternative. The possibilities are endless, allowing you to customize your donut holes to suit any palate.
Serving Suggestions
When it comes to serving your banana donut holes, presentation matters. Here are some creative ideas:
Pairing with Dips or Toppings
Serve them with a side of peanut butter or Nutella for dipping. A drizzle of honey or maple syrup can elevate their sweetness and add a gourmet touch. If you’re feeling adventurous, try pairing them with a fruit compote or yogurt for a delightful contrast.
Creative Ways to Present Banana Donut Holes
Consider placing the donut holes in a decorative bowl with fresh fruit, or stack them on a tiered dessert stand for an eye-catching display at gatherings. Dusting them with powdered sugar or cocoa powder just before serving can add an elegant finishing touch.
Storage and Shelf Life
To keep your delicious banana donut holes fresh, proper storage techniques are essential.
Best Practices for Keeping Donut Holes Fresh
Store your donut holes in an airtight container at room temperature for up to three days. For longer storage, consider refrigerating them, which can extend their shelf life by another few days.
How to Freeze for Later Enjoyment
If you want to enjoy these treats later, freezing is an excellent option. Place the cooled donut holes in a single layer on a baking sheet and freeze until solid. Once frozen, transfer them to a freezer-safe bag or container. They can be stored in the freezer for up to three months.
Understanding Shelf Life
To ensure you are consuming the banana donut holes at their best, it’s important to know when they are no longer good to eat.
Tips for Knowing When They Are No Longer Good
Check for any signs of mold or an off smell before consuming. If the donut holes become overly dry or hard, they may not be enjoyable. Homemade treats are typically best consumed fresh, so aim to enjoy them within the first few days for optimal flavor and texture.
Importance of Consuming Homemade Treats for the Best Flavor
While these donut holes can be stored, homemade treats are always best when fresh. The natural sweetness of the bananas and the fluffy texture of the dough are at their peak just after baking. Therefore, whenever possible, bake only what you can consume within a few days.
Conclusion
In summary, these Simple 2-Ingredient Banana Donut Holes are a delightful and nutritious treat that anyone can whip up in no time. Their simplicity, combined with the natural sweetness of bananas, makes them a favorite among both kids and adults alike. Whether enjoyed as a snack, breakfast option, or dessert, these donut holes provide a guilt-free indulgence that can be easily customized to suit your preferences. Embrace the joy of baking with this straightforward recipe and savor the delicious results. By following the tips and variations outlined above, you can make this recipe your own, ensuring that every batch of donut holes is as unique and delightful as you desire. Enjoy your baking adventure!