
Introduction
Lemon bars are a popular dessert choice that combines the perfect balance of sweetness and tartness, making them a beloved treat in many households. Their bright, zesty flavor and melt-in-your-mouth texture have earned them a special place in the hearts of dessert lovers everywhere. Whether served at a summer gathering or enjoyed as a midday snack with a cup of tea, lemon bars offer a refreshing burst of citrus that can elevate any occasion.
The appeal of this particular lemon bar recipe lies in its unique texture and bright flavor profile, which makes it an irresistible dessert option. Achieving that melt-in-your-mouth quality is not just a matter of luck; it’s rooted in the careful selection of fresh ingredients, particularly lemons. Using fresh lemons instead of bottled juice can make a significant difference in taste, bringing a vibrant flavor that is hard to replicate. In this article, we will explore the history of lemon bars, the essential ingredients that contribute to their delightful taste, and provide a step-by-step guide to making your own batch of melt-in-your-mouth lemon bars.
The Allure of Lemon Bars
Historical Background of Lemon Bars
Lemon bars have a rich history that dates back to the early 20th century. Originally believed to have been created in the United States, these delightful treats are thought to have been inspired by the classic lemon meringue pie. The simplicity of lemon bars, combined with their vibrant flavor, made them a popular choice for home bakers. They quickly became a staple in American kitchens, often appearing at bake sales and gatherings.
Over the years, lemon bars have evolved, with variations popping up in different regions and cultures. For instance, in the United Kingdom, you can find a similar dessert called lemon slice, which shares the same tartness but might feature different ingredients or toppings. This versatility and adaptability have contributed to the global love for lemon bars, allowing them to transcend cultural boundaries and become a cherished dessert for many.
Why Lemon Bars Are a Beloved Treat
The enduring popularity of lemon bars can be attributed to their perfect balance of flavors. The combination of sweet and tart makes them a refreshing option, especially during warmer months. Moreover, their simple yet elegant appearance makes them appealing for various occasions. From birthday parties to holiday gatherings, lemon bars can easily fit into any dessert table.
Additionally, lemon bars are relatively easy to make, requiring minimal ingredients and equipment. This accessibility has encouraged many home bakers to experiment with their own versions, leading to countless variations that cater to different tastes and dietary needs. Whether gluten-free, vegan, or traditional, lemon bars have found a way to adapt, ensuring that everyone can enjoy this delightful dessert.
The Versatility of Lemon Bars
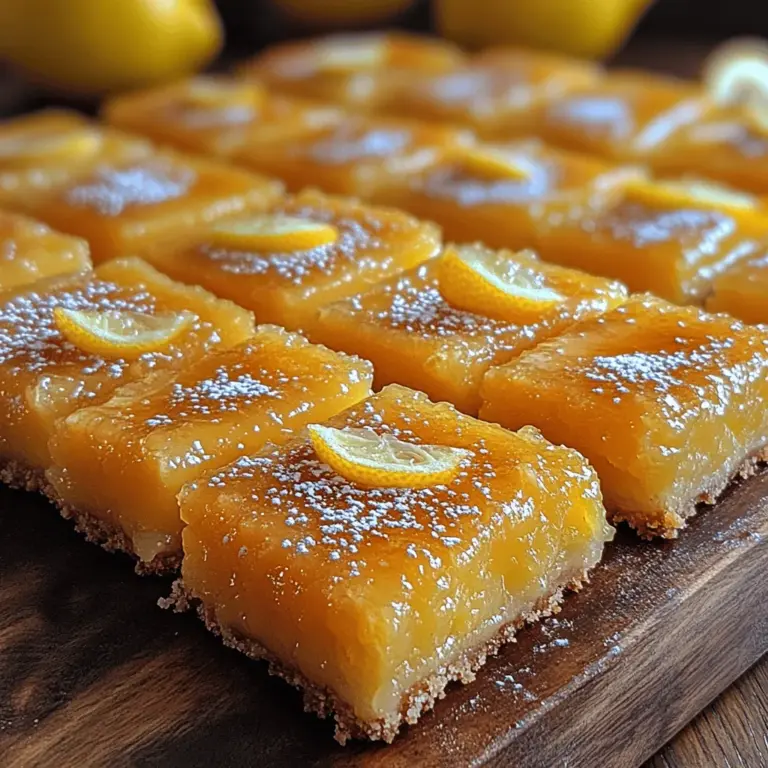
One of the most enticing aspects of lemon bars is their versatility. They can be served in a variety of settings, from casual picnics to formal dinner parties. Their bright yellow color and vibrant flavor make them an eye-catching addition to any dessert spread.
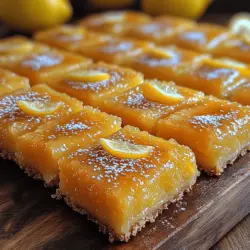
Moreover, lemon bars can be customized to suit different occasions. For instance, they can be dressed up with a dusting of powdered sugar for a sophisticated touch or topped with whipped cream for added richness. During holidays, they can be infused with seasonal flavors, such as lavender or rosemary, to create a unique twist on the classic recipe. This adaptability ensures that lemon bars remain a relevant and sought-after dessert option year-round.
Understanding the Ingredients
To create the perfect melt-in-your-mouth lemon bars, it’s essential to understand the role of each ingredient in the recipe. Let’s break down the components that make up the crust and filling, highlighting their significance in achieving the desired flavor and texture.
Crust Ingredients
1. Unsalted Butter: The foundation of the crust begins with unsalted butter. Using unsalted butter allows you to control the amount of salt in the recipe, ensuring a balanced flavor. It also contributes to the rich, buttery taste that complements the tart filling beautifully.
2. Granulated Sugar: Sugar is not just a sweetener; it plays a crucial role in the texture of the crust. Granulated sugar helps to create a tender, crumbly crust that contrasts nicely with the smooth filling. It also aids in browning, giving the crust a lovely golden hue.
3. All-Purpose Flour: Flour acts as the binding agent in the crust. It provides structure and stability, allowing the crust to hold its shape once baked. The right amount of flour is critical; too much can lead to a dense crust, while too little may result in a fragile base.
4. Salt: A pinch of salt enhances the flavors of the other ingredients and balances the sweetness. It’s a crucial element that shouldn’t be overlooked, as it contributes to the overall taste of the crust.
5. Vanilla Extract: While lemon is the star of this recipe, a splash of vanilla extract adds depth to the flavor profile. It complements the tartness of the lemons and rounds out the sweetness, creating a harmonious blend of flavors.
Filling Ingredients
1. Fresh Lemon Juice and Zest: The key to an authentic lemon bar is the use of fresh lemon juice and zest. Freshly squeezed lemon juice provides the bright acidity that is essential for the filling, while the zest adds an aromatic, citrusy note that enhances the overall flavor.
2. Eggs: Eggs are vital in achieving the right consistency for the filling. They act as a binder, helping to create a smooth, creamy texture that sets perfectly when baked. The proteins in the eggs also contribute to the overall structure of the filling.
3. Baking Powder: A small amount of baking powder can help the filling rise slightly, giving it a light and airy texture. This is particularly important for achieving that melt-in-your-mouth quality that lemon bars are known for.
4. Additional Flour: A bit of flour is often added to the filling to help stabilize it. This prevents the filling from becoming too runny and ensures that the bars hold their shape once cut.
With a clear understanding of these ingredients, you can appreciate the care and thought that goes into making melt-in-your-mouth lemon bars. Now, let’s dive into the step-by-step guide for preparing this delightful dessert.
Step-by-Step Guide to Making Lemon Bars
Preparation: Preheating the Oven and Preparing the Baking Pan
Before you begin mixing your ingredients, it’s important to prepare your workspace. Start by preheating your oven to 350°F (175°C). This ensures that your lemon bars will bake evenly, resulting in a perfectly set filling.
Next, prepare your baking pan. A 9×9-inch square pan is ideal for this recipe. To prevent sticking, grease the pan lightly with butter or non-stick cooking spray. For added insurance against sticking, consider lining the bottom and sides of the pan with parchment paper, allowing some overhang. This will make it easier to lift the bars out after baking, ensuring clean, even cuts.
Making the Crust: Mixing and Pressing Techniques
To create the crust, start by combining the unsalted butter and granulated sugar in a mixing bowl. Using a hand mixer or a stand mixer, beat the mixture until it is light and fluffy. This process incorporates air into the butter, which is essential for achieving a tender texture.
Once the butter and sugar are well combined, add the all-purpose flour and salt to the bowl. Mix on low speed until the ingredients are just combined. Be careful not to overmix, as this can lead to a tough crust. The mixture should resemble coarse crumbs.
Next, transfer the crust mixture into the prepared baking pan. Using your fingers or a measuring cup, press the mixture firmly and evenly into the bottom of the pan. This creates a solid base for your lemon filling. Make sure the crust is spread out to the edges and is uniform in thickness to ensure even baking.
Once the crust is pressed into the pan, it’s time to bake it in the preheated oven for about 15-20 minutes, or until it is lightly golden around the edges. Keep an eye on it to prevent over-baking, as you want a firm yet tender crust that will hold up under the zesty filling.
As the crust bakes, you can prepare the filling, ensuring that everything is ready to go once the crust is out of the oven. This preparation will set the stage for creating the delicious melt-in-your-mouth lemon bars that you and your guests will love.
Stay tuned for the next part, where we’ll dive into creating the luscious lemon filling and the final baking steps to complete your melt-in-your-mouth lemon bars.

Tips for Achieving the Perfect Crumbly Texture
To create melt-in-your-mouth lemon bars, achieving the right texture for the crust is essential. Here are some key tips to help you get that ideal crumbly base:
1. Use Cold Ingredients: Ensure that your butter is cold and cubed before mixing it with the dry ingredients. This helps create a flaky texture, as the cold fat does not fully incorporate into the flour, allowing some layers to remain intact.
2. Do Not Overmix: When combining the butter with the flour and sugar, mix until just combined. Overmixing can lead to a dense crust instead of the desired crumbly texture. A few visible flecks of butter are perfectly fine.
3. Chill the Dough: After preparing the crust, let it chill in the refrigerator for at least 30 minutes before baking. This step solidifies the fat, which helps maintain the structure during baking and prevents the crust from shrinking.
4. Press Firmly but Gently: When pressing the dough into the pan, use a gentle but firm touch to ensure an even layer without compacting it too much, which could lead to a tougher texture.
Preparing the Filling: Whisking Techniques for a Smooth Mixture
The filling of your lemon bars is crucial for that luscious, smooth taste that complements the crust. Here are some tips for whisking the filling to perfection:
1. Room Temperature Ingredients: Start with eggs and other ingredients at room temperature. This ensures they blend more easily and evenly, resulting in a smoother filling.
2. Whisking Order: Begin by whisking together the sugar and eggs until they’re fully combined and slightly frothy. This step is vital for incorporating air into the mixture, which can help give your filling a light texture.
3. Sift the Dry Ingredients: Before adding the flour to the egg mixture, sift it to eliminate any lumps. This step ensures that your filling is as smooth as possible.
4. Add Zest and Juice Gradually: Incorporate the lemon zest and juice gradually into the egg mixture, whisking continuously. This helps maintain an even consistency and prevents any curdling.
Importance of Incorporating Eggs Properly
The eggs are the backbone of the lemon filling, providing structure and richness. Here’s how to incorporate them properly:
1. Avoid Adding Directly from the Shell: Crack the eggs into a separate bowl first. This allows you to check for any shell fragments and prevents potential contamination with unwanted substances.
2. Mixing Technique: When adding the eggs to the sugar mixture, use a whisk to combine them thoroughly. This action helps break up the yolks and introduces air, ensuring a light, airy filling.
3. Emphasize Uniformity: It’s important to whisk the eggs until fully blended before adding them to the mixture. This practice guarantees that the filling sets uniformly during baking.
Combining Layers: How to Achieve an Even Pour of Filling Over the Crust
Achieving a perfectly layered lemon bar requires careful pouring and distribution of the filling:
1. Cool the Crust Slightly: Allow the crust to cool for about 10-15 minutes after baking before adding the filling. This prevents the filling from cooking too quickly and ensures that both layers adhere well.
2. Pour Gently: When adding the filling, pour it slowly and in the center of the crust. This technique allows the filling to spread out evenly without disturbing the crust underneath.
3. Tilt the Pan: If necessary, gently tilt the pan to help guide the filling to the edges. This method can help achieve an even layer without the need for excessive movement that might disrupt the crust.
Baking Process: Key Indicators for Perfect Doneness
Baking lemon bars to perfection relies on careful monitoring:
1. Visual Cues: The filling should be set around the edges while the center remains slightly jiggly. It will firm up as it cools. A slight golden hue on the edges is an excellent indicator of doneness.
2. Toothpick Test: Gently insert a toothpick into the center of the filling. If it comes out mostly clean with just a few moist crumbs, your lemon bars are ready. Avoid overbaking, as this can lead to a rubbery texture.
3. Timing: Keep a close eye on the recommended baking time. Ovens can vary significantly, so start checking for doneness a few minutes before the suggested time.
Importance of Monitoring Baking Time for Desired Texture
Monitoring the baking time is crucial for achieving the desired texture for your lemon bars:
1. Be Mindful of Variability: Each oven is different. Factors like altitude and pan material can affect baking times. Always adjust accordingly and rely on visual and tactile cues.
2. Set a Timer: Use a timer to track your baking time accurately, but check your lemon bars a few minutes before the time is up to prevent overbaking.
3. Allow for Cooling Time: Remember that the lemon bars will continue to cook slightly after being removed from the oven. This residual heat helps set the filling without drying it out.
Cooling Process: Importance of Allowing Bars to Cool Completely
Proper cooling is vital for the best flavor and texture:
1. Room Temperature Cooling: After removing the lemon bars from the oven, allow them to cool in the pan on a wire rack for at least 30 minutes. This process helps set the filling completely.
2. Refrigerate for Best Results: Once at room temperature, cover the pan with plastic wrap or foil and refrigerate for at least 2-3 hours, or overnight if possible. Chilling enhances the flavor and helps firm up the bars, making them easier to cut.
Cutting Techniques for Clean, Even Squares or Rectangles
To serve your lemon bars elegantly, use the following cutting techniques:
1. Use a Sharp Knife: A sharp, straight-edged knife or a bench scraper will give you the cleanest cuts. Dull knives can pull at the filling and crust, making a mess.
2. Warm the Knife: For seamless cuts, dip the knife in warm water and wipe it dry before cutting. This technique helps slice through the filling without it sticking to the blade.
3. Cutting Pattern: Start by cutting the bars into halves, then quarters, before cutting each section into smaller squares or rectangles. This method helps ensure even pieces.
Serving Options: How to Present Lemon Bars Elegantly
Presentation is key when serving lemon bars. Consider these elegant serving options:
1. Use a Decorative Platter: Arrange the lemon bars on a beautiful serving platter or cake stand for an appealing display.
2. Garnish: Add a sprig of fresh mint or a few edible flowers on top of each bar for a pop of color. This simple touch elevates the visual appeal.
3. Dusting with Powdered Sugar: A light dusting of powdered sugar adds a touch of elegance and can help mask any imperfections in the surface of the bars.
Suggestions for Pairings
Lemon bars pair wonderfully with various beverages, enhancing the overall experience:
1. Tea: A cup of herbal tea, such as chamomile or mint, complements the tartness of the lemon bars beautifully.
2. Coffee: The rich flavor of coffee balances the sweetness of the bars, making it a perfect afternoon treat.
3. Sparkling Water: For a refreshing option, serve lemon bars with sparkling water infused with citrus or berries.
Variations and Customizations
Feel free to get creative with your lemon bars by trying these variations:
1. Flavor Variations: Consider adding berries, such as raspberries or blueberries, to the filling for a fruity twist. Simply fold in a cup of fresh or frozen berries before pouring the filling over the crust.
2. Gluten-Free Options: Substitute all-purpose flour with gluten-free flour blends to make your lemon bars gluten-free. Make sure to choose a blend that includes xanthan gum for optimal texture.
3. Creative Twists: Incorporate fresh herbs like basil or mint into the filling for a unique flavor profile. A teaspoon of finely chopped fresh basil can add a refreshing note that complements the lemon.
Best Practices for Storing Lemon Bars to Maintain Freshness
Proper storage is essential for keeping your lemon bars fresh:
1. Refrigeration: Store lemon bars in an airtight container in the refrigerator. They can last for up to a week.
2. Freezing: For longer storage, freeze individual bars wrapped in plastic wrap and then placed in a freezer-safe container. They can last for up to three months in the freezer.
3. Reheating Tips: To serve after being frozen, allow the bars to thaw in the refrigerator overnight. You can enjoy them cold or let them come to room temperature before serving.
Conclusion
Creating melt-in-your-mouth lemon bars is a rewarding endeavor that combines zest and sweetness, offering a delightful treat for any occasion. The satisfaction of biting into a perfectly baked lemon bar, with its crumbly crust and velvety filling, is unmatched.
This recipe not only invites you to enjoy a classic dessert but also encourages experimentation. Whether you choose to incorporate fresh fruits, explore gluten-free alternatives, or introduce unique herbs, the possibilities are endless.
Embrace your creativity in the kitchen, share your experiences with friends and family, and relish in the joyful flavors of these timeless lemon bars. Their bright, citrusy taste and melt-in-your-mouth texture make them a beloved dessert for everyone.