
Introduction
There’s something undeniably captivating about the aroma of freshly baked bread wafting through your home. It stirs nostalgia, evokes warmth, and creates a comforting atmosphere that is hard to resist. Among the many types of bread, dinner rolls hold a special place in various cuisines around the world. Whether served at festive gatherings, family dinners, or casual meals, soft dinner rolls are the perfect complement to any dish. Their fluffy texture and buttery flavor elevate the dining experience, making them a staple for many households.
In this recipe, we will guide you through the process of making heavenly soft dinner rolls from scratch. You may be wondering what makes these rolls so special. The secret lies in the combination of ingredients, the technique used, and the love poured into the baking process. Expect a step-by-step guide that will help you create the lightest, fluffiest, and most delectable dinner rolls you’ve ever tasted. Let’s dive into the essentials of this recipe and understand the role each ingredient plays in achieving the perfect roll.
Understanding the Ingredients
To create heavenly soft dinner rolls, it’s essential to understand the role of each ingredient in the recipe. This knowledge will equip you with the tools to make adjustments according to your preferences and ensure that your rolls come out perfectly every time.
The Role of All-Purpose Flour
All-purpose flour serves as the foundation for our dinner rolls. It is versatile, making it suitable for various types of baking, including bread. The protein content in all-purpose flour, which typically ranges from 10-12%, provides the necessary gluten structure that gives bread its desirable chewiness and elasticity. For dinner rolls, we want a balance between soft tenderness and a slight bite, and all-purpose flour delivers just that.
Using all-purpose flour also simplifies the process for home bakers who might not have specialized bread flour on hand. By selecting this staple ingredient, you can confidently create rolls that are fluffy and light without complicating your baking experience.
Instant Yeast: The Key to Fluffiness
Yeast is the magic ingredient that transforms a mixture of flour, water, and other elements into a delightful bread. In this recipe, we utilize instant yeast, a powerful leavening agent that is known for its convenience and reliability. Instant yeast does not require proofing, which means you can mix it directly with the dry ingredients. This saves time and reduces the risk of errors that can occur during the activation process.
One of the key benefits of instant yeast is its ability to produce a lighter texture in bread. It works quickly and efficiently, creating carbon dioxide bubbles that cause the dough to rise. This results in the soft, airy quality that makes our dinner rolls so irresistible.
The Importance of Sugar in Bread Making
Sugar plays a multifaceted role in the bread-making process. First and foremost, it contributes to the flavor profile of the rolls, adding a subtle sweetness that enhances the overall taste. Additionally, sugar acts as food for the yeast, promoting fermentation and aiding in the rising process. As yeast consumes sugar, it produces carbon dioxide, which helps create a light and fluffy texture.
Moreover, sugar helps retain moisture in the dough, which is essential for achieving that soft consistency we desire in our dinner rolls. It also contributes to the browning of the crust during baking, giving the rolls an appealing golden hue. Therefore, this ingredient is crucial for achieving the perfect balance of flavor and texture.
Why Whole Milk is Essential
When it comes to achieving softness in our dinner rolls, the choice of liquid is paramount. Whole milk is an excellent option because it adds richness and moisture to the dough. The fat content in whole milk contributes to the tender texture of the rolls while enhancing their flavor.
Moreover, the proteins and sugars present in whole milk aid in the browning process during baking, resulting in a beautifully golden crust. The warmth of the milk also helps activate the yeast more effectively, ensuring that your dough rises properly. By using whole milk, you set the stage for the most luxurious and soft dinner rolls.
The Function of Butter in the Recipe
Butter is another key ingredient that elevates our dinner rolls to a heavenly level. When melted and incorporated into the dough, butter adds flavor, moisture, and richness. The fat in butter coats the flour proteins, inhibiting gluten formation to some extent, which results in a softer crumb.
Additionally, butter contributes to the rolls’ overall texture and mouthfeel. The luxurious flavor imparted by butter transforms simple rolls into something extraordinary. In this recipe, we’ll melt the butter before adding it to the dough, ensuring that it blends seamlessly and nourishes every bite.
The Role of Eggs
Eggs play a vital role in bread-making, contributing to the structure, richness, and color of the rolls. The proteins in eggs create a stable framework within the dough, providing strength and support as the rolls rise and bake. This results in a pleasantly chewy texture that contrasts beautifully with the soft interior.
In addition to their structural benefits, eggs add moisture and richness, enhancing the overall flavor profile of the rolls. When combined with the other ingredients, eggs help create a tender crumb that melts in your mouth. This is why adding eggs to our dinner roll dough is essential for achieving that heavenly softness.
Optional Ingredients
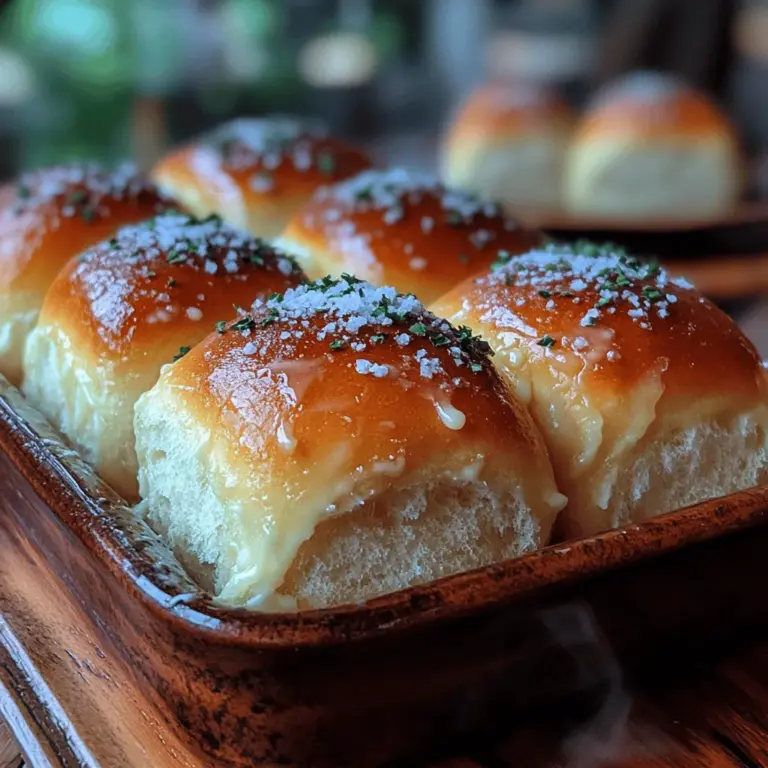
While the core ingredients in this recipe are essential, there are optional elements that can enhance the final product even further. One such ingredient is coarse sea salt, which can be sprinkled on top of the rolls before baking. This not only adds a delightful crunch but also intensifies the flavor of the rolls, creating a perfect balance of sweetness and saltiness.
Step-by-Step Instructions for Heavenly Soft Dinner Rolls
Now that we’ve covered the essential ingredients for our dinner rolls, let’s delve into the step-by-step instructions to guide you through the process of making these heavenly delights.
Activating the Yeast: A Critical First Step
While we are using instant yeast, ensuring that it is fresh and active is crucial for the success of your dinner rolls. Begin by combining the instant yeast with the dry ingredients in a large mixing bowl. This method eliminates the need for proofing, allowing you to save time while still achieving remarkable results.
Mixing Wet Ingredients: Achieving a Smooth Mixture
In a separate bowl, combine the warm whole milk, melted butter, and eggs. The milk should be warm to the touch but not hot, ideally around 110°F (43°C). This temperature is perfect for activating the yeast and ensuring that the dough rises effectively.
Whisk the wet ingredients together until smooth and well combined. The melted butter should be fully incorporated, and the eggs should be evenly distributed throughout the mixture. Properly mixing these ingredients is essential for achieving a uniform dough.
Combining Dry Ingredients: Preparing for the Dough
In the bowl with the dry ingredients (all-purpose flour, sugar, and salt), create a well in the center. Gradually pour the wet mixture into the well, mixing gently with a spatula or wooden spoon. It’s important to combine the ingredients until a shaggy dough forms, ensuring that the flour is fully hydrated.
Once the dough comes together, it’s time to knead. Kneading is a crucial step that develops the gluten structure, resulting in the soft and fluffy texture we desire. Transfer the dough to a lightly floured surface and knead for about 8-10 minutes, or until it’s smooth and elastic. If the dough is too sticky, sprinkle in a little extra flour as needed, but be careful not to add too much, as this could result in denser rolls.
(Continue to develop the article by detailing additional steps for shaping, rising, baking, and any final touches to complete the recipe.)
Kneading the Dough: Developing Gluten
Kneading is a crucial step in making heavenly soft dinner rolls as it develops the gluten structure, which gives the bread its chewy yet tender texture. Gluten formation occurs when flour and water are mixed and agitated, leading to an elastic dough that can trap air bubbles during fermentation and baking.
Techniques for Kneading by Hand versus Using a Stand Mixer
When kneading by hand, you’ll want to use a technique called the “push-fold-turn” method. Start by pushing the dough away from you with the heel of your hand, fold it back over itself, and then give it a quarter turn. Repeat this process for about 8-10 minutes until the dough is smooth and elastic. You can check gluten development by performing the “windowpane test”: stretch a small piece of dough; if it forms a thin membrane without tearing, it’s ready for the next step.
If you’re using a stand mixer, fit it with a dough hook. Mix on low speed until the ingredients are combined, then increase to medium speed for about 5-7 minutes. The dough should come away from the sides of the bowl and become smooth and elastic. Regardless of the method, be careful not to over-knead, which can lead to tough rolls.
First Rise: Creating the Perfect Environment
The first rise, also known as fermentation, allows the yeast to work its magic by producing carbon dioxide, which causes the dough to expand. For optimal results, create a warm and humid environment for the dough to rise.
Tips for Ensuring a Successful First Rise
– Temperature: Ideally, the dough should rise in a warm area, around 75°F to 80°F (24°C to 27°C). If your kitchen is cool, you can turn your oven to the lowest setting for a few minutes, then turn it off and place the dough inside, covered with a clean kitchen towel.
– Covering: Use plastic wrap or a damp towel to cover the bowl, preventing the dough from drying out as it rises.
– Timing: Allow the dough to rise until it has doubled in size, which usually takes about 1 to 2 hours, depending on the room temperature.
Shaping the Rolls: Techniques for Uniformity
Once the dough has risen, it’s time to shape it into rolls. Properly shaped rolls not only look appealing but also bake evenly.
How to Shape Rolls for the Best Presentation
1. Divide the Dough: After the first rise, gently punch down the dough to release excess air. Divide it into equal pieces, usually about 12 for standard dinner rolls. Use a kitchen scale for precision if desired.
2. Shape Each Roll: Take each piece of dough and flatten it slightly. Fold the edges toward the center, then flip the dough over so the seam is on the bottom. Roll it gently against the countertop to create a smooth ball.
3. Placement: Arrange the shaped rolls in a greased baking dish, ensuring they are close but not touching. This encourages them to rise upwards rather than spread out.
Second Rise: The Importance of Patience
The second rise is crucial for achieving fluffy dinner rolls. This step allows the dough to relax and expand a second time before baking.
Insights on the Second Rise and What to Look For
– Duration: The second rise typically takes about 30 to 45 minutes. The rolls should puff up noticeably but not double in size.
– Visual Cues: Look for the dough to feel light and airy. If you poke it with your finger, the indentation should slowly spring back—a sign that the rolls are ready for baking.
Baking the Rolls: Achieving Perfect Color and Texture
Baking transforms the dough into golden, soft dinner rolls. The ideal temperature for baking these rolls is around 375°F (190°C).
Baking Tips for Optimal Results
– Preheating: Always preheat your oven to ensure even cooking from the start.
– Positioning: Place the baking dish in the center of the oven for even heat circulation.
– Timing: Bake for about 15-20 minutes, or until the tops are golden brown. You can also check for doneness by tapping the bottom of a roll; it should sound hollow.
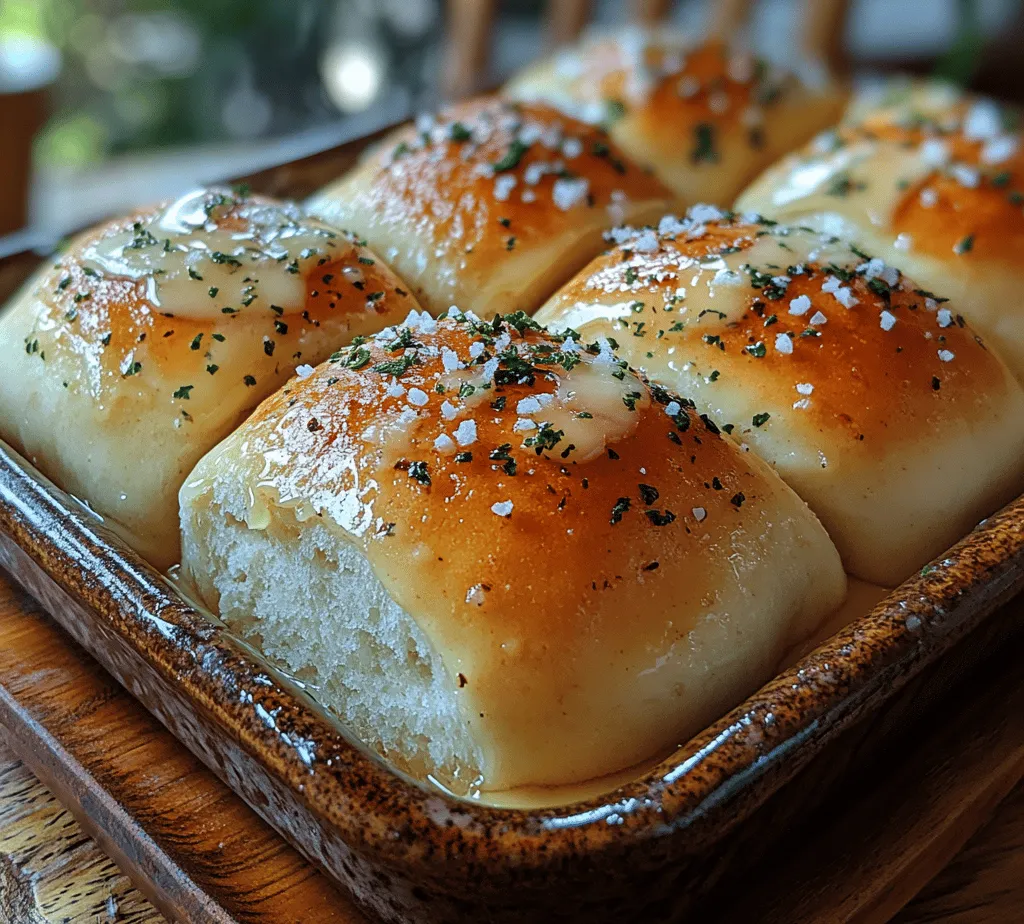
Brushing with Butter: Final Touch for Flavor
Once your rolls are out of the oven, brushing them with melted butter not only adds flavor but also gives them a glossy finish.
Discussing the Effects of Brushing with Melted Butter and Optional Toppings
– Flavor Enhancement: The butter adds richness and helps keep the rolls soft. As they cool, the butter will soak into the surface, enhancing the flavor.
– Optional Toppings: For an extra touch, sprinkle some flaky sea salt or fresh herbs like rosemary or thyme on top before baking. This adds a gourmet twist to your dinner rolls.
Serving Suggestions and Pairings
Heavenly soft dinner rolls are versatile and can complement a wide range of dishes. Here are some ideas for serving and incorporating these rolls into your meals.
Ideal Dishes to Serve with Dinner Rolls
– Soups and Stews: Serve your rolls alongside hearty soups like creamy tomato basil or classic chicken noodle. The rolls are perfect for dunking!
– Roast Meats: Pair them with roast chicken, beef, or pork. The soft texture of the rolls balances well with savory, rich meats.
– Salads: A light salad, such as a Caesar or garden salad, can be beautifully complemented with warm rolls.
Suggestions for Meals that Complement Soft Dinner Rolls
– Holiday Feasts: These rolls are a must-have for Thanksgiving or Christmas dinners, providing a comforting side to turkey and gravy.
– Picnics and Barbecues: Serve them at outdoor gatherings with burgers or barbecue chicken, providing a delightful addition to your spread.
Creative Ways to Use Leftover Rolls
– Bread Pudding: Transform leftover rolls into a delicious bread pudding for dessert. Simply cube the rolls, soak them in a mixture of eggs, milk, sugar, and spices, and bake until set.
– Sliders: Use leftover rolls to make mini sandwiches or sliders filled with your favorite meats, cheeses, and condiments.
Common Mistakes to Avoid
Making dinner rolls can be a rewarding experience, but there are some common pitfalls to watch for.
Discussing Potential Pitfalls in the Bread-Making Process
– Over-proofing: Allowing the dough to rise too long can lead to rolls that collapse during baking. Monitor the dough closely during both rises.
– Under-kneading: Insufficient kneading can lead to dense rolls. Ensure proper gluten development by using the windowpane test.
Tips for Troubleshooting Common Issues Like Dense Rolls or Over-proofing
– Dense Rolls: If your rolls turn out dense, check if the dough was properly kneaded and allowed to rise adequately. If the yeast is old or expired, it may not activate as needed.
– Over-proofing: If your dough rises too long, gently punch it down and reshape it before the second rise. This can help restore some air and structure.
Nutritional Information
Understanding the nutritional profile of your homemade dinner rolls can help you enjoy them more mindfully.
Overview of Nutritional Values per Serving
– Calories: Approximately 150 calories per roll
– Carbohydrates: Around 25g
– Fats: Roughly 3g
– Protein: About 4g
Discussion on Dietary Considerations
If you’re monitoring your intake, consider that these rolls are made with white flour, which is higher in carbohydrates. For a healthier alternative, consider substituting part of the all-purpose flour with whole wheat flour, though this may alter the texture.
Conclusion
Making homemade dinner rolls is an enjoyable and gratifying experience that can elevate any meal. With attention to detail in each step—from kneading to baking—you can create rolls that are soft, fluffy, and bursting with flavor. The joy of sharing freshly baked rolls with family and friends is unmatched, bringing everyone together around the table.
We encourage you to try this recipe and savor the process of baking. Whether served alongside a hearty meal or enjoyed on their own, these heavenly soft dinner rolls are sure to become a beloved staple in your kitchen. Happy baking!
