
Introduction
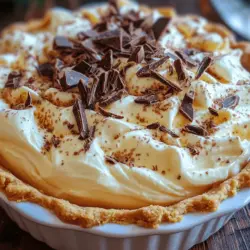
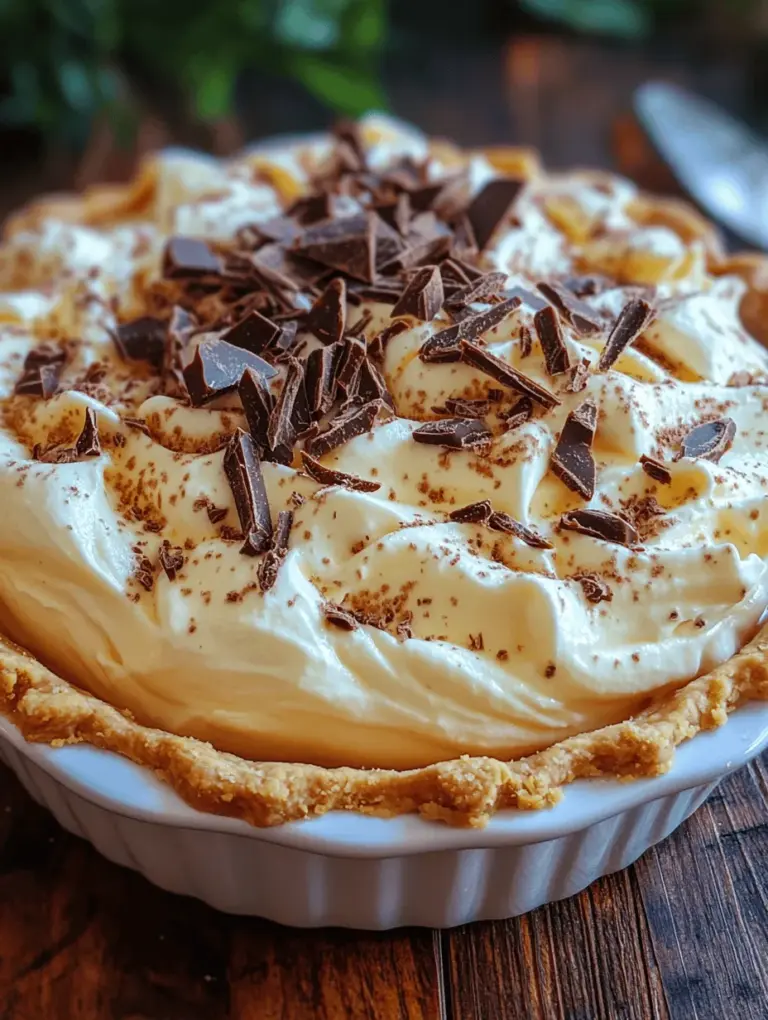
The Classic Vanilla Cream Pie is a beloved dessert that has graced tables for generations. With its silky, smooth filling and delightful vanilla flavor, this pie captures the essence of homemade desserts. It’s a treat that transcends seasons, making it perfect for summer gatherings, holiday celebrations, or simply as an indulgent way to satisfy a sweet tooth. The appeal of a Vanilla Cream Pie lies not only in its delicious taste but also in its creamy texture that melts in your mouth, leaving a lasting impression on anyone lucky enough to enjoy a slice.
There is something special about preparing a homemade dessert; the act of creating something from scratch adds an element of satisfaction and warmth to any gathering. As you whisk together the ingredients and watch the custard come to life on the stove, you can appreciate the love and care that goes into every bite. This Classic Vanilla Cream Pie is a testament to the joy of home baking, combining simple ingredients to create an utterly delightful dessert that feels both elegant and comforting.
Understanding the Ingredients
To create the perfect Classic Vanilla Cream Pie, it’s essential to understand the role of each ingredient in the recipe. Here’s a closer look at the key components:
– Whole Milk and Heavy Cream: The foundation of the creamy filling lies in the combination of whole milk and heavy cream. Whole milk provides a balanced richness while ensuring the custard is smooth and drinkable. Heavy cream, with its higher fat content, elevates the creaminess of the filling, resulting in a luscious texture that is simply irresistible. Using these two dairy products in tandem guarantees a decadently rich custard that will impress your guests.
– Cornstarch: Cornstarch is a vital thickening agent that helps achieve the desired consistency in the custard. When heated, cornstarch activates and thickens the mixture, transforming the liquid into a velvety custard. This process is essential, as it ensures that the filling holds its shape when sliced, providing that perfect slice of pie everyone craves.
– Vanilla Extract: The star of this pie is undoubtedly the vanilla extract, which elevates the overall flavor profile. Opt for pure vanilla extract rather than imitation vanilla for a more authentic taste. The quality of the vanilla you choose can significantly impact the flavor of your pie, making it rich and aromatic. Its warm notes will permeate the custard, creating an enticing dessert that showcases its classic roots.
– Optional Garnishes: While the Classic Vanilla Cream Pie can stand on its own, optional garnishes can enhance both the presentation and taste. Freshly whipped cream is a popular choice, adding an airy lightness that complements the rich custard. Slices of fresh fruit, such as strawberries or bananas, can also be incorporated to provide a colorful and flavorful contrast. Additionally, a sprinkle of shaved chocolate or a drizzle of caramel sauce can add an extra indulgence, making each slice even more delightful.
Preparing the Pie Crust
When it comes to the pie crust, you have options: you can either use a store-bought crust for convenience or make your own from scratch for a personal touch. Each option has its merits, but creating a homemade pie crust can elevate your dessert to a whole new level.
Homemade Pie Crust
If you choose to make your own pie crust, begin by gathering your ingredients. A traditional pie crust requires just a few simple ingredients: all-purpose flour, unsalted butter, salt, and cold water. The butter should be chilled to ensure it creates a flaky texture once baked.
Step-by-Step Guide to Blind Baking a Pie Crust
1. Combine the Ingredients: In a large mixing bowl, combine 1 1/4 cups of all-purpose flour and a pinch of salt. Cut in 1/2 cup of cold, unsalted butter until the mixture resembles coarse crumbs.
2. Add Cold Water: Gradually add 2 to 4 tablespoons of ice-cold water, one tablespoon at a time, mixing until the dough begins to come together. Be careful not to overwork the dough.
3. Chill the Dough: Shape the dough into a disk and wrap it in plastic wrap. Refrigerate for at least 30 minutes. Chilling the dough helps it rest and makes it easier to roll out.
4. Roll Out the Dough: On a floured surface, roll out the chilled dough into a circle about 1/8 inch thick. Carefully transfer it to a 9-inch pie dish, pressing it gently into the bottom and sides.
5. Blind Bake the Crust: Preheat your oven to 375°F (190°C). To prevent the crust from puffing up during baking, place a piece of parchment paper over the crust and fill it with pie weights or dried beans. Bake for 20 minutes, then remove the weights and parchment paper. Return the crust to the oven and bake for an additional 10-15 minutes, or until the crust is golden brown.
6. Cool Completely: Once baked, allow the pie crust to cool completely before adding the custard filling. This step is crucial, as a warm crust can cause the custard to become runny.
Store-Bought Pie Crust
If time is of the essence, a store-bought pie crust can be a great alternative. Follow the package instructions for baking, which typically involves a similar blind-baking process to ensure the crust is crisp and ready to hold the filling.
Making the Vanilla Custard Filling
With your pie crust prepared and cooled, it’s time to focus on making the vanilla custard filling. The following detailed instructions will guide you through the process, ensuring you achieve the perfect consistency and flavor.
1. Combine Milk and Cream: In a medium saucepan, combine 2 cups of whole milk and 1 cup of heavy cream. Place the saucepan over medium heat and stir occasionally until the mixture is warm but not boiling. This step helps infuse the flavors while preparing the base for the custard.
2. Whisk Egg Yolks and Sugar: In a separate bowl, whisk together 4 large egg yolks and 3/4 cup of granulated sugar until the mixture is pale and thick. This process aerates the eggs and allows for a smoother custard.
3. Temper the Egg Yolks: To prevent curdling, you’ll need to temper the egg yolks. Gradually add a small amount of the warm milk and cream mixture into the yolk mixture while whisking constantly. This step raises the temperature of the eggs without cooking them. Once combined, slowly pour the tempered yolk mixture back into the saucepan with the remaining milk and cream, continuing to whisk.
4. Cook the Custard: Place the saucepan over medium heat and continue to cook, stirring constantly, until the mixture thickens and coats the back of a spoon. This process usually takes about 5-10 minutes. Be patient, as the custard needs to reach the right temperature for the cornstarch to activate and thicken properly.
5. Add Cornstarch: To enhance the thickness of your custard, mix 2 tablespoons of cornstarch with an equal amount of cold water to make a slurry. Once the custard has thickened, stir in the cornstarch slurry and continue to cook for an additional 2-3 minutes until the custard reaches your desired thickness.
6. Finish with Butter and Vanilla: Remove the saucepan from the heat and stir in 2 tablespoons of unsalted butter and 2 teaspoons of pure vanilla extract. The butter adds richness, while the vanilla enhances the flavor profile. Stir until the butter has melted and is fully incorporated.
This process will yield a lush, creamy vanilla custard filling that is the hallmark of a Classic Vanilla Cream Pie. As you prepare to assemble your pie, take a moment to appreciate the transformation that has taken place in your kitchen—from simple ingredients to a decadent custard that will delight your family and friends.
With the crust prepared and the custard filling ready, you are just steps away from assembling your Classic Vanilla Cream Pie. In the next section, we’ll explore how to bring this delicious dessert to life, ensuring it’s as beautiful as it is tasty. Stay tuned for the final touches that will make this pie a centerpiece for any occasion.

Step-by-Step Instructions for Pouring the Custard
Once your pie crust has cooled completely, it’s time to fill it with the luscious vanilla custard. Begin by giving your custard a gentle stir to redistribute any thicker portions that may have settled. This ensures a smooth consistency throughout. Carefully pour the custard into the center of the cooled pie crust, allowing it to flow naturally toward the edges.
To achieve an even finish, use a spatula or the back of a spoon to gently smooth out the top of the custard. This step is crucial as it not only enhances the appearance of your pie but also ensures that the custard sets evenly, creating a perfect slice when it’s time to serve. The goal is to create a flat surface that will hold the whipped cream topping beautifully.
Importance of Chilling Time
After pouring and smoothing the custard, cover the pie with plastic wrap, ensuring it does not touch the surface of the custard. Chilling is essential—it allows the custard to set properly, resulting in a firm yet creamy texture. Aim for a chilling time of at least 4 hours, though overnight is ideal. The longer the pie chills, the more the flavors meld, and the better the texture will be.
Whipping the Cream Topping
Now that your custard has set, it’s time to prepare the whipped cream topping. Start by placing a mixing bowl and the beaters in the refrigerator for about 15 minutes. Chilling these tools will help the cream whip more efficiently.
Pour the remaining heavy cream into the chilled bowl and begin beating on medium speed. Gradually increase to high speed until you reach soft peaks—this means that when you lift the beaters, the cream will hold its shape but still have a slightly droopy appearance. Be cautious not to overwhip, as this can lead to a grainy texture.
Next, you can choose to spread or pipe the whipped cream onto the pie. If spreading, simply dollop the whipped cream on top of the custard and use a spatula to smooth it out to the edges. For a more decorative look, transfer the whipped cream to a piping bag fitted with a star tip and pipe decorative swirls or rosettes around the edge of the pie.
Optional Garnishes
To elevate the presentation of your Classic Vanilla Cream Pie, consider adding optional garnishes. Chocolate shavings are a popular choice and can be made by using a vegetable peeler to shave a chocolate bar. Alternatively, fresh fruits like berries or sliced bananas can add color and a burst of flavor. A sprinkle of toasted coconut also complements the vanilla nicely, enhancing both the taste and visual appeal of your dessert.
Serving Suggestions
When it’s time to serve your Classic Vanilla Cream Pie, use a sharp knife to slice through the whipped cream and custard layers. For clean slices, dip the knife in hot water and wipe it dry between cuts. This technique prevents the filling from squishing out and keeps your slices looking neat.
Pair your pie with a cup of coffee or a glass of dessert wine to enhance the experience. For a delightful contrast, serve it alongside a scoop of vanilla ice cream or a fruit salad. The creamy texture of the pie complements the crispness of fresh fruits beautifully, creating a balanced dessert plate.
Storing Leftovers
If you have any leftovers, store them in the refrigerator, covered with plastic wrap to maintain freshness. The pie can be kept for up to three days, although it’s best enjoyed within the first couple of days for optimal flavor and texture. If you notice the whipped cream starting to weep, you can re-whip it slightly before serving to refresh its appearance.
Nutritional Information
Each slice of Classic Vanilla Cream Pie offers an indulgent treat with a breakdown of approximately 300-400 calories, depending on portion size. The custard is rich in fats due to the heavy cream and butter, contributing to its creamy texture. While this pie contains sugars from both the custard and whipped cream, enjoying it in moderation can be part of a balanced diet.
For those looking for dietary modifications, consider using full-fat coconut milk in place of heavy cream for a dairy-free version. You can also explore sugar substitutes if you’re aiming to reduce sugar intake. These alternatives may slightly alter the texture and flavor, but they can still yield a delicious outcome.
Cultural Context and Variations
Cream pies have a rich history in American dessert culture, often served at family gatherings, potlucks, and holidays. The classic vanilla cream pie is a nostalgic dessert that evokes memories of simpler times and home-cooked meals. Its creamy interior and flaky crust make it a beloved staple across generations.
If you’re interested in variations, consider incorporating fresh fruits like strawberries or bananas into the filling for a fruity twist. Chocolate lovers might enjoy a chocolate cream pie, where cocoa powder is mixed into the custard for a rich, chocolatey flavor. For a more adventurous palette, try adding extracts of almond or coconut to the custard for a unique taste experience.
Other popular cream pies worth exploring include coconut cream pie, which features a similar custard base but is enhanced with toasted coconut and sometimes topped with a layer of shredded coconut, and lemon meringue pie, which incorporates a tangy lemon custard and a fluffy meringue topping. Each of these variations brings a delightful twist to the classic cream pie concept.
Conclusion
The Classic Vanilla Cream Pie is more than just a dessert; it’s a nostalgic treat that brings joy to gatherings and celebrations. Its creamy custard, light whipped cream topping, and flaky crust create a harmonious blend of textures and flavors that delight the palate.
Encouraging readers to try making this pie themselves highlights the rewarding experience of creating a dessert from scratch. The process of preparing this classic treat not only fills your kitchen with delightful aromas but also provides an opportunity to share something special with family and friends.
In a world filled with trendy desserts, the timeless nature of the Classic Vanilla Cream Pie reminds us of the importance of culinary traditions. Whether it’s for a holiday gathering, a birthday celebration, or simply a sweet indulgence after dinner, this pie is sure to impress. So gather your ingredients, roll up your sleeves, and enjoy the process of making this delicious classic!