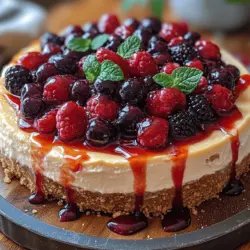
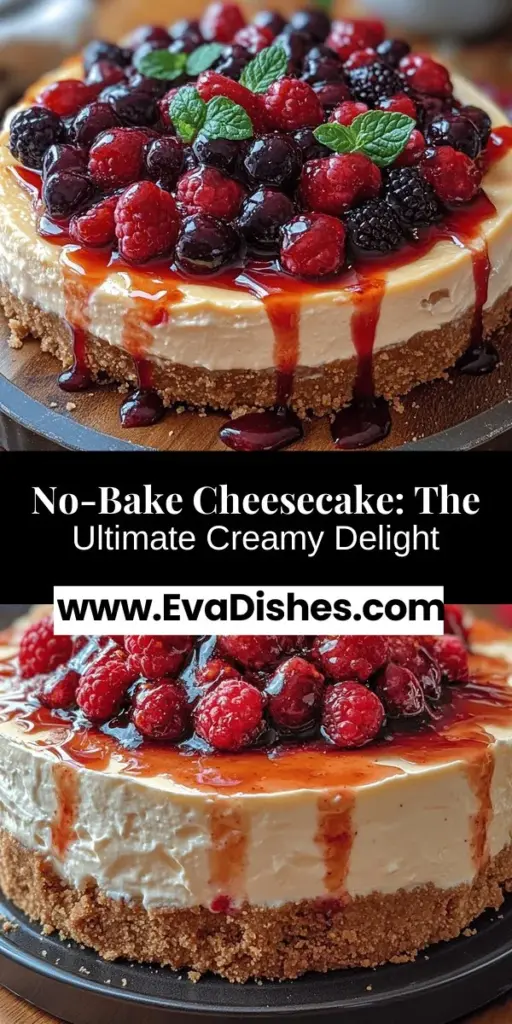
When it comes to desserts, few can rival the creamy, rich satisfaction of a cheesecake. But what if you could enjoy all that deliciousness without turning on the oven? Enter the Creamy Dreamy No-Bake Cheesecake, an indulgent treat that promises to tantalize your taste buds while being incredibly easy to prepare. Whether you’re hosting a summer barbecue, celebrating a special occasion, or simply treating yourself to a delightful dessert, this no-bake cheesecake is the perfect choice.
The Allure of No-Bake Cheesecake
The popularity of no-bake desserts has surged in recent years, and for good reason. These sweet creations offer a unique combination of convenience and flavor, appealing to both novice cooks and seasoned bakers. No-bake cheesecakes, in particular, stand out because they require minimal effort and time while delivering a luxurious taste that rivals their baked counterparts.
One of the primary benefits of no-bake cheesecakes is their simplicity. Without the need for an oven, you can whip up this delightful dessert in just a matter of minutes. It’s particularly appealing during the warm months when the thought of turning on the oven can be uninviting. Additionally, no-bake cheesecakes can be prepared in advance, allowing you to spend more time enjoying your gathering and less time in the kitchen.
Versatility is another major advantage. No-bake cheesecakes can be flavored with an endless variety of ingredients, making it easy to customize them to suit your preferences. From classic vanilla to rich chocolate or fruity options like raspberry or lemon, the choices are limitless. You can also experiment with various toppings, such as fresh fruit, chocolate ganache, or a drizzle of caramel sauce, elevating your cheesecake to new heights.
Essential Ingredients for Creamy Dreamy Cheesecake
Creating your own Creamy Dreamy No-Bake Cheesecake requires a handful of essential ingredients, each playing a crucial role in achieving that velvety texture and delicious flavor. Here’s a closer look at what you’ll need:
Graham Cracker Crust
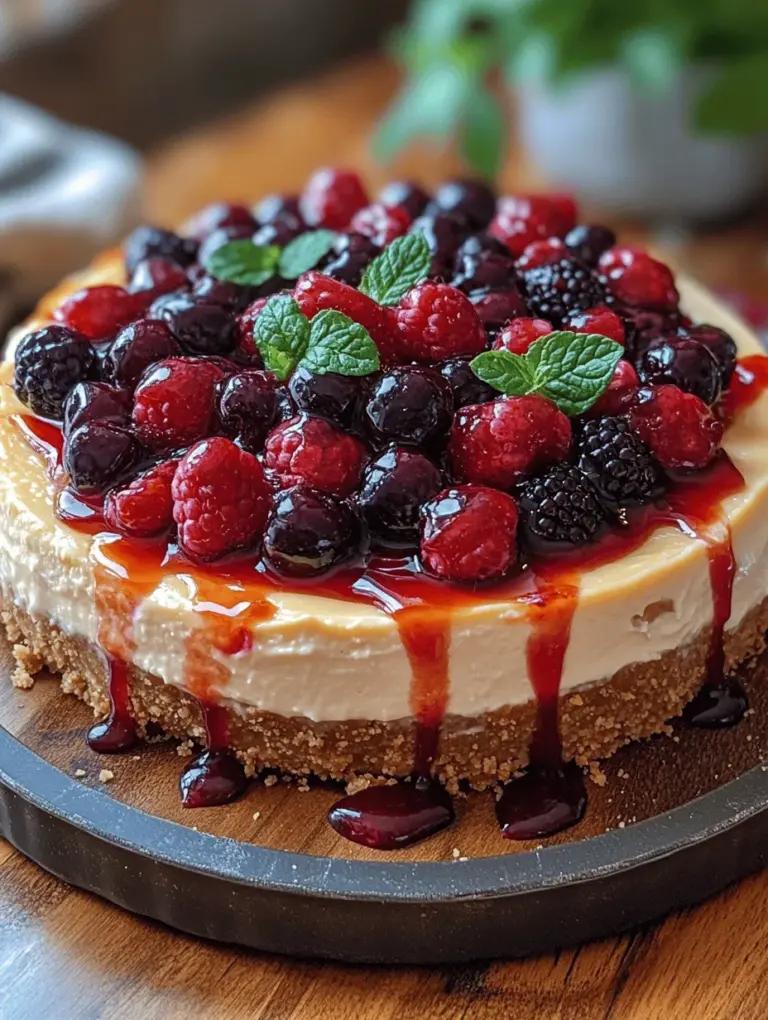
The foundation of any great cheesecake is its crust, and for this no-bake version, a graham cracker crust is ideal. Made from crushed graham crackers combined with melted butter and sugar, this crust adds a sweet and slightly crunchy texture that balances the creamy filling. It’s simple to make and can be prepared in just a few minutes.
Cream Cheese
The star of the show, cream cheese gives no-bake cheesecake its signature creamy texture and rich flavor. It’s essential to use full-fat cream cheese for the best results, as it will provide a smooth and luxurious filling. Be sure to let your cream cheese sit at room temperature for about 30 minutes before mixing; this helps achieve a lump-free texture.
Heavy Whipping Cream
Heavy whipping cream is crucial for creating that light, airy filling that defines a no-bake cheesecake. When whipped, it adds volume and stability, making the cheesecake rich yet fluffy. It’s important to whip the cream to the right consistency—stiff peaks—so that it holds its structure once folded into the cream cheese mixture.
Sugar and Sweeteners
To bring out the flavors of the cheesecake, sugar is a must. Granulated sugar is commonly used, but you can also opt for powdered sugar for a smoother texture. If you’re looking for a sugar-free option, there are various sugar substitutes available that can work well in this recipe. Adjust the amount to suit your taste preferences.
Optional Ingredients: Sour Cream and Fruit Toppings
For those who want to take their cheesecake to the next level, adding sour cream is an excellent option. It enhances the flavor, providing a slight tanginess that complements the sweetness of the filling. Additionally, consider topping your cheesecake with fresh fruit, chocolate shavings, or a fruit compote for an extra burst of flavor and visual appeal.
Preparing the Graham Cracker Crust
Now that we’ve covered the essential ingredients, let’s dive into the first steps of making this delectable cheesecake—crafting the perfect graham cracker crust.
Step 1: Mixing the Crust Ingredients
To start, gather your graham crackers, granulated sugar, and melted butter. In a mixing bowl, combine 1 ½ cups of finely crushed graham crackers with ¼ cup of sugar. Pour in ½ cup of melted butter and mix until all the crumbs are evenly coated. The mixture should resemble wet sand, holding together when pressed.
Step 2: Pressing the Crust Firmly
Next, transfer the graham cracker mixture to a 9-inch springform pan. Using the back of a measuring cup or your fingers, press the mixture firmly into the bottom and up the sides of the pan. This step is crucial; a well-pressed crust will provide a sturdy base that holds together once the cheesecake is assembled.
Step 3: Chilling for Best Results
Once your crust is in place, it’s time to chill it in the refrigerator for at least 30 minutes. This step allows the butter to solidify, helping the crust maintain its shape when filled with the creamy cheesecake mixture. For an even firmer crust, consider chilling it for an hour or more.
Crafting the Creamy Cheesecake Filling
With the crust chilling, it’s time to prepare the luscious cheesecake filling. Follow these detailed instructions to create that perfectly creamy texture.
Step 1: Beating the Cream Cheese
Begin by placing 16 ounces of softened cream cheese in a large mixing bowl. Using an electric mixer, beat the cream cheese on medium speed until it becomes smooth and creamy. This step is crucial for achieving a lump-free filling, so take your time and ensure there are no remaining lumps.
Step 2: Gradually Incorporating Powdered Sugar and Vanilla
Once the cream cheese is smooth, gradually add in ½ cup of powdered sugar and 1 teaspoon of vanilla extract. Continue to beat the mixture until it is well combined and fluffy. The sweetness of the powdered sugar balances the tanginess of the cream cheese, creating a harmonious flavor profile.
Step 3: Whipping the Cream
In a separate bowl, pour in 1 cup of heavy whipping cream. Using a clean mixer or whisk, whip the cream on high speed until stiff peaks form. This may take several minutes, but you’ll know it’s ready when the cream holds its shape and doesn’t droop when the whisk is lifted.
Step 4: Folding the Whipped Cream into the Cream Cheese Mixture
Now it’s time to fold the whipped cream into the cream cheese mixture. Start by adding about a third of the whipped cream to the cream cheese. Gently fold it in using a spatula, being careful not to deflate the whipped cream. Once combined, add the remaining whipped cream and continue to fold until fully incorporated. The goal is to maintain that light, airy texture that makes no-bake cheesecakes so delightful.
Optional Step: Enhancing Flavor with Sour Cream
If you choose to incorporate sour cream, now is the time to add it. Mix in ½ cup of sour cream and gently fold it into the cheesecake filling. This optional ingredient adds depth and complexity to the flavor, making your cheesecake even more scrumptious.
With these steps completed, your cheesecake filling is ready to be poured into the chilled graham cracker crust. This no-bake cheesecake is sure to impress your friends and family, offering a creamy indulgence that’s incredibly easy to make. Stay tuned for the next part of this article, where we’ll cover how to assemble your cheesecake and explore some creative topping ideas.
Combining the Ingredients for a Fluffy Texture
To achieve the perfect creamy and dreamy consistency in your no-bake cheesecake, the technique of folding whipped cream into the filling is essential. This step is crucial to maintaining the airiness of the mixture, which ensures your cheesecake is light and fluffy rather than dense or heavy.
1. Whipping the Cream: Start by whipping your heavy cream until stiff peaks form. This means when you lift the whisk or beaters out of the bowl, the whipped cream should hold its shape without drooping. Overwhipping can lead to graininess, so keep a close eye on it.
2. Folding Technique: To incorporate the whipped cream into the cream cheese mixture, use a silicone spatula. Begin by adding a small portion of the whipped cream to the cream cheese mixture. Stir gently with the spatula, using a folding motion. This involves scraping down the sides of the bowl and lifting the mixture from the bottom over the top.
3. Maintaining Airiness: The goal is to keep as much air in the whipped cream as possible. Avoid vigorous stirring, as this will deflate the mixture. Continue to add the whipped cream gradually, folding it in until fully combined. The mixture should be light and airy, setting the foundation for your cheesecake’s texture.
4. Achieving the Right Consistency: The final mixture should be smooth and creamy. If you find it too thick, you can add a splash of milk to loosen it slightly. This will help in achieving a pourable consistency while still preserving the fluffiness.
Assembling Your Cheesecake
Once your filling is ready, it’s time to assemble your cheesecake. This step sets the stage for the delightful flavor and texture you’ve been working towards.
1. Pouring the Filling: Carefully pour the cheesecake filling onto your prepared crust. Use a spatula to spread it evenly, ensuring that it covers the entire crust without any gaps.
2. Smoothing the Top: With the spatula, gently smooth the top of the filling to create an even layer. This not only makes for a beautiful presentation but also ensures that each slice will have a consistent texture.
3. Covering the Cheesecake: Once you’ve smoothed the top, cover the cheesecake with plastic wrap or a lid. Be careful not to touch the surface of the filling to avoid any marks.
4. Chilling the Cheesecake: Place the cheesecake in the refrigerator to chill. This is crucial as it allows the filling to set properly, giving it that luscious, creamy texture that characterizes no-bake cheesecakes.
Chilling Time: The Key to Perfection
Chilling the cheesecake is not just a waiting period; it is a transformative step that enhances the overall texture and flavor.
1. Recommended Chilling Times: For the best results, allow your cheesecake to chill for at least 4 hours. If you have the time, letting it sit overnight will yield an even better texture and flavor.
2. Flavor Development: The chilling process allows the ingredients to meld together. The flavors develop and intensify, leading to a richer tasting cheesecake. Patience is key here; the longer the cheesecake chills, the better the final product will be.
3. Checking for Doneness: After the chilling time, check the cheesecake for firmness. It should be set yet still slightly jiggly in the center. If it feels too soft, let it chill for an additional hour before cutting into it.
Serving Suggestions and Topping Ideas
To elevate your no-bake cheesecake experience, consider various serving suggestions and topping ideas that can add both visual appeal and flavor.
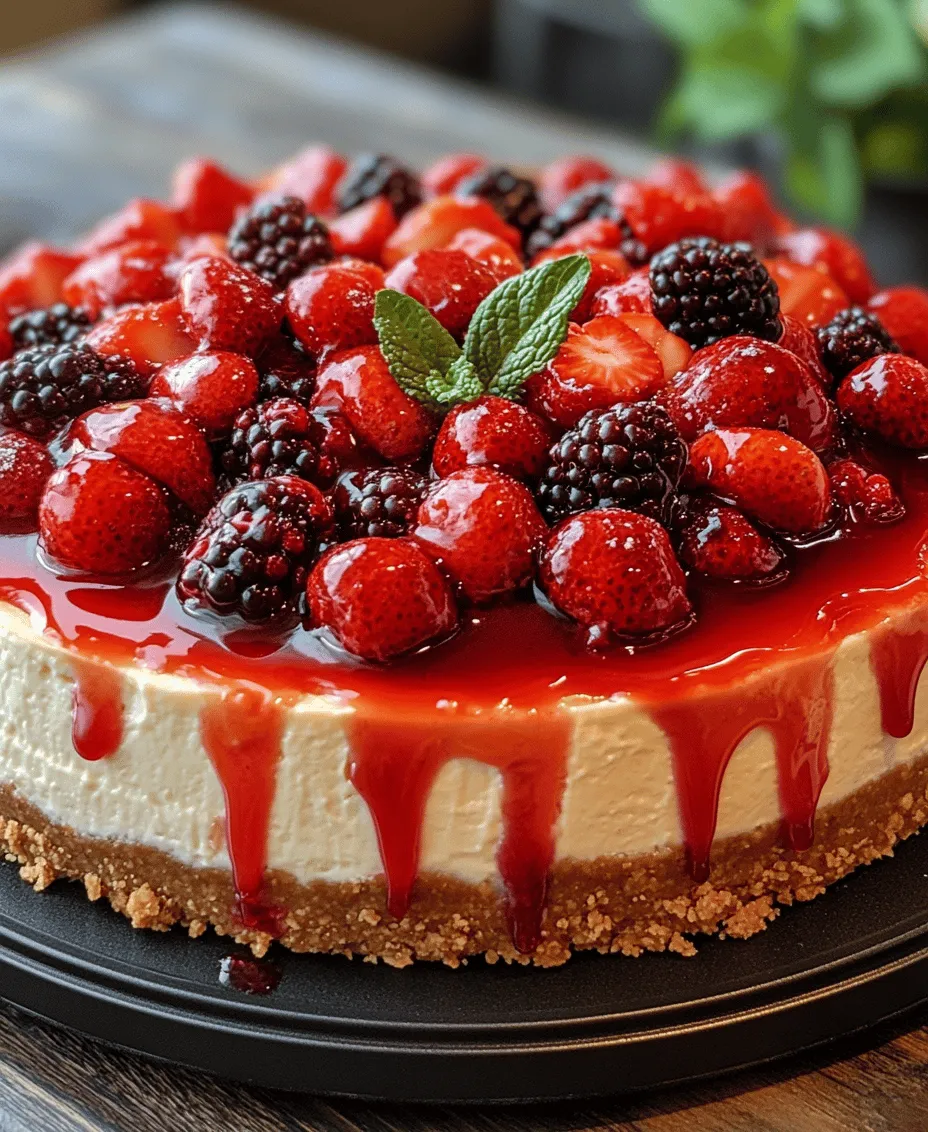
1. Fresh Fruit: Top your cheesecake with a medley of fresh fruits such as strawberries, blueberries, or raspberries. The natural sweetness and tartness of the fruit complement the creamy cheesecake beautifully.
2. Fruit Sauces: Drizzle fruit sauces like raspberry or strawberry coulis over each slice for a burst of flavor and a pop of color. You can make these sauces easily by simmering fresh or frozen fruits with a bit of sugar until thickened.
3. Chocolate Drizzles: For chocolate lovers, a drizzle of melted chocolate or chocolate ganache can take your cheesecake to the next level. Simply melt your favorite chocolate and drizzle it over the top just before serving.
4. Creative Toppings: Consider other toppings like crushed cookies, nuts, or caramel sauce for added texture. A sprinkle of toasted coconut or a dollop of whipped cream can also create an enticing presentation.
5. Presentation Ideas: For special occasions, consider serving the cheesecake in individual cups or jars. This not only makes for a stunning display but also allows for easy serving at parties. Garnish with mint leaves or edible flowers for an extra touch of elegance.
Nutritional Information
Understanding the nutritional content of your cheesecake can help you manage dietary preferences and health considerations.
1. Calories and Nutritional Breakdown: A typical slice of this creamy no-bake cheesecake contains approximately 300-350 calories. This will vary based on the specific ingredients you use, particularly the cream cheese and sugar.
2. Dietary Considerations: If you are accommodating dietary restrictions, consider using low-fat cream cheese or a sugar substitute to make the cheesecake lighter. You can also explore dairy-free cream cheese alternatives for a vegan-friendly version.
3. Healthy Substitutions: For a healthier twist, you can replace the traditional crust with a crust made of ground oats or nuts mixed with a bit of coconut oil. This not only adds nutritional benefits but also a delightful flavor. Additionally, using Greek yogurt in place of some cream cheese can increase protein content while retaining creaminess.
Conclusion: Enjoying Your Creamy Dreamy No-Bake Cheesecake
Creating your creamy dreamy no-bake cheesecake is a straightforward and highly rewarding process. The combination of a light, fluffy filling and a crisp crust results in a dessert that is sure to delight friends and family alike.
This recipe invites experimentation; feel free to play with different flavors, such as lemon, pumpkin, or chocolate, to cater to your personal preferences. The versatility of this cheesecake allows for endless variations, making it a go-to dessert for any occasion.
As you gather with loved ones to share this delicious creation, remember that the joy of baking lies not only in the delightful flavors but also in the memories created around the table. Whether serving it at a holiday gathering or enjoying it on a quiet evening, your no-bake cheesecake is bound to bring smiles and satisfaction. Happy baking!