Introduction
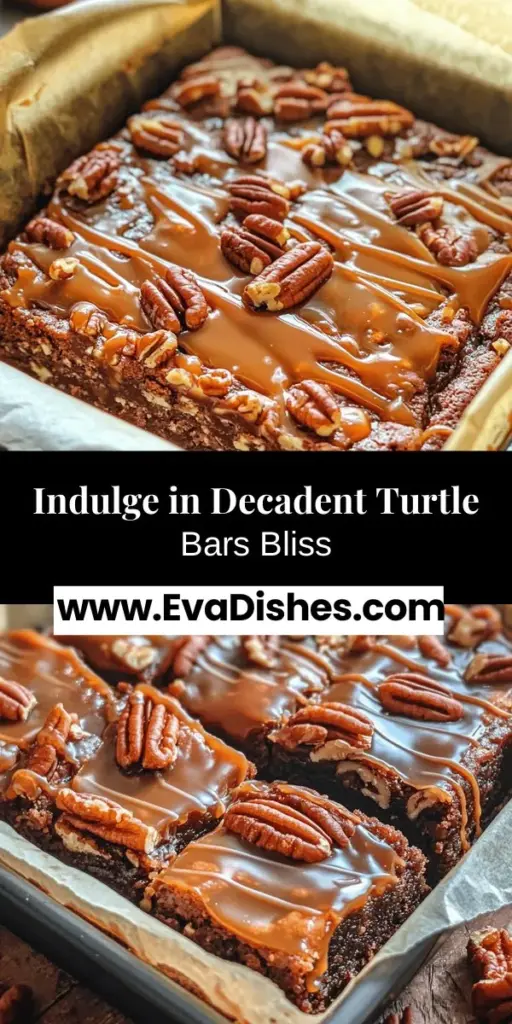
If you’re searching for a dessert that embodies indulgence, look no further than Turtle Bars. These delightful treats bring together the rich taste of chocolate, the sweetness of caramel, and the crunch of nuts in a harmonious blend that makes them irresistible to dessert lovers everywhere. Turtle Bars have gained immense popularity over the years, often gracing the tables of family gatherings, parties, and holiday celebrations. Their ability to evoke a sense of nostalgia while delivering a satisfying crunch and melt-in-your-mouth creaminess has made them a go-to choice for those with a sweet tooth.
The allure of Turtle Bars lies not only in their pleasing flavor profile but also in their versatility. They can be served warm or chilled, making them suitable for any occasion. Whether you’re looking to impress guests at a dinner party or simply want to indulge in a decadent treat at home, Turtle Bars deliver on every front. This particular recipe elevates the classic Turtle Bar experience by using high-quality ingredients and a few special techniques that ensure each bite is as delightful as the last.
The Allure of Turtle Bars
The origins of Turtle Bars can be traced back to the classic Turtle candy, which first appeared in the United States in the early 20th century. Named for their resemblance to the shape of a turtle, these confections typically combine chocolate, caramel, and nuts—often pecans. As the evolution of desserts continued, bakers began to adapt the beloved flavors of Turtle candies into bar form, creating the Turtle Bars we know and love today.
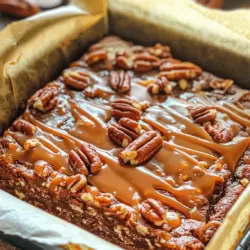
The flavor profile of Turtle Bars is nothing short of divine. Each bite offers a perfect balance of sweet and savory, with the deep, rich chocolate providing a decadent backdrop for the luscious caramel. The pecans add a delightful crunch and a hint of nuttiness that rounds out the experience. This combination of textures and flavors is what makes Turtle Bars so special and a favorite among dessert enthusiasts.
Turtle Bars are perfect for a variety of occasions. Their luxurious taste makes them an excellent choice for holiday gatherings, where they can serve as a show-stopping dessert. They are equally at home at birthday parties, bake sales, and family reunions. Their ability to please a crowd while being easy to prepare is a significant part of their charm. Plus, they can be made ahead of time, allowing you to enjoy the festivities without the stress of last-minute baking.
Ingredients Breakdown
To create the perfect batch of Decadent Turtle Bars, it’s essential to understand the role each ingredient plays in the recipe. Here’s a detailed breakdown of the ingredients that make these bars so irresistible:
Unsalted Butter
Unsalted butter is a key ingredient that adds richness and moisture to the Turtle Bars. Using unsalted butter allows you to control the overall saltiness of the dessert, ensuring a balanced flavor. The butter also contributes to the soft, chewy texture that makes these bars so delightful.
Brown Sugar vs. Granulated Sugar
In this recipe, both brown sugar and granulated sugar are used to achieve the desired texture and taste. Brown sugar, with its higher moisture content due to the presence of molasses, adds a deeper flavor and chewiness to the bars. On the other hand, granulated sugar contributes to the structure and crispness, creating a well-rounded final product. The combination results in a rich, caramel-like sweetness that perfectly complements the chocolate and nuts.
Vanilla Extract
Vanilla extract is a crucial flavor enhancer in baking. In this Turtle Bars recipe, it adds depth and warmth, elevating the overall flavor profile. A high-quality vanilla extract can make a significant difference, providing a fragrant aroma and a complex taste that ties all the ingredients together.
Eggs
Eggs serve multiple purposes in this recipe. They act as a binding agent, helping to hold the ingredients together, while also adding moisture to the bars. The proteins in the eggs help create a desirable structure, ensuring that the Turtle Bars are neither too dense nor too crumbly.
All-Purpose Flour and Cocoa Powder
All-purpose flour provides the necessary structure for the Turtle Bars, while cocoa powder adds rich chocolate flavor. The flour helps form the base of the bars, giving them a sturdy texture, while the cocoa powder enhances the chocolatey goodness that is so essential to Turtle Bars. Together, they create a harmonious balance of flavors and textures that is simply irresistible.
Baking Soda and Salt
Baking soda acts as a leavening agent, helping the bars rise slightly and contributing to their tender texture. Salt is essential in any baking recipe as it enhances flavors and balances sweetness. The combination of baking soda and salt ensures that the Turtle Bars have the perfect level of sweetness without becoming overwhelmingly sugary.
Pecans
Pecans are a signature ingredient in Turtle Bars, adding both crunch and nuttiness. Their rich flavor complements the chocolate and caramel beautifully, creating a well-rounded dessert experience. For an added twist, consider toasting the pecans before incorporating them into the mixture, as this can enhance their flavor and provide a delightful crunch.
Chocolate Chips
Chocolate chips are the star of the show in Turtle Bars. They contribute to the overall chocolate flavor and create pockets of melty goodness throughout the bars. Using high-quality chocolate chips will result in a more flavorful and satisfying dessert. You can mix and match different types of chocolate chips, such as semi-sweet, dark, or milk chocolate, to customize the flavor to your liking.
Caramel
Caramel is the signature element that ties the Turtle Bars together. It adds a luxurious sweetness and gooey texture that elevates the experience. For this recipe, you can use store-bought caramel or make your own for a more personalized touch. When melted and drizzled over the bars, the caramel creates a beautiful finish and ensures that each bite is a delightful blend of flavors.
With this understanding of the ingredients, you are now ready to embark on the journey of creating your very own Decadent Turtle Bars. In the next section, we will dive into the detailed instructions that will guide you through each step of the process. Stay tuned for a mouthwatering experience that will leave you and your guests craving more!
Step-by-Step Instructions
Prepping the Baking Pan
The first step in creating your Decadent Turtle Bars is preparing the baking pan properly. This is crucial for ensuring that your bars come out perfectly and don’t stick. Start by preheating your oven to 350°F (175°C). While the oven heats up, take a 9×13 inch baking pan and generously grease it with butter or non-stick cooking spray. After greasing, line the bottom and sides of the pan with parchment paper, allowing some overhang. This will make it easier to lift the bars out once they’re baked and cooled. The parchment paper acts as a barrier, preventing any sticky caramel or chocolate from adhering to the pan.
Mixing Wet Ingredients
Next, it’s time to mix the wet ingredients. In a large mixing bowl, combine 1 cup of softened butter, 1 cup of brown sugar, and 2 large eggs. Using an electric mixer on medium speed, blend the ingredients until they form a smooth and creamy mixture. This process is important as it incorporates air into the batter, leading to a lighter texture once baked. For the best results, make sure your butter is at room temperature, which helps in achieving that silky consistency. Scrape down the sides of the bowl occasionally to ensure all ingredients are well mixed.
Combining Dry Ingredients
In another bowl, whisk together 2 cups of all-purpose flour, 1 teaspoon of baking powder, and a pinch of salt. It’s essential to break any lumps in the flour to ensure an even distribution of dry ingredients throughout the batter. This step will help prevent any dense spots in your bars. Gradually add the dry mixture to the wet ingredients, mixing on low speed until just combined. Avoid overmixing to keep the texture tender. The dough should be thick and slightly sticky.
The Art of Folding
Now comes the fun part: folding in the nuts and chocolate chips. Gently incorporate 1 cup of chopped pecans and 1 cup of semi-sweet chocolate chips into the batter using a spatula. Folding is an important technique that helps keep the air in the batter while evenly distributing the nuts and chocolate. Be gentle and use a figure-eight motion, turning the bowl as you go to ensure everything is evenly mixed without deflating the batter.
Layering Technique
Once the batter is ready, it’s time to layer it in the prepared baking pan. Start by spreading about two-thirds of the batter evenly across the bottom of the pan. Use a spatula to create a smooth, even layer. The remaining batter will be used later. After the first layer is spread, drizzle a generous amount of caramel sauce over the top, making sure to cover the surface. You can use store-bought caramel sauce or make your own for an extra touch. Finally, take the remaining batter and drop spoonfuls over the caramel layer, creating a marbled effect. Use a knife or skewer to swirl the batter and caramel together gently, being careful not to mix them completely.
Baking Tips
Place the pan in the preheated oven and bake for 25-30 minutes. The bars are done when the edges are golden brown and a toothpick inserted in the center comes out with a few moist crumbs. Keep an eye on the baking process to avoid overbaking, as this can dry out your Turtle Bars. If you notice the edges browning too quickly, you can cover the pan loosely with aluminum foil for the last few minutes of baking. Once baked, remove the bars from the oven and let them cool in the pan for about 15 minutes. Then, use the parchment paper overhang to lift the bars out of the pan and allow them to cool completely on a wire rack before cutting them into squares.
Serving Suggestions
Your Decadent Turtle Bars are now ready to be enjoyed! Here are some delightful serving suggestions to elevate your dessert experience:
– Pairing: These bars are excellent on their own, but they pair beautifully with a scoop of vanilla ice cream or a dollop of whipped cream. The creamy texture of the ice cream contrasts wonderfully with the chewy bars, creating a dessert that is both rich and satisfying.
– Presentation Tips: For a touch of elegance, dust your Turtle Bars with powdered sugar before serving. This not only adds a visual appeal but also a hint of sweetness. You can also drizzle some extra chocolate sauce on top for an indulgent look, or even a drizzle of caramel sauce for that extra touch of gooeyness.
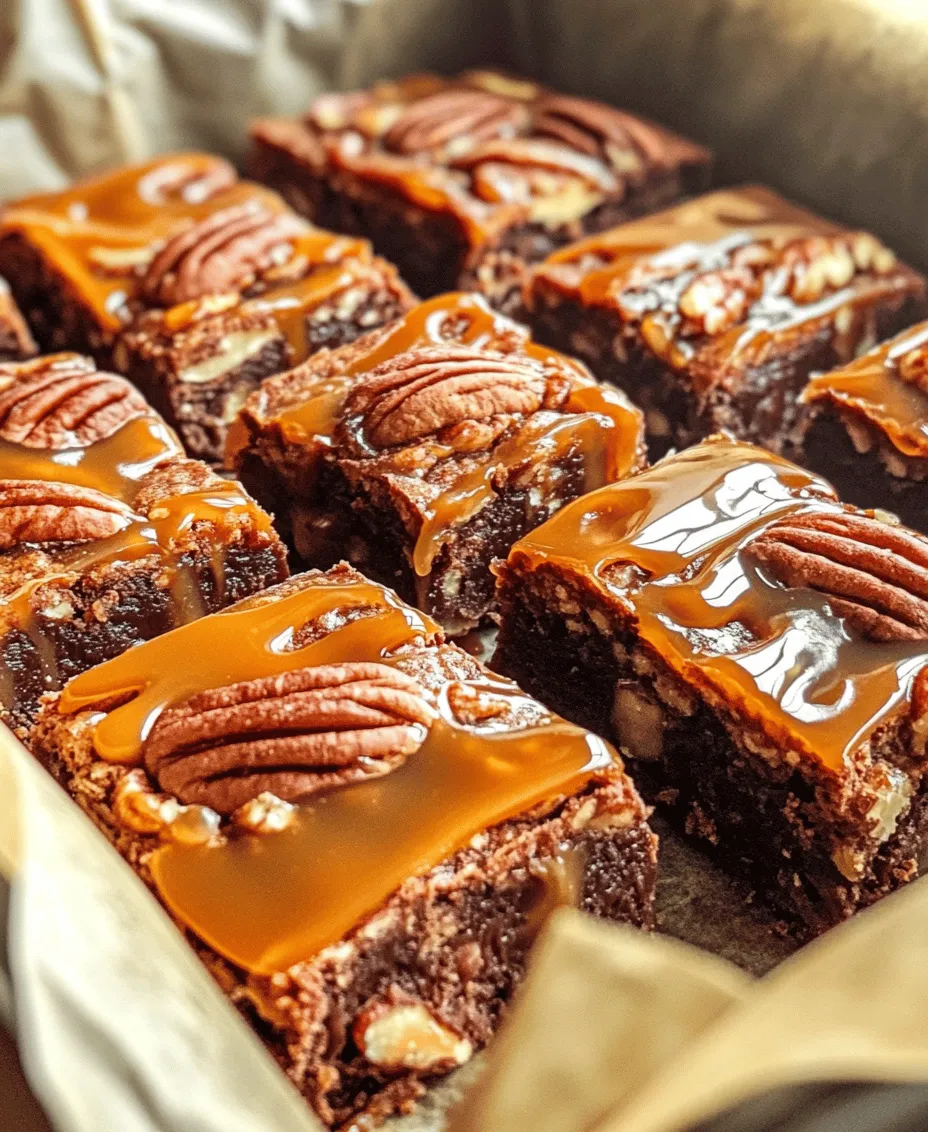
– Gift Ideas: Turtle Bars make fantastic gifts for friends and family. Cut them into squares and package them in decorative boxes or cellophane bags tied with a ribbon. This thoughtful gesture is sure to be appreciated, especially during holidays or special occasions.
Storage and Shelf Life
To keep your Turtle Bars fresh and delicious, follow these best practices for storage:
– Room Temperature: When stored at room temperature in an airtight container, Turtle Bars will stay fresh for about 3-5 days. Make sure to keep them in a cool, dry place to prevent them from becoming too soft or sticky.
– Refrigeration: If you’d like to extend their shelf life, you can refrigerate them. In the refrigerator, they can last up to 1 week. Just be aware that refrigeration may change the texture slightly, as they can become a bit firmer when chilled.
– Freezing: For long-term storage, Turtle Bars freeze exceptionally well. Allow them to cool completely, then wrap them tightly in plastic wrap and aluminum foil, or place them in a freezer-safe container. They can be frozen for up to 3 months. When you’re ready to enjoy them, simply thaw them overnight in the refrigerator or at room temperature for a few hours before serving.
Conclusion
Making Decadent Turtle Bars is not only a delightful baking experience, but it also results in a treat that is sure to impress family and friends. The combination of rich chocolate, buttery caramel, and crunchy nuts creates a medley of flavors and textures that is simply irresistible. Whether you’re preparing them for a special occasion, a potluck, or just to satisfy your sweet tooth, these bars are bound to be a hit.
We encourage you to try out this recipe and experience the joy of making your own Turtle Bars. The process is straightforward, and the rewards are plentiful. From the satisfying aroma wafting through your kitchen as they bake to the first bite of gooey caramel mingling with chocolate and nuts, every step is worth the effort. Turtle Bars aren’t just a dessert; they bring a sense of joy and indulgence that can elevate any gathering or occasion. Enjoy the process, the flavors, and the smiles that come from sharing these delicious treats!