Frozen Peach Cheesecake Bliss Bars: A Refreshing Summer Treat
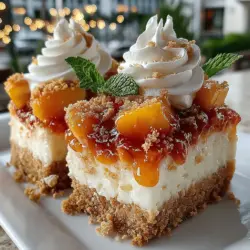
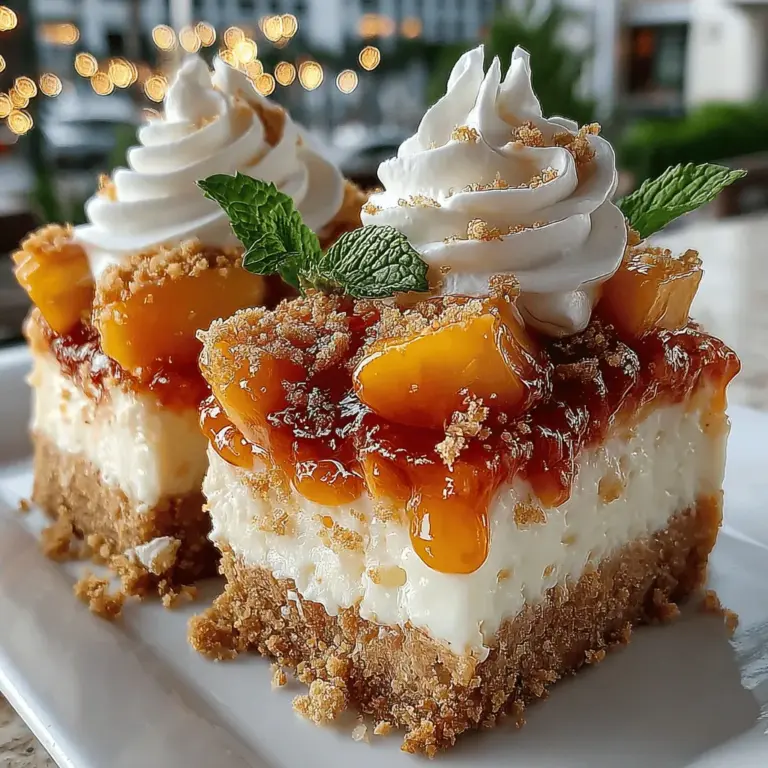
As summer approaches, the desire for cool, refreshing desserts becomes all the more prevalent. One dessert that perfectly embodies the essence of the season is the Frozen Peach Cheesecake Bliss Bars. These bars are not only visually appealing but also offer a delightful combination of creamy cheesecake and sweet, juicy peaches. The contrast between the rich filling and the fruity layer creates an experience that tantalizes the taste buds and provides a refreshing escape from the heat.
The appeal of these bliss bars lies in their versatility. They can be made ahead of time, allowing you to prepare a batch during a quiet moment in your kitchen and serve them later when guests arrive or on a hot afternoon. Simply pull them from the freezer, slice, and enjoy. This makes them an ideal choice for summer gatherings, picnics, or simply as a treat to enjoy at home.
Understanding the Components of Frozen Peach Cheesecake Bliss Bars
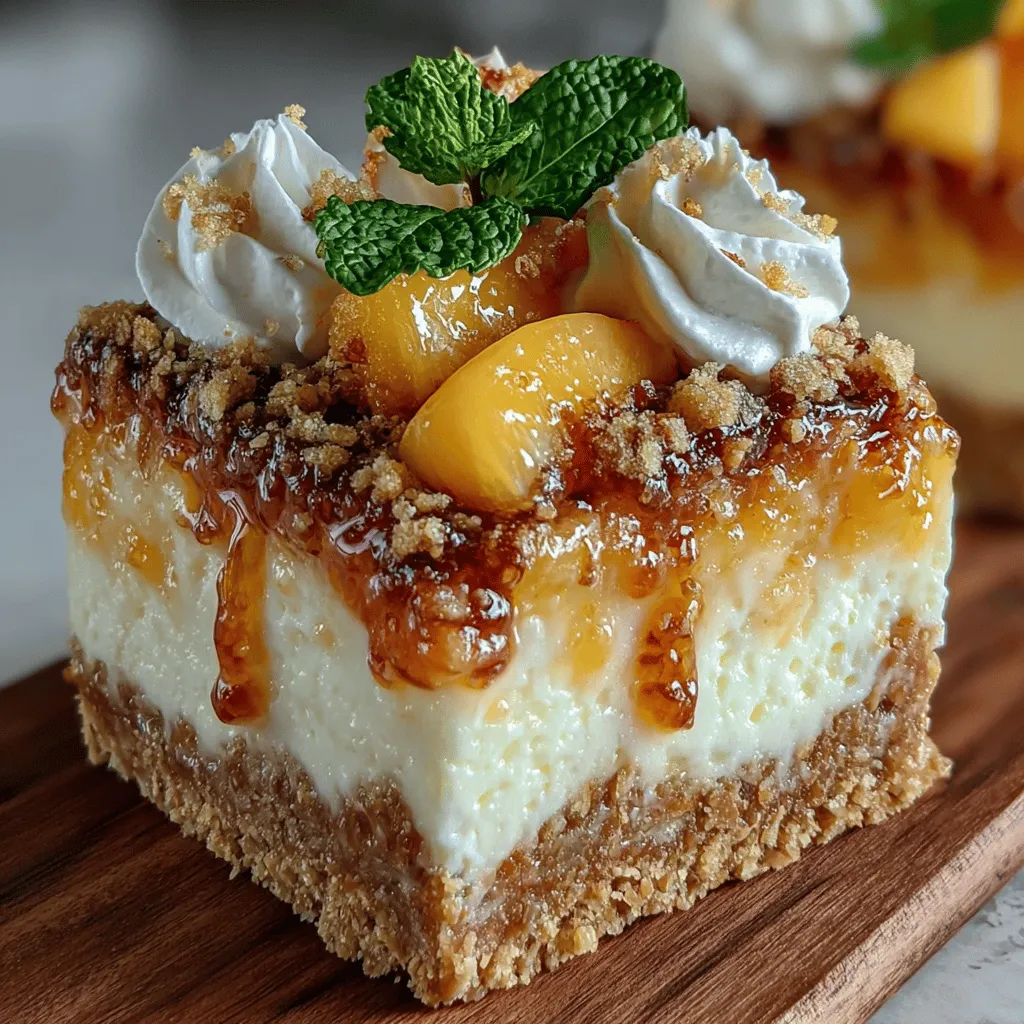
To achieve the perfect Frozen Peach Cheesecake Bliss Bars, it’s essential to understand the role of each component in the dessert. The base consists of a buttery graham cracker crust, which provides a crunchy contrast to the creamy filling. The crust is made from crushed graham crackers mixed with melted butter, forming a sturdy foundation that holds the bars together while adding a hint of sweetness.
Moving on to the cheesecake filling, the richness of cream cheese is complemented by the lightness of whipped cream. This combination results in a velvety texture that melts in your mouth. The cream cheese brings a tangy flavor profile to the bars, while the whipped cream adds an airy quality, ensuring that the filling remains light and enjoyable.
The peach layer is where the true magic happens. Fresh peaches, combined with a splash of lemon juice, create a beautiful balance of sweetness and acidity. The natural sugars in the peaches enhance their flavor, making each bite a burst of summer freshness. If fresh peaches are out of season, don’t hesitate to use canned peaches or even other fruits, as this recipe is adaptable and can accommodate various seasonal produce.
Ingredients Breakdown
Now that we’ve explored the components of this delightful dessert, let’s take a closer look at the ingredients needed to create Frozen Peach Cheesecake Bliss Bars. Below is a detailed list, along with potential substitutions for those looking to customize the recipe to fit dietary preferences.
For the Crust:
– Graham cracker crumbs: These provide the base flavor and texture for the crust. If you prefer a gluten-free option, consider using crushed gluten-free cookies or almond flour mixed with a bit of sugar.
– Butter: Melted butter binds the crumbs together. You can substitute with coconut oil for a dairy-free option, or use a plant-based butter if avoiding dairy altogether.
– Sugar: For added sweetness, granulated sugar is typically used. You may also opt for brown sugar for a deeper flavor, or a sugar substitute like monk fruit sweetener if watching sugar intake.
For the Cheesecake Filling:
– Cream cheese: The star of the filling, cream cheese provides richness. Low-fat cream cheese can be used for a lighter version, or a dairy-free cream cheese is available for those with dietary restrictions.
– Whipped cream: This adds airiness to the filling. If you wish to keep the dessert lighter, consider using whipped coconut cream as a dairy-free alternative.
– Sugar: A sweetener to balance the tanginess of the cream cheese. Again, feel free to use a sugar substitute for a lower-calorie option.
For the Peach Layer:
– Fresh peaches: The ideal choice for this recipe, providing vibrant flavor and texture. If they are out of season, canned peaches can be a great alternative. Just ensure they are packed in juice or water, rather than syrup, for a healthier option.
– Lemon juice: This adds brightness and enhances the flavor of the peaches. For a twist, you can use lime juice or even a splash of orange juice.
Step-by-Step Instructions to Create the Perfect Bars
Now that you have a comprehensive understanding of the ingredients, let’s move on to the step-by-step instructions for crafting these delicious Frozen Peach Cheesecake Bliss Bars. Following these detailed steps will ensure that your bars turn out perfectly every time.
1. Preheat & Prepare:
Start by preheating your oven to 350°F (175°C). This ensures that the crust bakes evenly and reaches the right level of crispness. While the oven is heating, line an 8×8-inch baking pan with parchment paper, allowing some overhang on the sides. This will make it easy to lift the bars out once they are set.
2. Making the Crust:
In a mixing bowl, combine the graham cracker crumbs, melted butter, and sugar. Mix until the crumbs are evenly coated. The texture should resemble damp sand. Pour the mixture into the prepared baking pan and press it firmly into an even layer using the back of a measuring cup or your fingers. Make sure the crust holds together well for easy slicing later. Bake for about 8-10 minutes or until lightly golden. Allow it to cool completely before adding the cheesecake filling.
3. Preparing the Cheesecake Filling:
In a large mixing bowl, beat the cream cheese using an electric mixer until smooth and creamy, ensuring there are no lumps. Gradually add the sugar and continue to mix until well combined. Next, fold in the whipped cream gently, incorporating it until the mixture is light and fluffy. Take care not to overmix, as this can deflate the whipped cream and compromise the airy texture of the filling.
4. Making the Peach Layer:
For the peach layer, wash and slice the fresh peaches, removing the pits. If using canned peaches, drain them well and chop them into bite-sized pieces. In a small saucepan over medium heat, combine the peaches with a splash of lemon juice and a tablespoon of sugar. Cook for about 5-7 minutes, stirring gently until the peaches are softened and the juices have thickened slightly. This cooking method intensifies the flavor and sweetness of the peaches, making them a delightful topping for your cheesecake filling.
With these initial steps, you are well on your way to creating Frozen Peach Cheesecake Bliss Bars that are sure to impress. The combination of creamy cheesecake, fresh peaches, and a crunchy crust makes for an irresistible treat that encapsulates the joys of summer. Stay tuned for the next part of the recipe, where we will guide you through the final assembly and freezing process!
Assembling the Bars
Creating visually appealing Frozen Peach Cheesecake Bliss Bars is as much about technique as it is about ingredients. To achieve a stunning marbled effect, follow these steps during assembly:
1. Layering the Mixtures: Begin by spooning the cheesecake filling into the prepared crust. Spread half of the filling evenly across the bottom, ensuring it reaches the edges. Next, add dollops of the peach puree on top of the cheesecake layer. Use the back of a spoon or a small spatula to swirl the puree into the filling gently. The goal is to create a marbled look, so avoid over-mixing.
2. Adding More Layers: Once you’ve created the first layer, repeat the process by adding the remaining cheesecake filling and then more peach puree. This will allow the flavors to intermingle beautifully while still maintaining distinct layers of cheesecake and fruit.
3. Final Swirl: For the final touch, use a toothpick or a skewer to create a few more swirls in the mixture. This will enhance the visual appeal and ensure that the peach flavor is well-distributed throughout the bars.
4. Smooth the Top: After achieving your desired marbled effect, gently smooth the top with a spatula. This will help create a more polished appearance once frozen.
Freezing
Freezing is a crucial step in the preparation of Frozen Peach Cheesecake Bliss Bars, as it determines the final texture of your dessert. Here are some best practices to ensure your bars turn out perfectly:
1. Proper Container: Once assembled, cover the pan tightly with plastic wrap or aluminum foil to prevent ice crystals from forming. This step is essential for maintaining the creamy texture of the cheesecake.
2. Freezing Time: For optimal results, freeze the bars for at least 4-6 hours or until completely solid. If you prefer a softer texture, you can freeze for a shorter time, but keep in mind that the bars may be harder to cut.
3. Cutting the Bars: To cut the bars easily, allow them to sit at room temperature for about 10-15 minutes after removing them from the freezer. This will soften the edges slightly, making slicing more manageable. Use a sharp knife and clean it between cuts to ensure neat edges.
Serving Suggestions
Presentation is key when serving your Frozen Peach Cheesecake Bliss Bars. Here are some ideas to enhance their appeal:
1. Garnishes: Top each bar with a dollop of whipped cream or a scoop of vanilla ice cream for added creaminess. A sprinkle of finely chopped mint leaves adds a refreshing touch and a pop of color.
2. Fruit Toppings: Consider garnishing with freshly sliced peaches or a drizzle of peach or berry sauce. The vibrant colors of the fruit will contrast beautifully against the creamy bars.
3. Plating Ideas: Serve the bars on a chilled plate to keep them from melting too quickly. Arrange them with other summer fruits like strawberries or raspberries for a colorful dessert platter.
4. Serving Size: Cut the bars into small squares or rectangles, as they are rich and satisfying, making smaller portions more appealing for guests.
Flavor Profile and Texture
The Frozen Peach Cheesecake Bliss Bars offer a delightful taste experience that balances creamy and fruity flavors perfectly. The contrast between the rich, velvety cheesecake filling and the bright, juicy peach puree creates a harmonious blend that is both refreshing and indulgent.
Taste Experience
The creamy cheesecake filling delivers a rich, smooth flavor that envelops your palate, while the peach puree provides bursts of sweetness and tanginess. Each bite reveals the luscious combination of flavors that evoke summer nostalgia, making these bars a perfect treat for warm days.
Texture
The texture is another standout feature of this dessert. The crust, made from crushed graham crackers, adds a satisfying crunch that complements the smoothness of the filling. This textural contrast enhances the overall experience, making each bite interesting and enjoyable. Additionally, the juicy pieces of peach create a delightful burst of flavor that contrasts beautifully with the creamy base.
Nutritional Information
Understanding the nutritional value of your dessert is essential, especially when you’re looking to indulge mindfully. Here’s a breakdown of the nutritional content of the Frozen Peach Cheesecake Bliss Bars:
– Calories: Approximately 200 calories per bar (based on a recipe serving 12)
– Fats: 12g (with variations depending on the cream cheese and whipped topping used)
– Sugars: 10g (natural sugars from peaches and added sugars)
Comparison with Similar Desserts
When compared to traditional cheesecake or store-bought frozen desserts, these Frozen Peach Cheesecake Bliss Bars are relatively healthier. Many commercial options are laden with artificial additives and high levels of sugar. In contrast, this homemade version allows for control over ingredients, making it a fresher and more wholesome choice. Additionally, substituting lower-fat cream cheese and using fresh fruit can significantly reduce calories and fat content.
Culinary Tips for the Best Results
To ensure your Frozen Peach Cheesecake Bliss Bars turn out wonderfully, consider these culinary tips:
1. Common Pitfalls: One common mistake is overmixing the cheesecake filling, which can lead to cracks during freezing. Mix just until smooth for the best results.
2. Chilling and Freezing Times: Adhering to the recommended chilling and freezing times is crucial. If the bars are not frozen long enough, they may not hold their shape when cut. Conversely, freezing them too long can result in a rock-hard dessert that is difficult to enjoy.
3. Storage: Store any leftover bars in an airtight container in the freezer for up to two months. To maintain freshness, separate layers with parchment paper to avoid sticking, and make sure to wrap the container tightly to prevent freezer burn.
Cultural Significance of Cheesecake and Peaches
Cheesecake has a rich history in various culinary traditions around the world. Originating in ancient Greece, it was considered a source of energy and was often served to athletes during the Olympic Games. Different cultures have embraced and adapted cheesecake, giving rise to countless variations, from New York-style to Italian ricotta cheesecake.
Symbolism of Peaches
Peaches, on the other hand, hold significant cultural symbolism, especially in summer celebrations. In many cultures, peaches represent longevity, prosperity, and good fortune. Their sweet, juicy flesh evokes feelings of warmth and joy, making them a popular choice in desserts during summer gatherings and celebrations. Incorporating peaches into cheesecakes not only enhances flavor but also connects the dessert to cultural traditions of sharing and celebration.
Conclusion
In conclusion, the Frozen Peach Cheesecake Bliss Bars are a delightful blend of creamy, fruity flavors that make for an irresistible summer treat. The process of creating these bars, from assembling to freezing, is straightforward and rewarding, resulting in a visually stunning dessert that will impress family and friends alike.
Whether you’re hosting a summer barbecue or simply want to enjoy a refreshing dessert at home, these bars are sure to please. Experimenting with different garnishes and serving suggestions can elevate your presentation, turning this simple recipe into a show-stopping dessert.
We encourage you to try making these blissful bars and share the joy of homemade treats with your loved ones. The satisfaction of creating something delicious and refreshing from scratch is truly unmatched. Enjoy the experience, and let every bite remind you of the sweet moments spent together with friends and family.