
Introduction
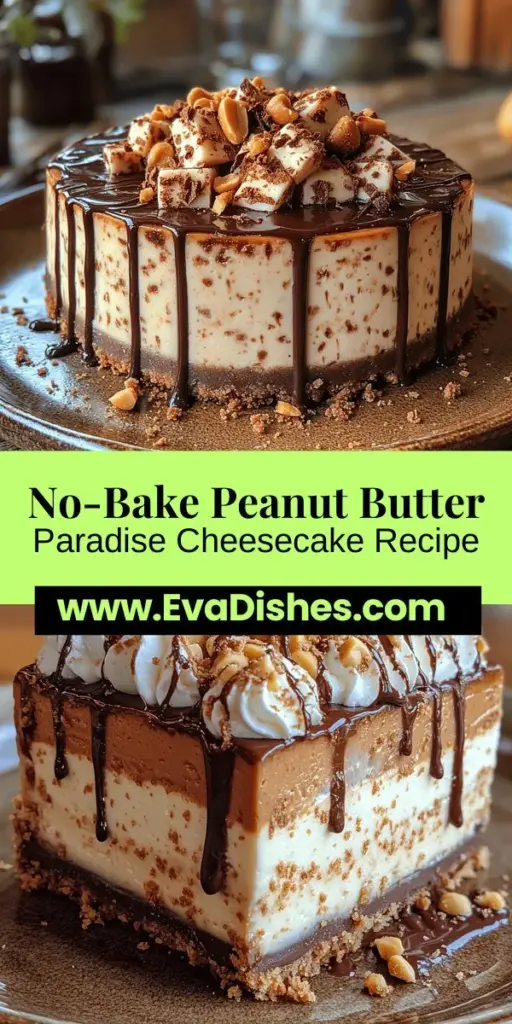
The Peanut Butter Paradise No-Bake Cheesecake is a delightful dessert that seamlessly blends the rich flavors of creamy peanut butter and smooth cream cheese, creating an indulgent treat that requires no baking. This cheesecake is a celebration of textures and tastes, making it perfect for any occasion—from casual family dinners to formal gatherings. The beauty of this no-bake recipe lies not just in its deliciousness, but also in its simplicity, allowing even novice cooks to create a dessert that impresses.
This article will delve into the intricacies of this decadent recipe, exploring its essential ingredients, and providing a detailed, step-by-step guide to crafting this cheesecake masterpiece at home. By the end of your culinary adventure, you will have a delightful dessert that not only satisfies your sweet tooth but also showcases your kitchen prowess.
Understanding the Ingredients
To create a Peanut Butter Paradise No-Bake Cheesecake, it is essential to understand the foundational components that contribute to its unique flavor and texture. Each ingredient plays a pivotal role, ensuring that every bite is a harmonious blend of creamy, sweet, and nutty goodness.
Graham Cracker Crumbs: The Foundation of the Crust
The base of any great cheesecake starts with a solid crust, and for this recipe, graham cracker crumbs serve as the perfect foundation. Their slightly sweet and buttery flavor complements the richness of the cheesecake filling. The texture of the crumbs provides a satisfying crunch that contrasts beautifully with the creamy filling, making every bite a delightful experience.
Unsalted Butter: Binding the Crust Together
Unsalted butter is another key ingredient in the crust. It acts as a binding agent, ensuring that the graham cracker crumbs hold together firmly. Using unsalted butter allows for better control over the overall saltiness of the dessert, ensuring the flavors balance perfectly without overpowering the sweetness of the cheesecake.
Cream Cheese: The Creamy Base of the Cheesecake
Cream cheese is the heart of the cheesecake filling. Its rich and tangy flavor adds depth to the dessert, while its smooth texture contributes to the creaminess that makes cheesecakes so beloved. When combined with peanut butter and other ingredients, cream cheese creates a luscious filling that is both satisfying and indulgent.
Creamy Peanut Butter: The Star of the Show
No peanut butter cheesecake would be complete without creamy peanut butter. This ingredient is what truly elevates the dessert, infusing it with a rich, nutty flavor that peanut butter lovers crave. Whether you prefer smooth or crunchy peanut butter, using high-quality peanut butter will greatly enhance the overall taste of the cheesecake.
Powdered Sugar: Sweetening the Filling
To achieve the perfect balance of sweetness in the cheesecake filling, powdered sugar is used. Its fine texture allows it to dissolve easily, ensuring a smooth and creamy consistency without any graininess. The amount of powdered sugar can be adjusted to suit your personal taste, making it easy to create a cheesecake that is just the right level of sweetness.
Vanilla Extract: Adding Depth to the Flavor
A splash of vanilla extract is added to the filling to enhance the overall flavor profile of the cheesecake. Vanilla adds a warm, aromatic quality that complements the peanut butter and cream cheese beautifully. It is a subtle yet important ingredient that rounds out the flavor, making each bite even more delightful.
Heavy Whipping Cream: Creating a Light and Fluffy Texture
Heavy whipping cream is what gives the cheesecake its light and airy texture. Whipping the cream until stiff peaks form and then folding it into the peanut butter and cream cheese mixture adds volume and creates a delightful contrast to the dense crust. This step is crucial for achieving a cheesecake that feels indulgent yet not overly heavy.
Chocolate Chips and Chopped Peanuts: Garnishes that Elevate the Dessert
To finish off the Peanut Butter Paradise No-Bake Cheesecake, chocolate chips and chopped peanuts are used as garnishes. These toppings not only enhance the visual appeal of the dessert but also add an extra layer of flavor and texture. The richness of the chocolate pairs perfectly with the peanut butter, while the crunchy peanuts provide a delightful crunch that rounds out the dish.
Preparing the Cheesecake Crust
Creating the perfect cheesecake crust is a straightforward process that sets the foundation for your Peanut Butter Paradise No-Bake Cheesecake. Follow these step-by-step instructions to ensure a firm yet delicious crust that complements the creamy filling.
Step 1: Combining Graham Cracker Crumbs and Melted Butter
Start by gathering your graham cracker crumbs and unsalted butter. In a mixing bowl, combine 1 ½ cups of graham cracker crumbs with ½ cup of melted unsalted butter. The melted butter should be warm but not hot, as excessively hot butter can alter the texture of the crumbs.
Using a spatula or wooden spoon, mix the crumbs and butter until the crumbs are fully coated and resemble wet sand. The mixture should hold together when pressed, which is essential for achieving a sturdy crust.
Step 2: Achieving the Right Texture and Consistency
Once the crumbs and butter are combined, check the texture. If the mixture feels too dry, you can add a tablespoon of melted butter at a time until the desired consistency is reached. On the other hand, if the mixture seems too wet, add more graham cracker crumbs gradually until it holds together well.
Step 3: Pressing the Mixture into the Springform Pan for a Perfect Base
Next, transfer the crumb mixture into a 9-inch springform pan. Using the back of a measuring cup or your fingers, press the mixture firmly and evenly into the bottom of the pan. Make sure to press it down well, as this will help the crust hold its shape once the cheesecake is set.
Step 4: Importance of Chilling the Crust for Optimal Setting
Once the crust has been pressed into the pan, it is crucial to chill it in the refrigerator for at least 30 minutes. Chilling allows the butter to firm up, ensuring that the crust sets properly. This step is essential for a no-bake cheesecake, as it creates a stable base that won’t crumble when you slice into the finished dessert.
Crafting the Cheesecake Filling
While the crust is chilling, you can begin preparing the cheesecake filling. This step involves mixing the cream cheese, peanut butter, powdered sugar, and vanilla extract to create a smooth and creamy mixture. The key to a successful filling is ensuring that all ingredients are at room temperature, allowing for easy blending and a lump-free texture.
Step 1: Softening the Cream Cheese
Start by taking 16 ounces of cream cheese out of the refrigerator and letting it sit at room temperature for about 30 minutes. Softening the cream cheese is vital for achieving a smooth filling, as cold cream cheese can result in lumps that disrupt the creamy texture of the cheesecake.
Step 2: Mixing the Cream Cheese and Peanut Butter
In a large mixing bowl, combine the softened cream cheese and 1 cup of creamy peanut butter. Using an electric mixer, beat the two ingredients together on medium speed until they are fully combined and smooth. Take your time with this step; it is essential for achieving the desired creamy texture.
Step 3: Adding Powdered Sugar and Vanilla Extract
Once the cream cheese and peanut butter are well combined, gradually add 1 cup of powdered sugar and 1 teaspoon of vanilla extract to the mixture. Beat on low speed until the powdered sugar is incorporated, then increase the speed to medium until the filling is smooth and creamy.
Step 4: Whipping the Heavy Cream
In a separate bowl, pour in 1 cup of heavy whipping cream. Using a clean electric mixer, whip the cream on high speed until stiff peaks form. This step is crucial for achieving the light and fluffy texture of the cheesecake filling.
Step 5: Folding the Whipped Cream into the Peanut Butter Mixture
Once the heavy cream is whipped, gently fold it into the peanut butter and cream cheese mixture using a spatula. Be careful not to deflate the whipped cream; use a gentle folding motion to combine the two mixtures until fully integrated. The result should be a light and airy filling that is both creamy and decadent.
Step 6: Pouring the Filling into the Chilled Crust
With the filling fully prepared, remove the crust from the refrigerator. Carefully pour the peanut butter filling into the chilled crust, spreading it evenly with a spatula. Smooth the top to create an attractive finish for your cheesecake.
Step 7: Chilling the Cheesecake to Set
Once the filling is in place, cover the cheesecake with plastic wrap or aluminum foil and return it to the refrigerator. Allow the cheesecake to chill for at least 4 hours, or overnight if possible. This chilling time is essential for the cheesecake to set properly, allowing the flavors to meld together beautifully.
Step 8: Adding the Garnishes
Before serving, consider garnishing your Peanut Butter Paradise No-Bake Cheesecake with chocolate chips and chopped peanuts. These toppings not only enhance the visual appeal but also add texture and additional flavor. Simply sprinkle the garnishes on top of the cheesecake just before serving, ensuring they are evenly distributed for a beautiful finish.
As you can see, crafting a Peanut Butter Paradise No-Bake Cheesecake is an enjoyable and rewarding experience. With a solid understanding of the ingredients and a detailed step-by-step guide, you are well on your way to creating a dessert that will leave everyone clamoring for seconds. In the next section, we will cover tips for achieving the best results and address common questions you may have while preparing this delightful treat. Stay tuned to ensure your cheesecake turns out perfectly every time!
Creating the Creamy Filling
To craft a Peanut Butter Paradise No-Bake Cheesecake that’s both smooth and decadent, the filling is key. The creamy mixture of cream cheese and peanut butter forms the heart of this dessert, and achieving the right texture is essential.
Beating Cream Cheese and Peanut Butter to Achieve a Smooth Texture
Start with room temperature cream cheese; this is crucial for preventing lumps. Place the cream cheese in a large mixing bowl and beat it on medium speed until it becomes light and fluffy, about 2-3 minutes. Next, add in the creamy peanut butter. Use a high-quality, natural peanut butter for the best flavor. Continue beating the mixture until both ingredients are well combined and completely smooth. This step ensures that your cheesecake has a luscious, creamy consistency that will melt in your mouth.
Gradual Addition of Powdered Sugar for Balanced Sweetness
Once your cream cheese and peanut butter are blended to perfection, it’s time to add the powdered sugar. Gradually sift in the powdered sugar—about 1 cup at a time—while continuing to beat the mixture on low speed. This prevents the sugar from clouding the kitchen and ensures even incorporation. Taste the filling as you go; you can adjust the sweetness to your preference by adding more sugar if desired. The aim is to create a balanced flavor that complements the richness of the peanut butter without overwhelming it.
The Role of Vanilla Extract in Enhancing the Flavor Profile
To elevate the flavor of your cheesecake, add a teaspoon of pure vanilla extract to the mixture. Vanilla acts as a flavor enhancer, bringing all the components together and providing a warm undertone that beautifully complements the peanut butter. Mix until fully incorporated, and take a moment to savor the aroma—the fragrance of vanilla blended with peanut butter is nothing short of heavenly.
Whipping the Cream to Perfection
A light and airy whipped cream is crucial for achieving the ideal texture in your no-bake cheesecake. It provides structure and a delightful creaminess that balances the denser peanut butter filling.
Importance of Using Cold Heavy Cream
Begin by ensuring that your heavy cream is ice-cold. This is vital as cold cream whips better and holds its shape longer. Pour 1 cup of heavy cream into a clean mixing bowl. If you wish, chill the bowl and whisk beforehand for added freshness. Using a stand mixer or a hand mixer, beat the cream on medium speed until it begins to thicken, usually around 2 minutes.
Tips for Achieving Stiff Peaks
Once you see bubbles forming, increase the speed to high and continue whipping until stiff peaks form. This means that when you lift the whisk, the cream should stand upright without drooping. Be careful not to over-whip, as this can lead to a grainy texture or even turn the cream into butter. If this happens, you’ll need to start over with another batch.
Gently Folding the Whipped Cream into the Peanut Butter Mixture
Now it’s time to combine the whipped cream with your peanut butter filling. Using a rubber spatula, take about one-third of the whipped cream and gently fold it into the peanut butter mixture. This helps lighten the filling, making it easier to combine. Once incorporated, add the remaining whipped cream and fold gently until no white streaks remain. The key here is to be gentle; you want to retain as much air in the whipped cream as possible to ensure a light, fluffy cheesecake.
Bringing It All Together: Combining Filling and Crust
With your filling beautifully prepared, it’s time to assemble your cheesecake.
Pouring Technique to Minimize Air Bubbles
Carefully pour the creamy filling into the prepared graham cracker crust. To minimize air bubbles, pour the filling into the center of the crust and allow it to spread naturally to the edges. If you pour from the side, it may introduce more air into the filling, which is what you want to avoid.
Techniques for Achieving a Smooth Top Surface
Once the filling is in the crust, use a spatula or the back of a spoon to smooth the top. To achieve a perfectly flat surface, you can run the spatula over the filling in a gentle, sweeping motion. This will help create an appealing appearance and ensure an even texture when slicing.
Refrigeration Time and Its Significance for Setting
Now, cover the cheesecake with plastic wrap and place it in the refrigerator. Allow it to chill for at least 4 hours, but overnight is ideal. This refrigeration time is crucial as it allows the cheesecake to set properly, giving it the firm yet creamy texture that makes each slice stand up beautifully.
Garnishing Your Cheesecake
Once your cheesecake has set, it’s time to garnish and make it visually appealing.
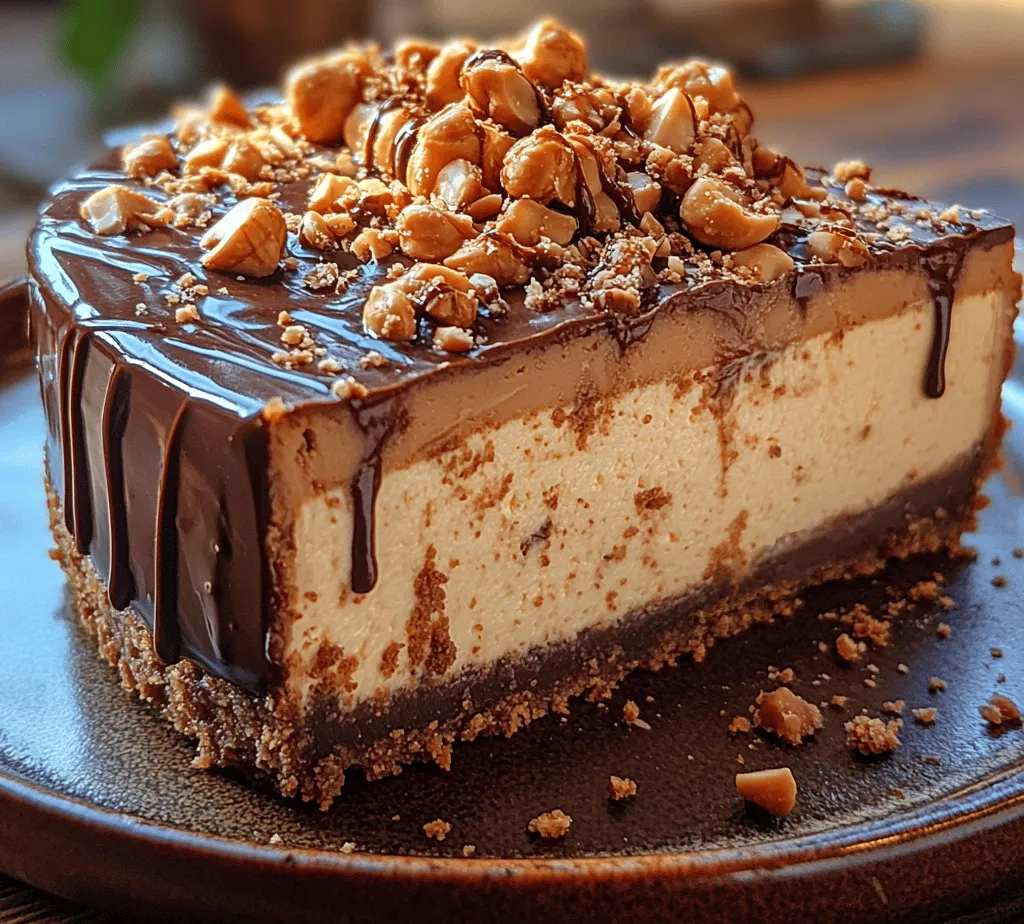
Drizzling Melted Chocolate: Techniques for an Elegant Finish
A drizzle of melted chocolate not only adds flavor but also enhances the presentation. To do this, melt semi-sweet or dark chocolate in a microwave-safe bowl, heating in 30-second intervals and stirring until completely smooth. Using a spoon or a piping bag, drizzle the melted chocolate over the top of the cheesecake in a zig-zag pattern. This step adds a professional touch and invites your guests to indulge.
Incorporating Chopped Peanuts for Added Texture
For an extra crunch, sprinkle chopped peanuts over the top of the cheesecake. This addition not only enhances the peanut flavor but also provides a delightful contrast to the creamy filling. You can use roasted or salted peanuts for added flavor and texture.
Serving Suggestions to Enhance the Visual Appeal
When it comes time to serve, slice the cheesecake into wedges and plate them individually. Consider serving with a dollop of whipped cream on the side, topped with a few whole peanuts or a drizzle of chocolate for an eye-catching presentation. Pairing the cheesecake with fresh fruit like sliced strawberries or bananas can also add a refreshing touch that balances the richness of the dessert.
Conclusion
The Peanut Butter Paradise No-Bake Cheesecake is a testament to how simple ingredients can come together to create a dessert that is both decadent and approachable. With its creamy texture, rich peanut flavor, and easy preparation, this cheesecake is bound to impress friends and family alike. Each slice offers a delightful experience, perfectly blending sweetness and nuttiness, while the whipped cream adds an airy lightness that makes this dessert irresistible.
Embrace the joy of no-bake desserts and indulge in a slice of paradise that is sure to satisfy any sweet tooth. Whether it’s for a special occasion or just an everyday treat, this cheesecake is sure to become a beloved favorite in your dessert repertoire. Enjoy the harmonious flavors and textures, and relish the compliments that are sure to follow!
